


One,Fatigue Testing MachineKey Technical Specifications
1、Clamping cylinder reciprocation frequency: 300 ± 10 c/min
2、Adjustable spacing between top and bottom clamps: 200mm
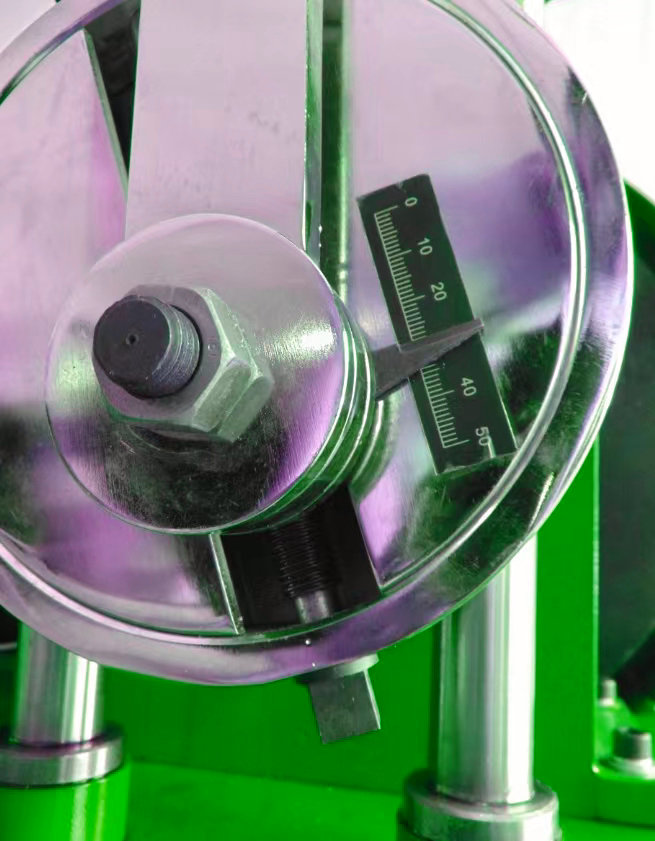
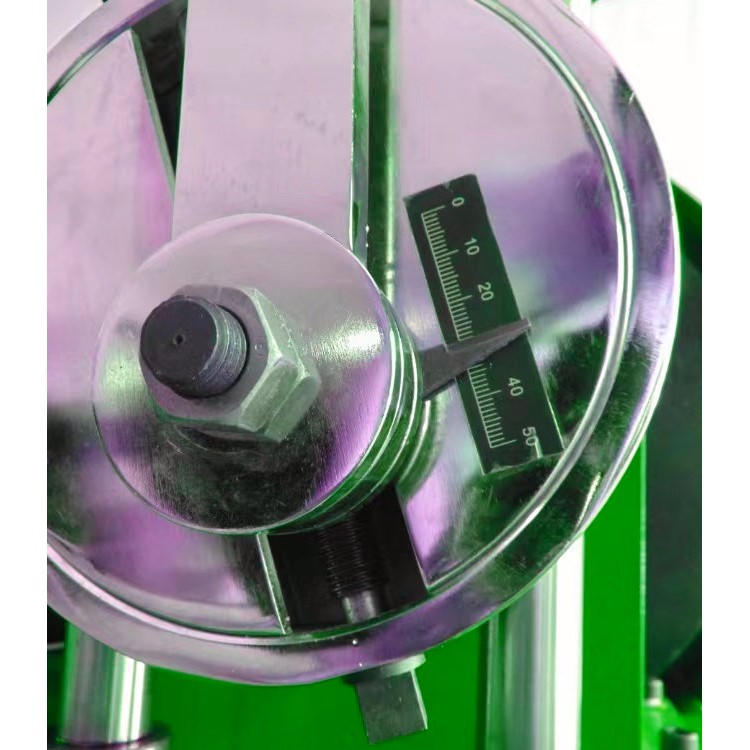
3、Off-center wheel adjustable distance: 50mm
4、Bite holder reciprocating stroke: 100mm
5、Power: AC 220V±10% 380V±10% 50Hz
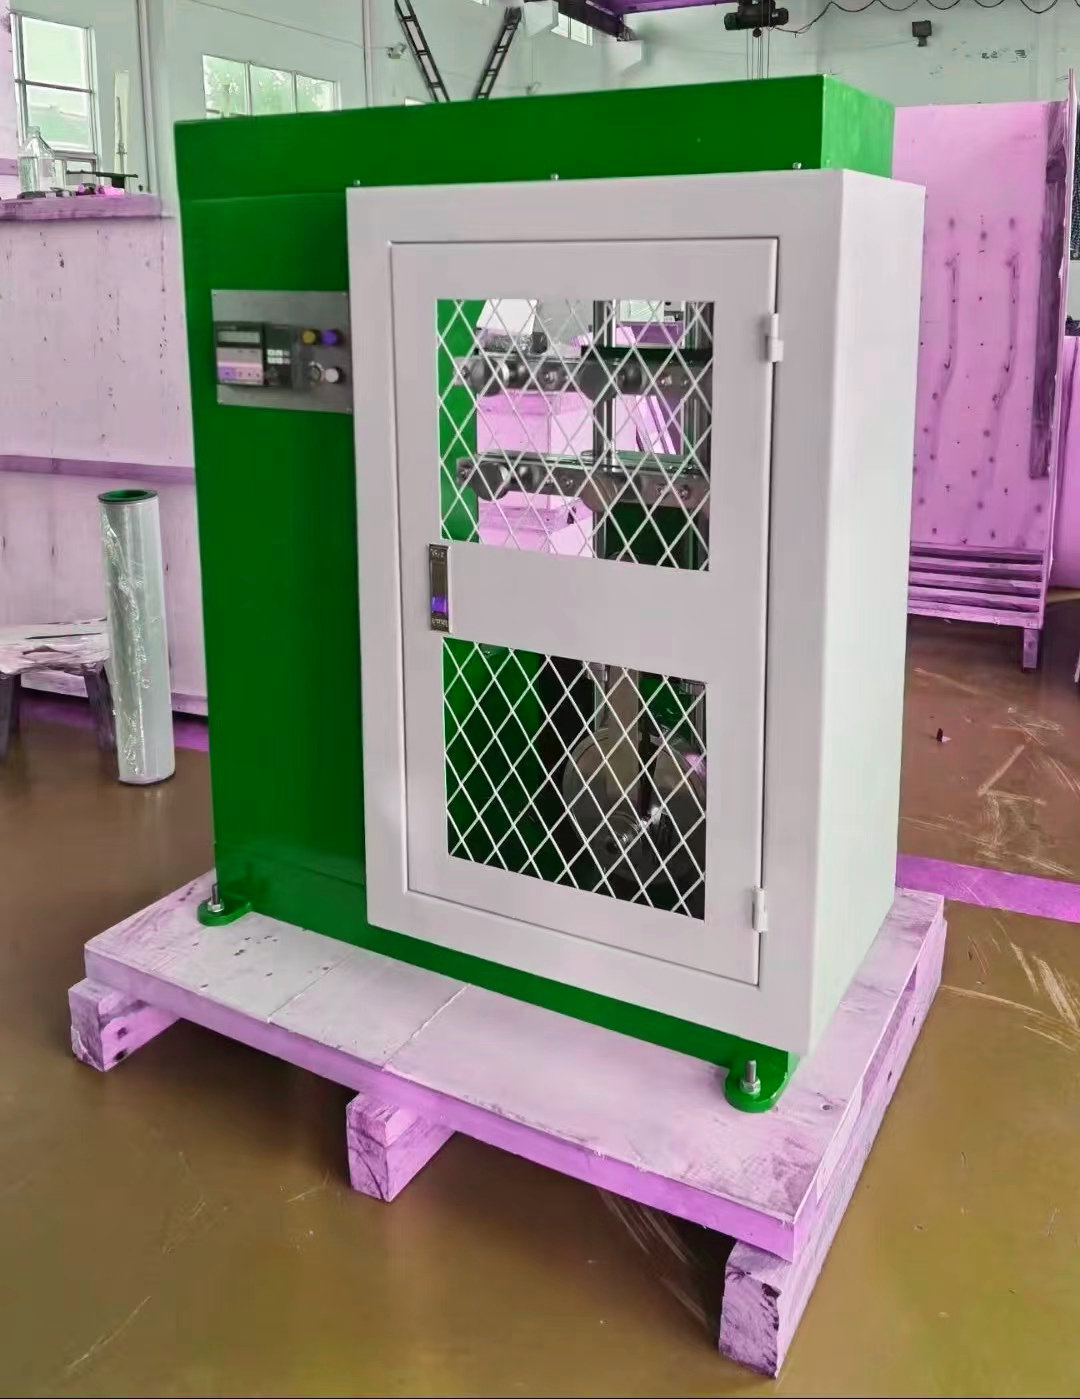
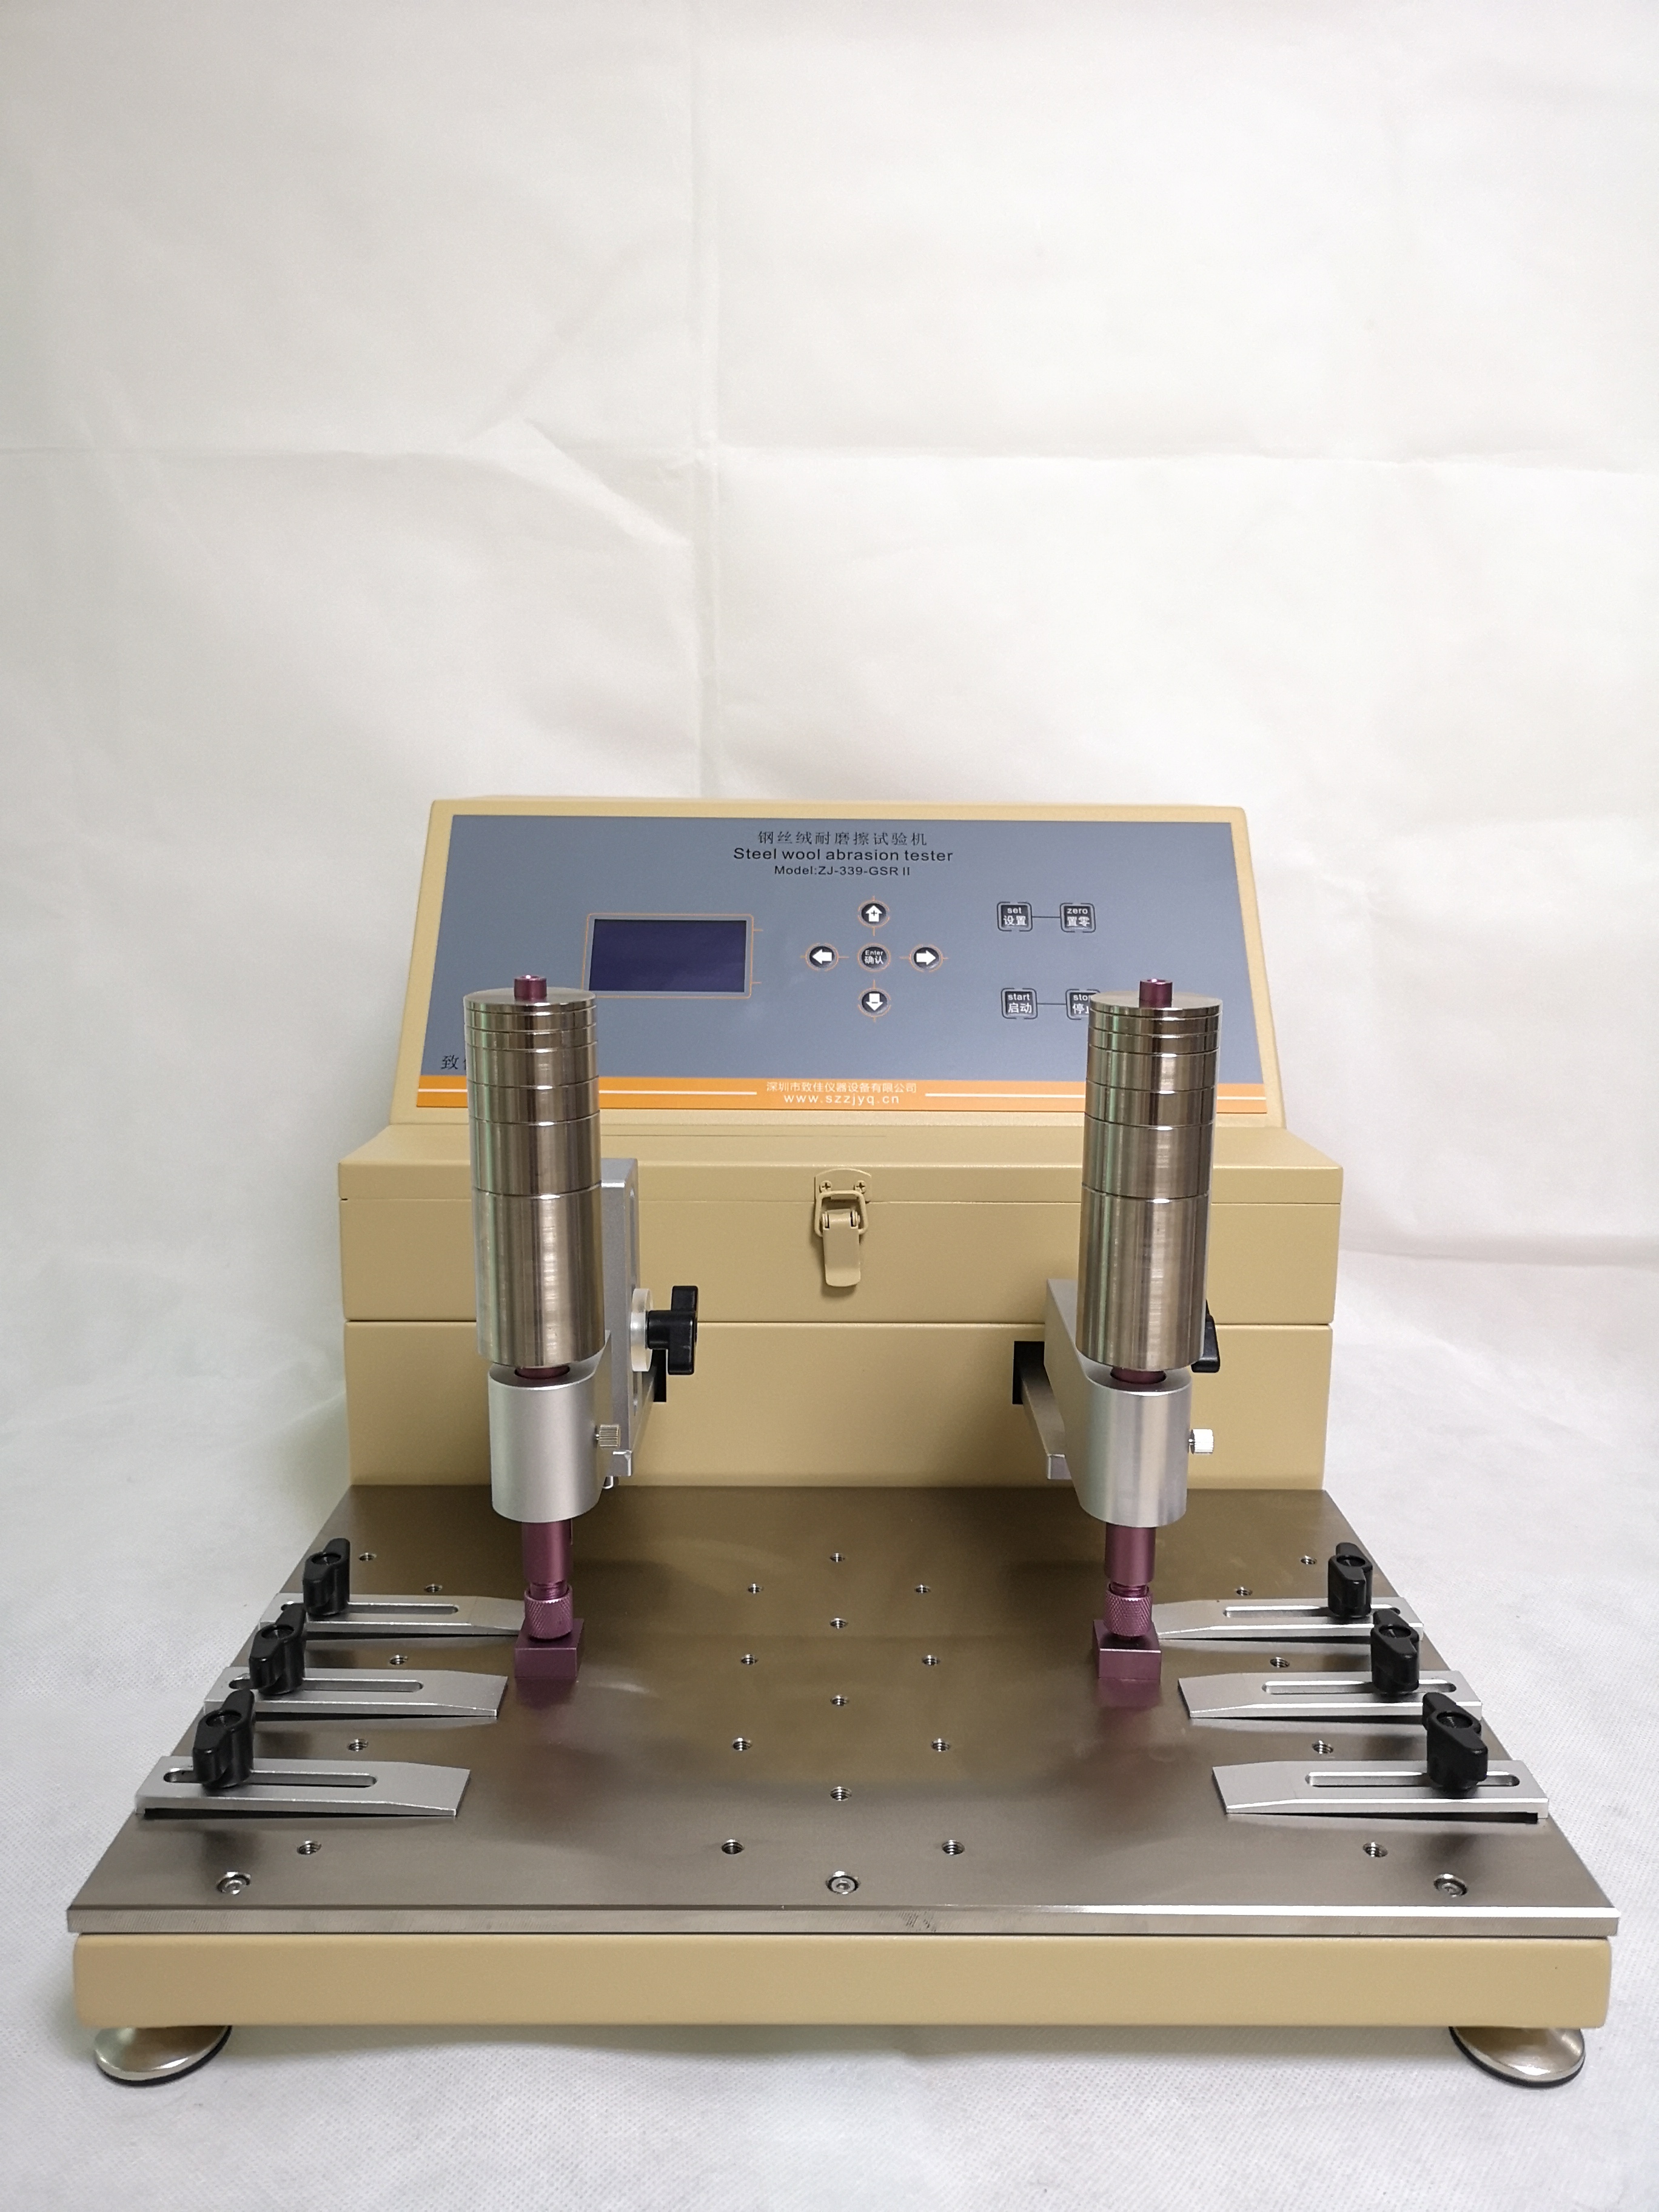
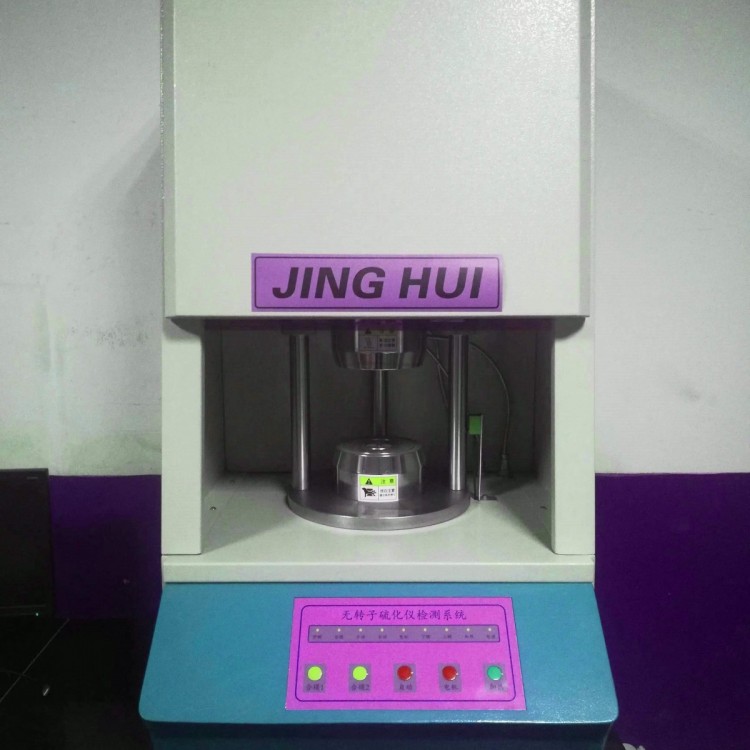
Two,Fatigue Test MachineStructure
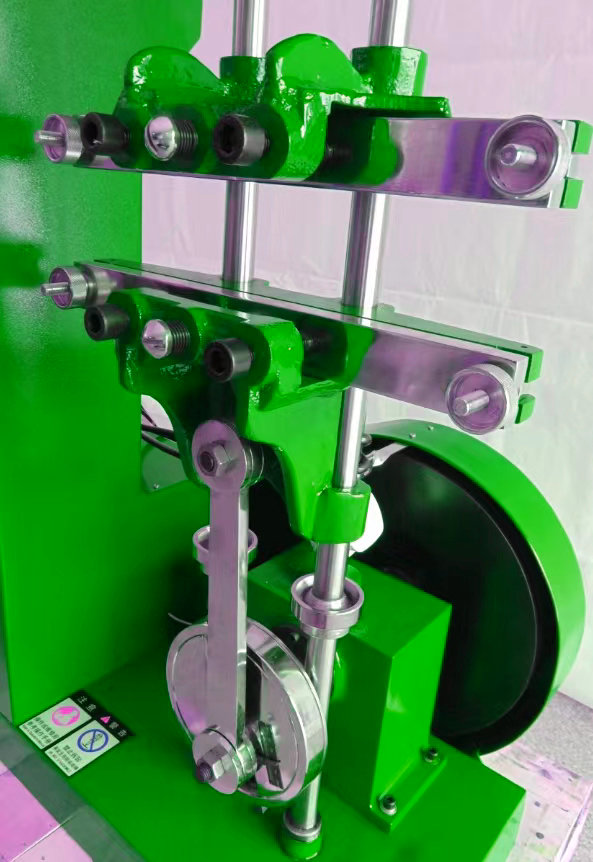
This unit is composed of main components such as the base, slider column, upper and lower clamps, pillar, top cover, connecting rod transmission, eccentric wheel, etc.
The machine base is equipped with two sliding columns, fixed by the top cover and pillars. The sliding columns are fitted with upper and lower clamps, where the upper clamp position can be adjusted anywhere on the sliding column. After adjustment, it is secured with two screws on the back. The lower clamp is connected to an eccentric wheel by a lever, allowing the lower clamp to move up and down reciprocally as the eccentric wheel rotates. The eccentric disk surface features a scale from 0 to 5, adjustable over a distance of 50mm. This is driven by an electric motor at a speed of 300 rpm, thus the lower clamp moves 300 ± 10 times per minute.
During operation, stop and observe the cracking degree of the rubber specimen after every 10,000 rotations (i.e., after the gripper reciprocates 10,000 times), to assess the specimen's cracking performance.
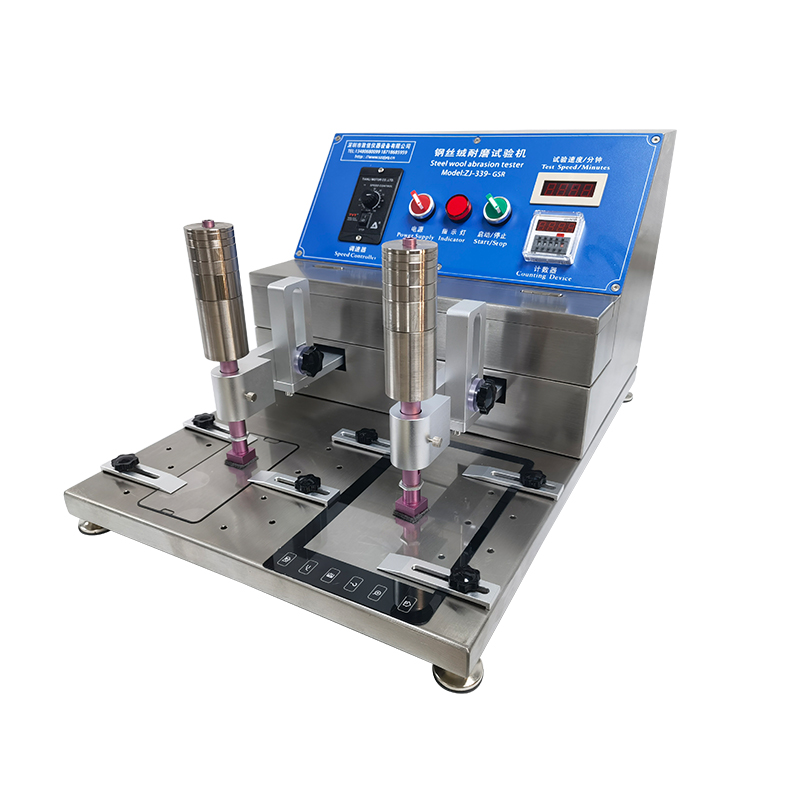
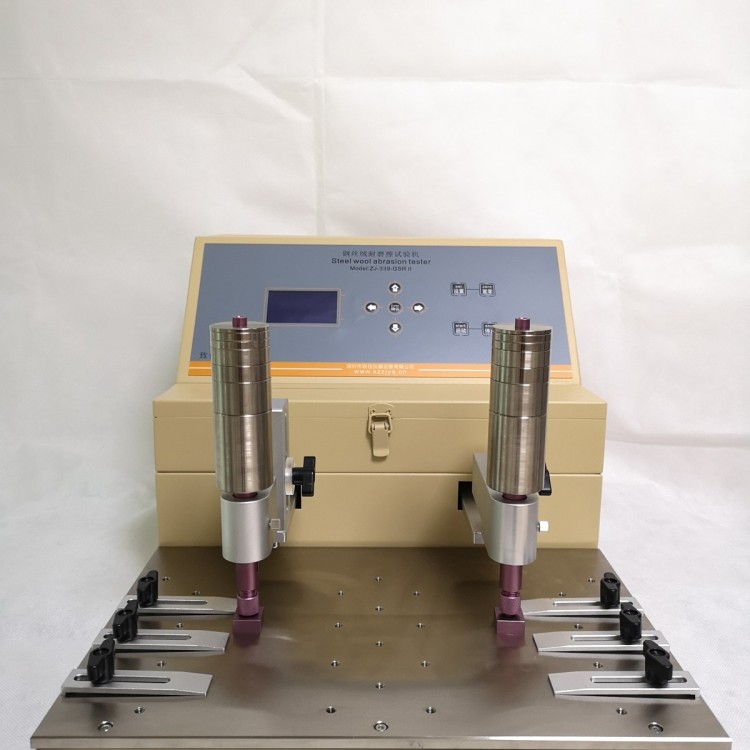
Section 3:Fatigue Test MachineOperation Panel Overview
1、The display window shows four readings, indicating the motor's RPM, ranging from 0 to 9999, with the unit being rotations.
2、There are a total of seven function keys on the front panel of the instrument. Below is a brief introduction to their functions:
"Set Parameters" button: Press this button to enter the parameter setting mode. The last digit on the display will blink. Press the "△" button to select a number; after setting the last digit, press the "←" button to move to the tens place, then press the "△" button again to select a number; do the same for the hundreds place. Once the parameters are set, press the "Set Parameters" button once more to exit the setting mode. The system will then default to the set values, ready for zeroing.
"△" key: Numeric selection key.
"←" key: Left and right shift key.
"Zero" button: Pressing this button will automatically reset the system, setting the panel to zero.
"Pause" button: For example, if the original setting is to 500, and the system is working at 250, the staff needs to go out. They would press the "Pause" button. The system will retain the value: When the staff returns, they press the "Start" button, and the system will continue working until it reaches the system default of 500, at which point it will stop.
"Stop button: Pressing this button will stop the system from operating, and the panel will reset to zero."
"Start" button: Once the parameters are set, press this button to begin the motor operation.