


Specific precautions
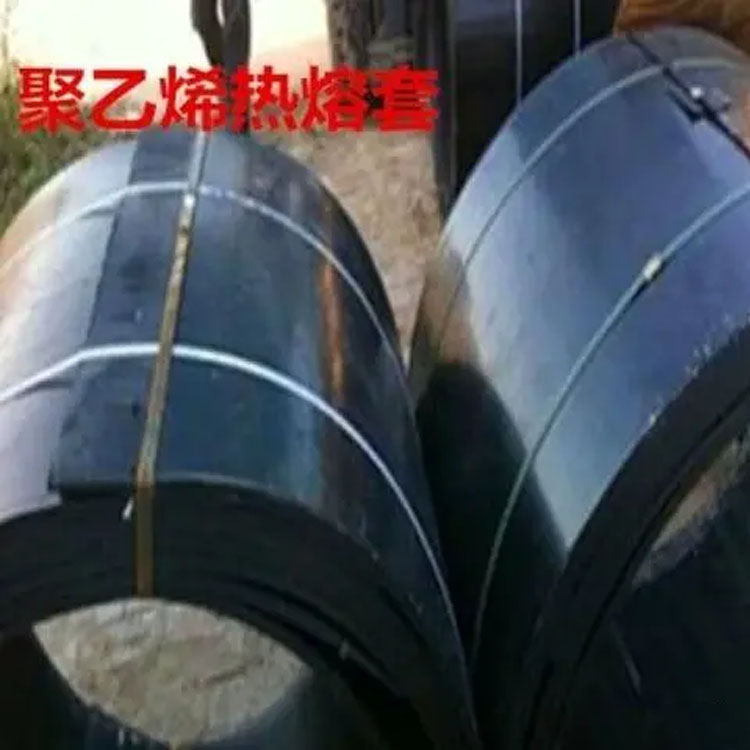
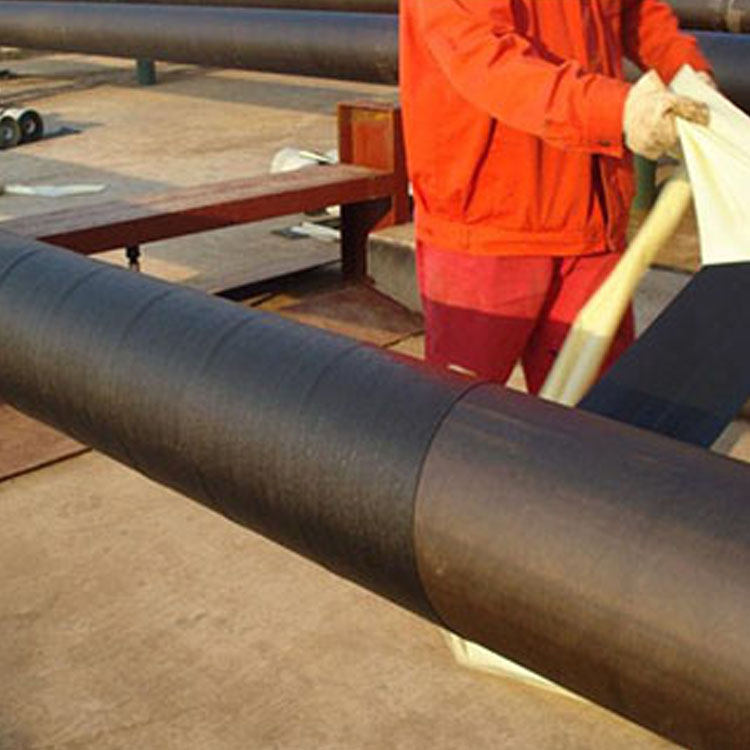
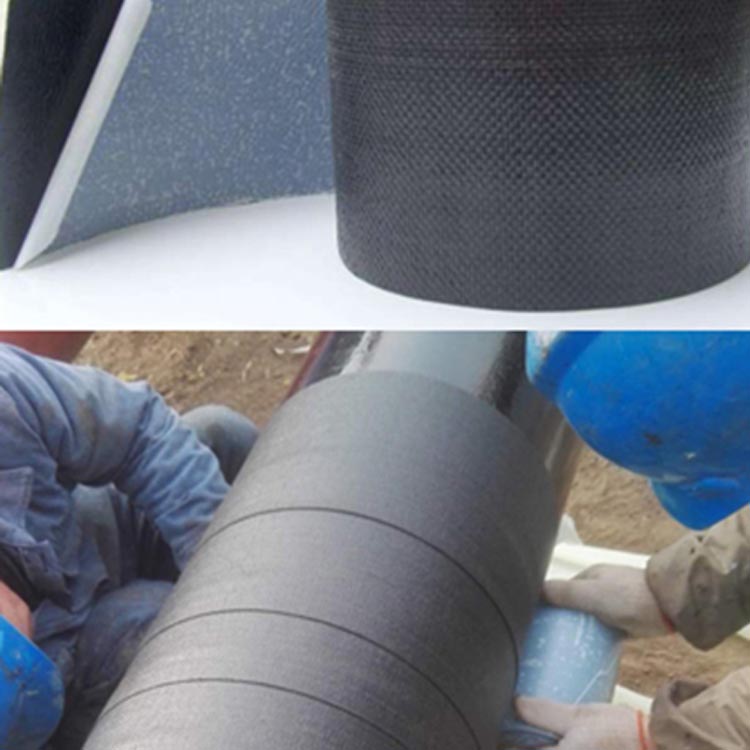
Inspect the pipeline and electric heat shrinkable tape for any damage.
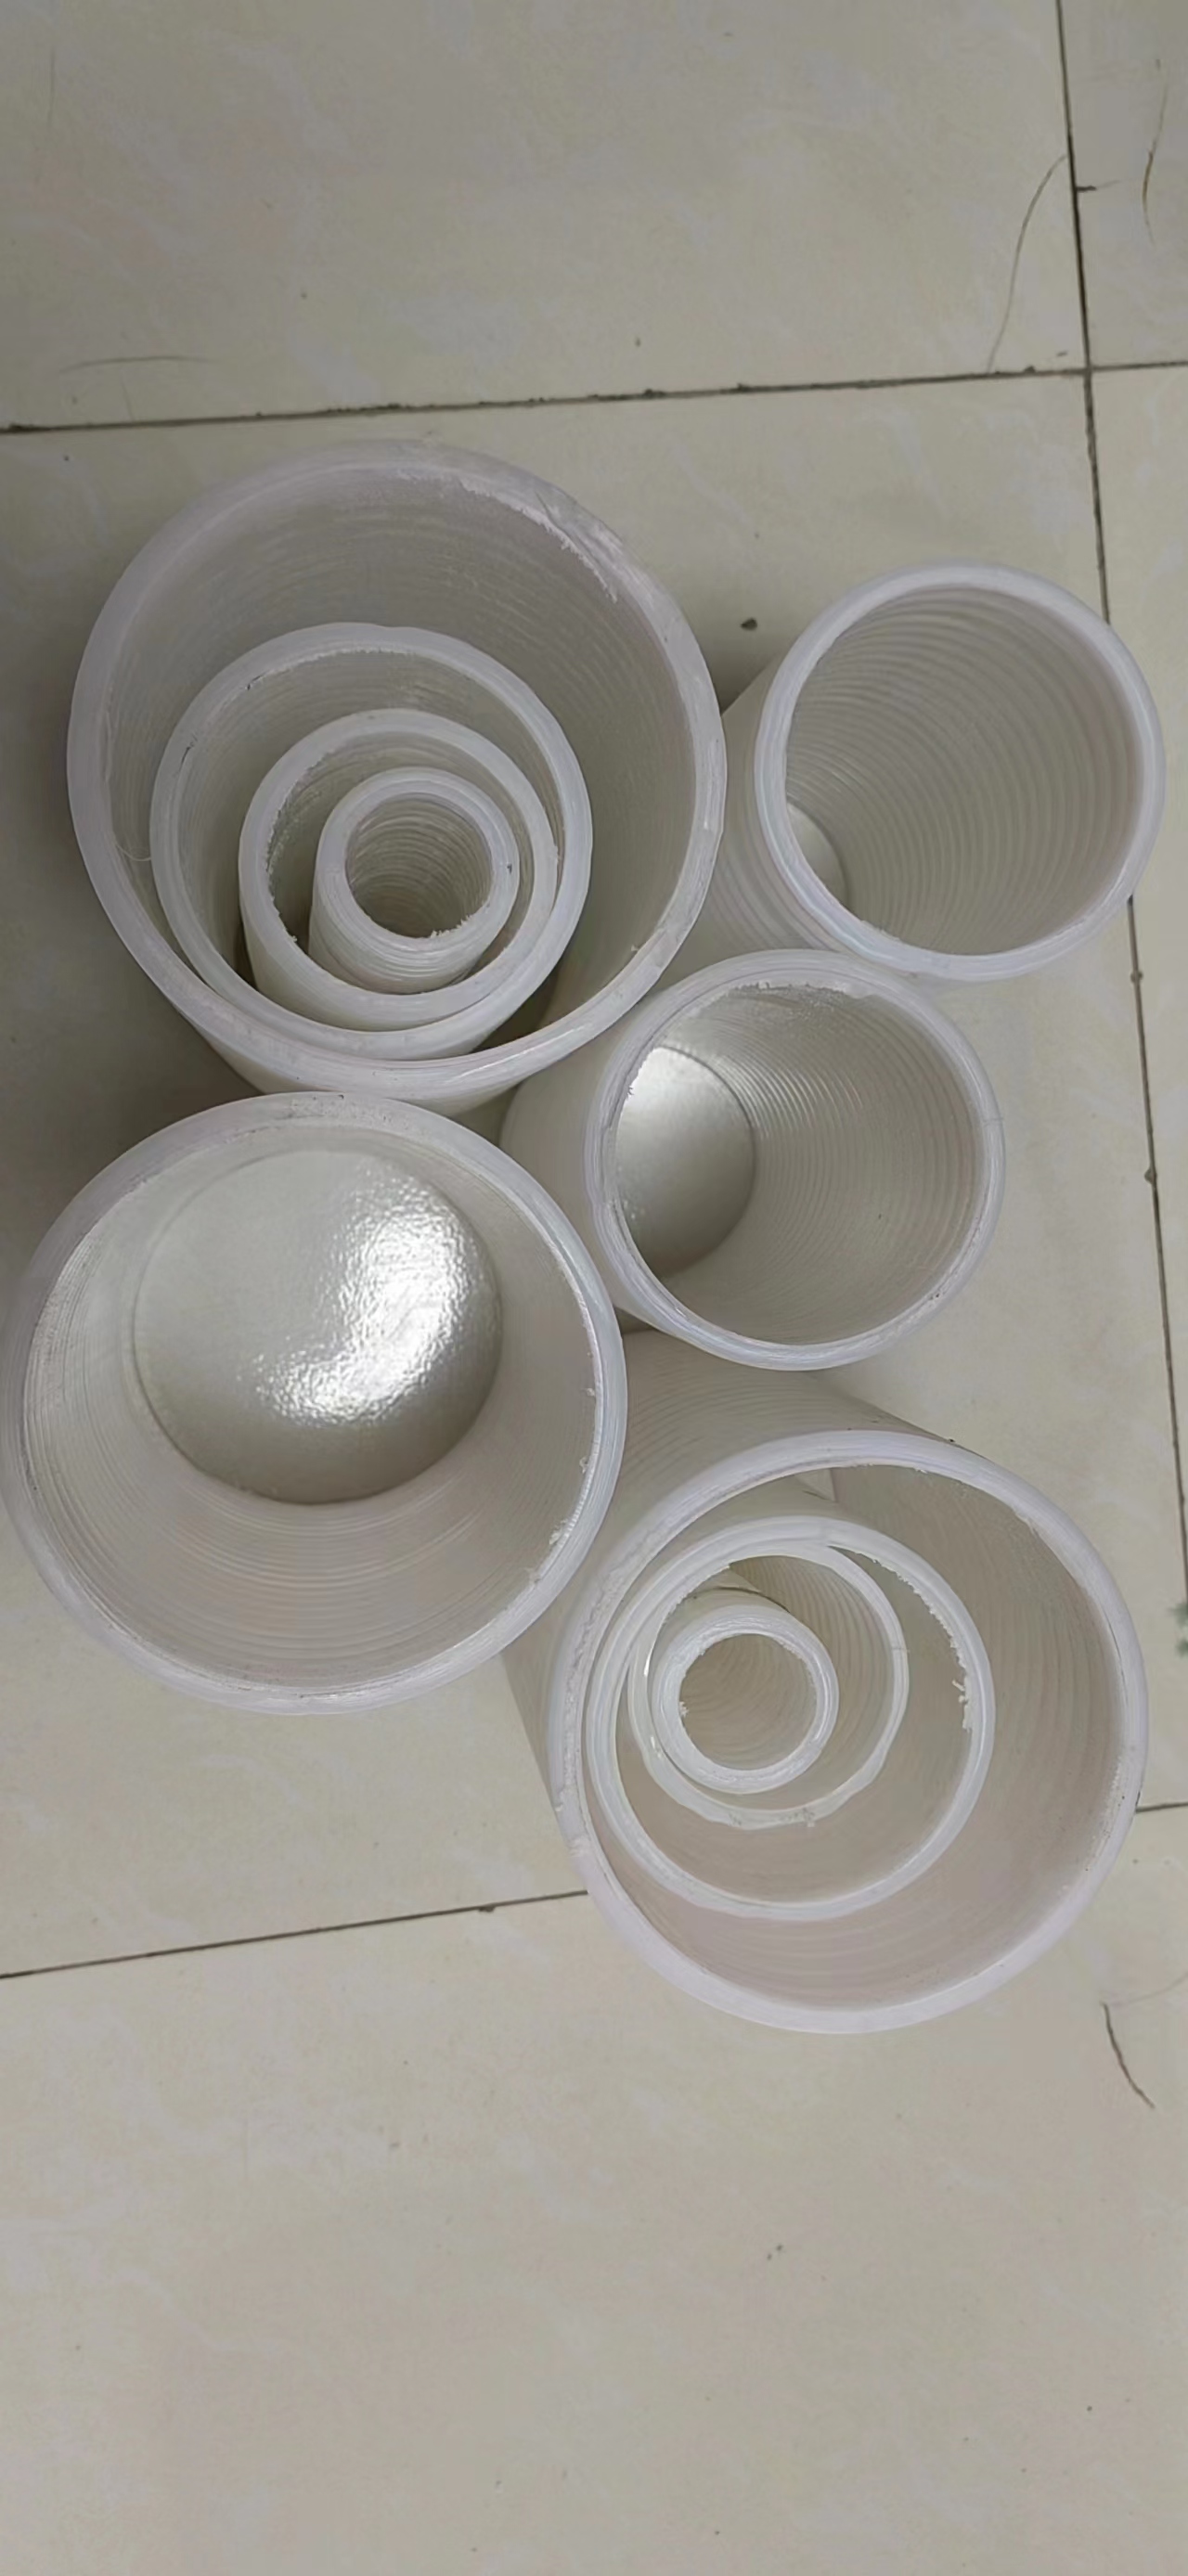
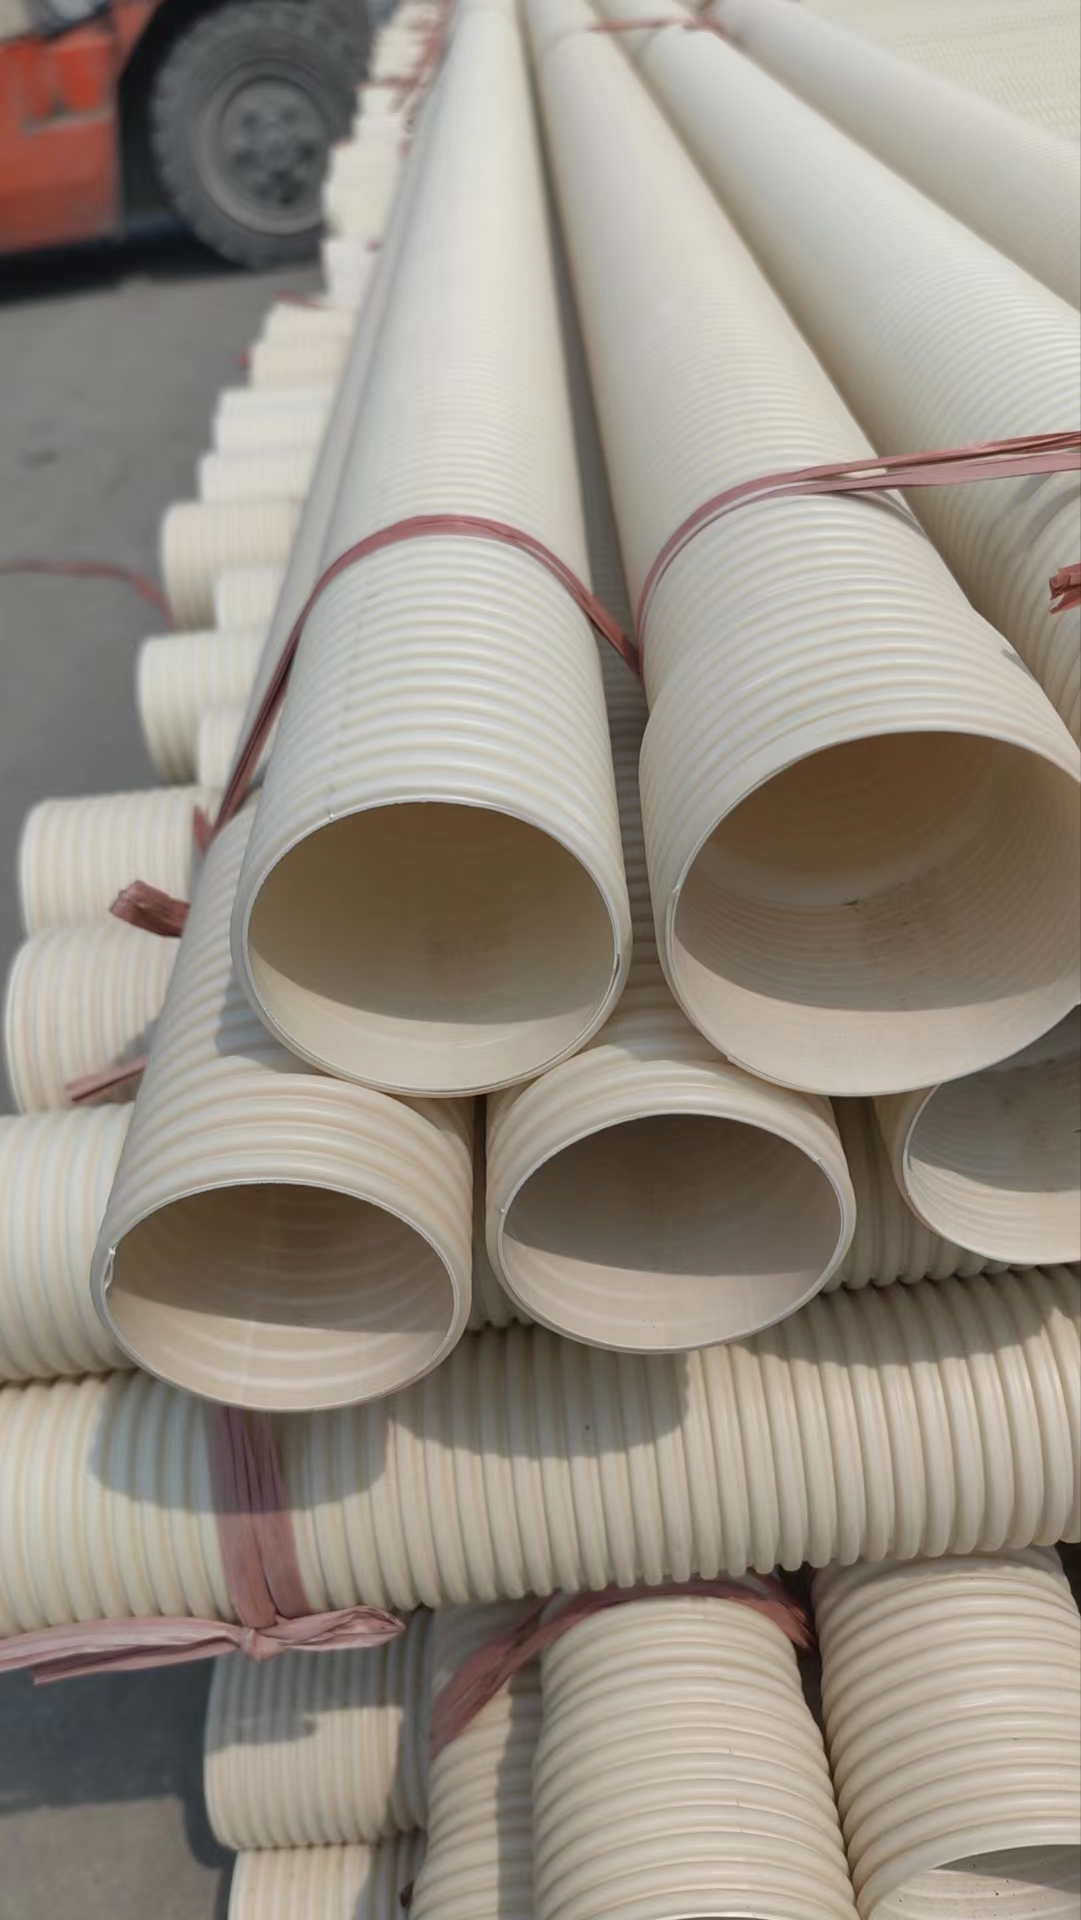
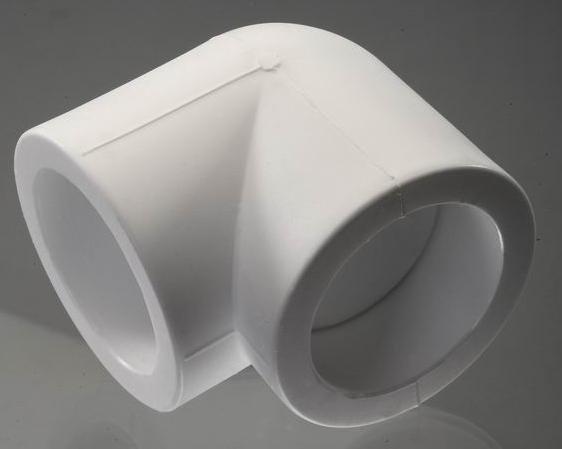
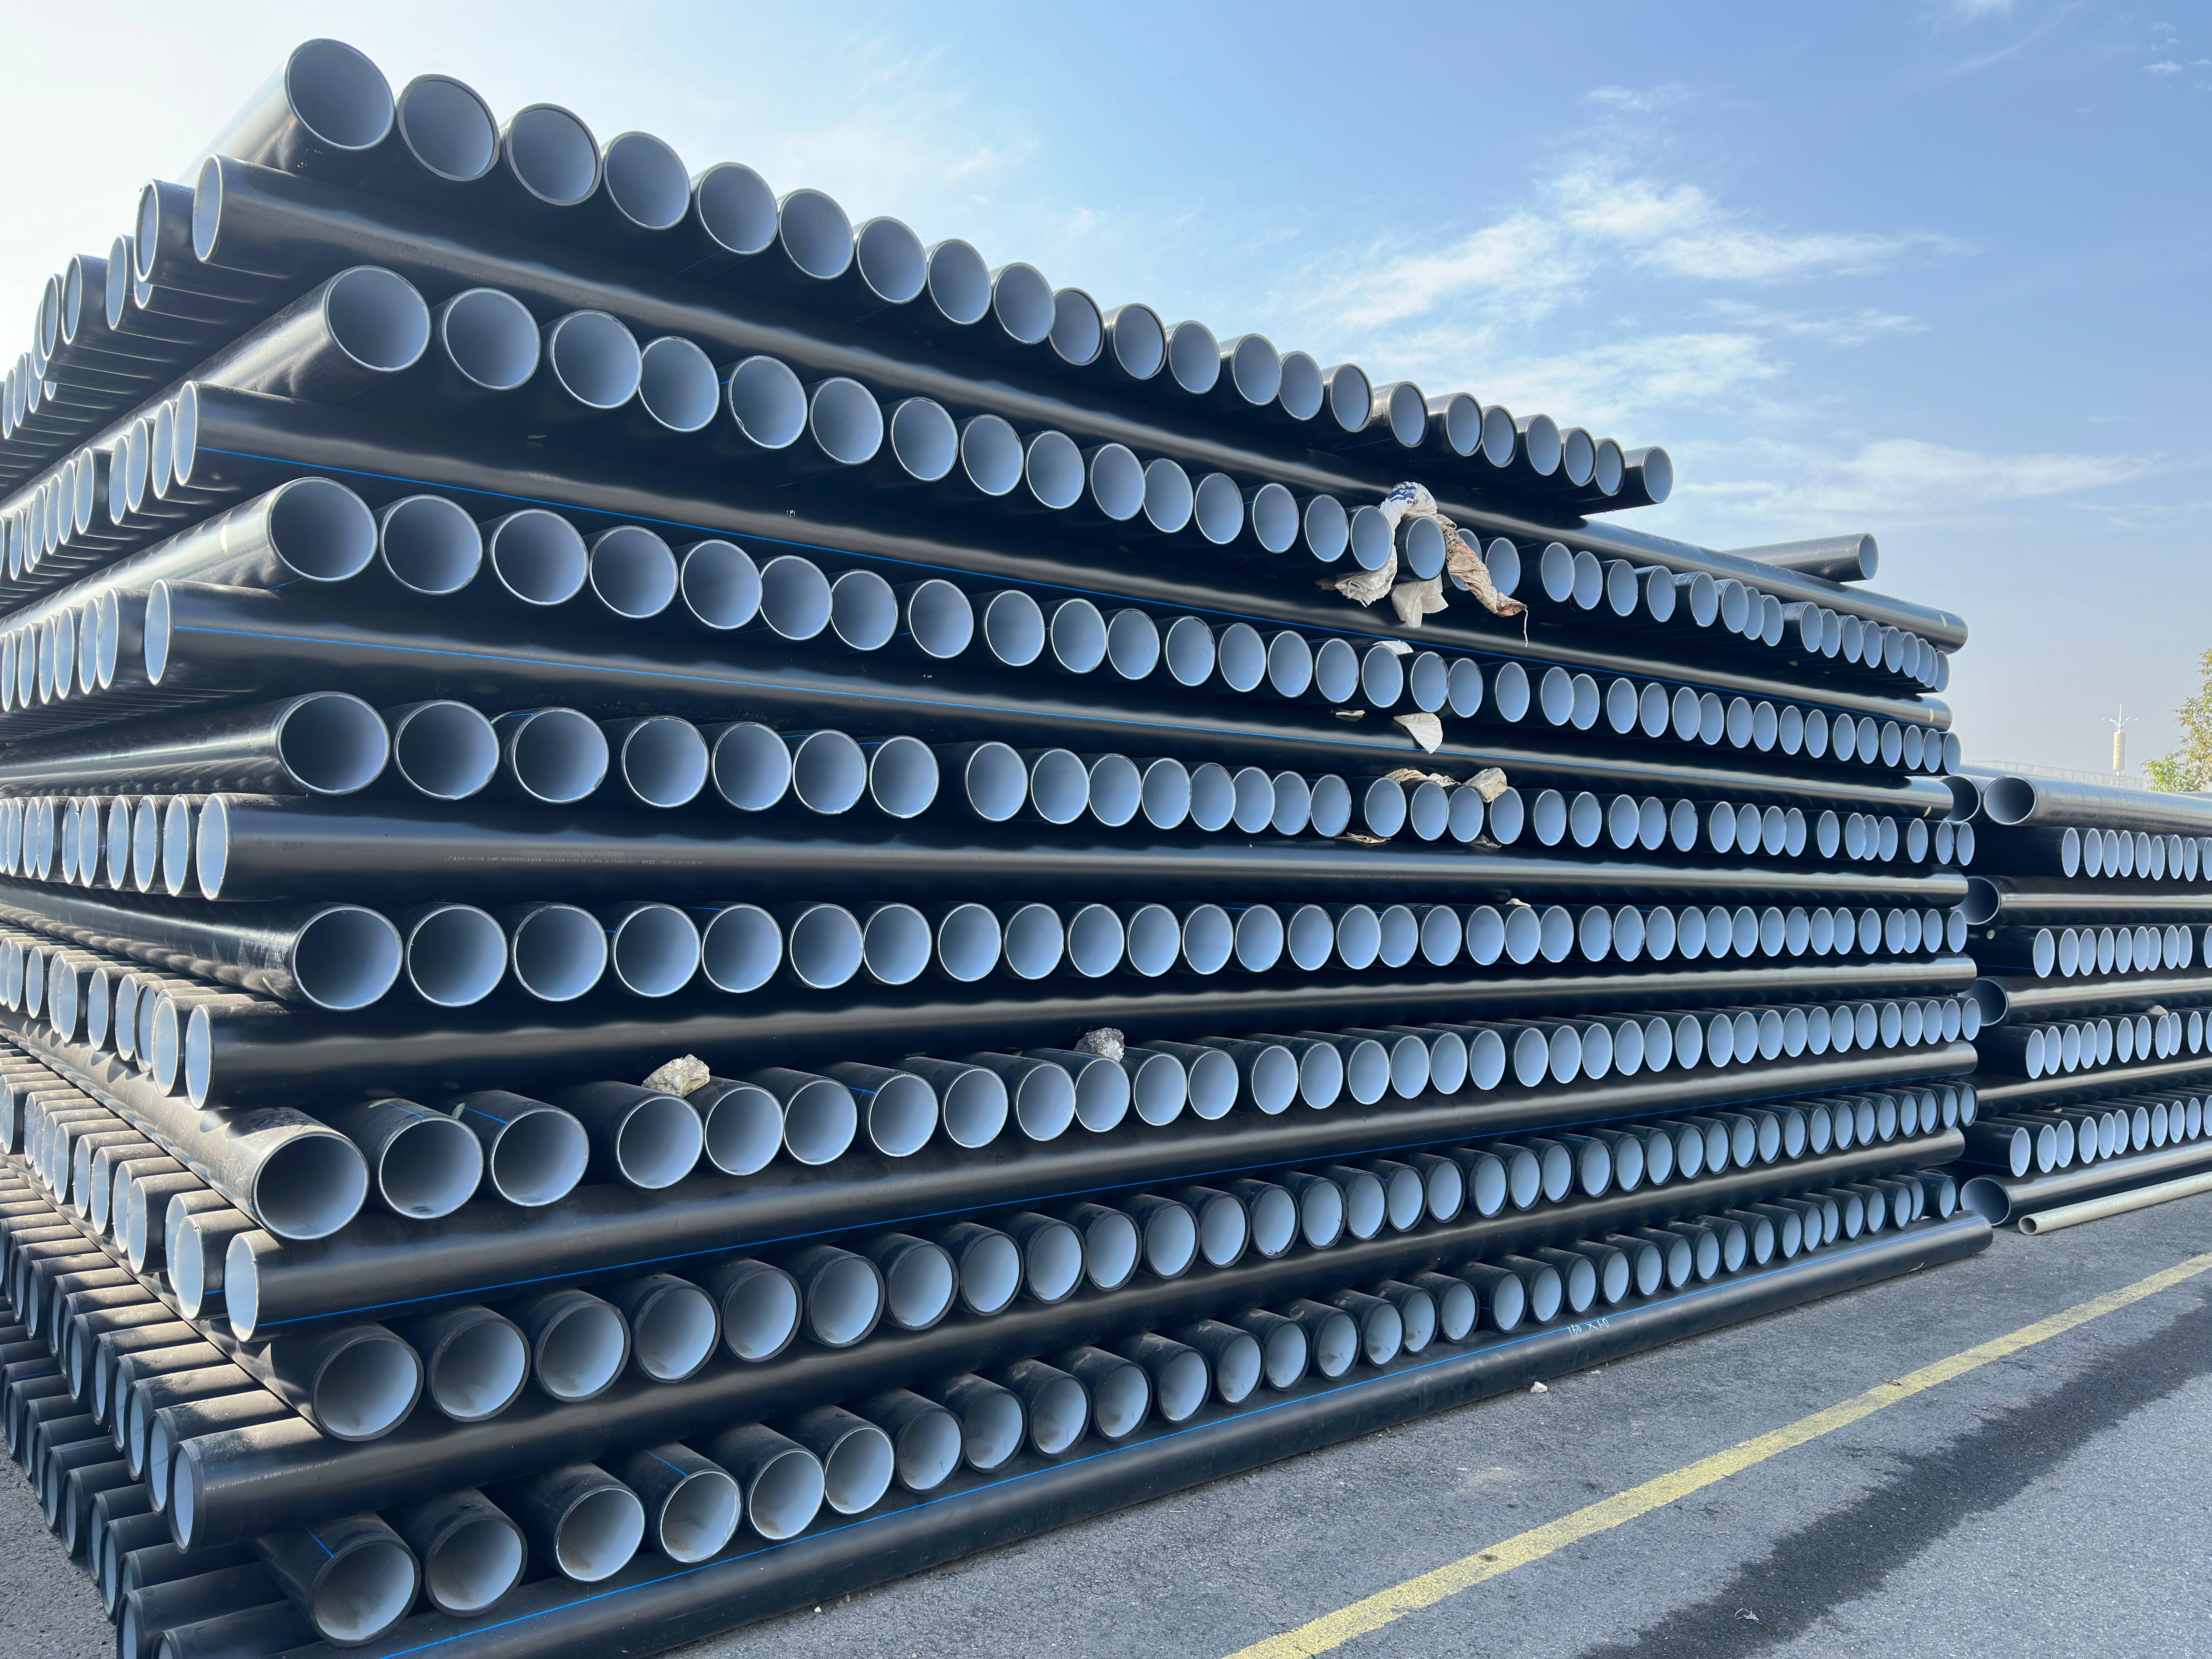
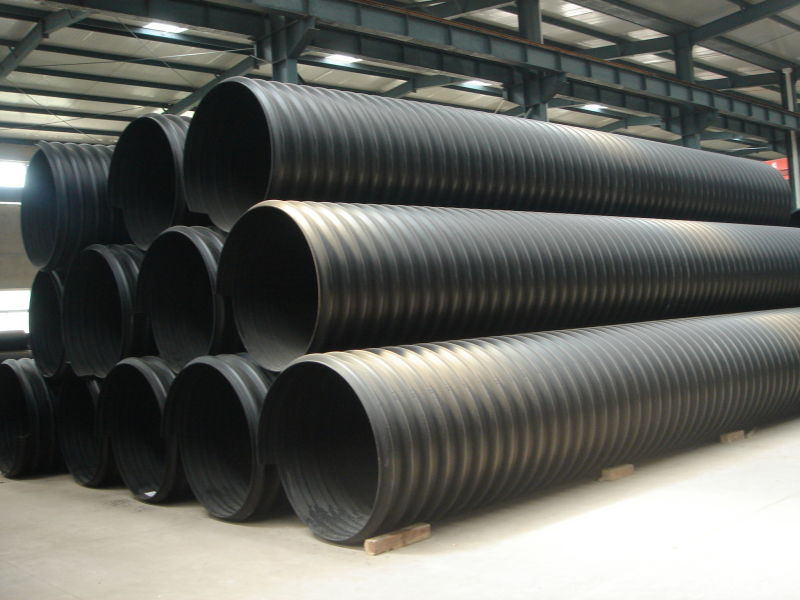
Align pipes and clear debris
3. Position the connected pipe 20-30 cm above the ground using a horizontal rod or sandbags (for installations with an operational trough in the foundation, the pipe can be placed directly on the foundation), and align it horizontally.
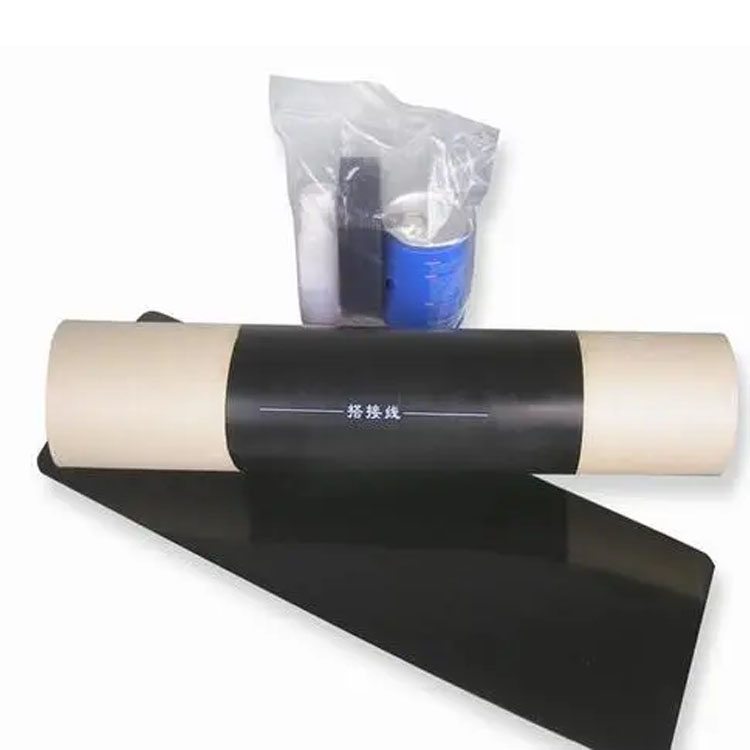
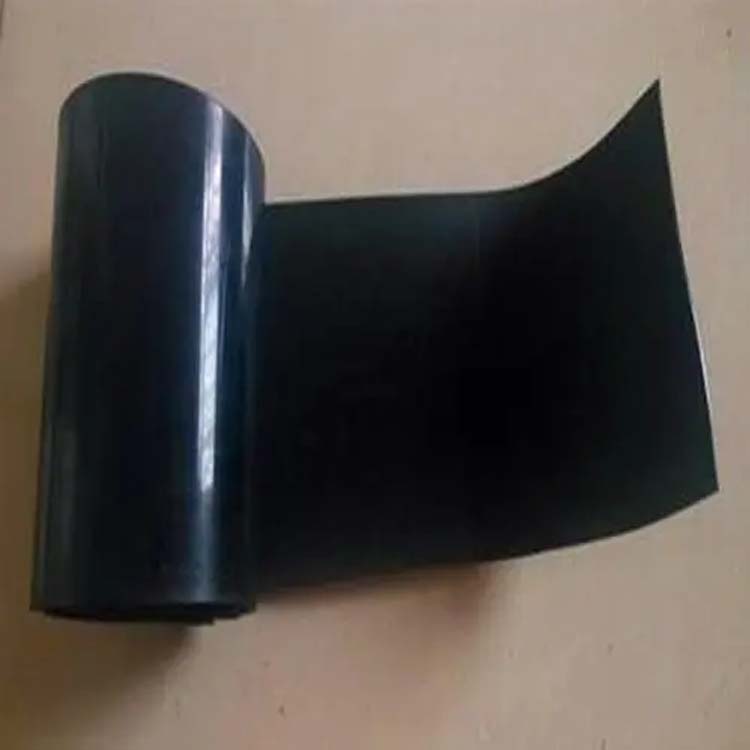
4. Thoroughly clean the exterior surface of the pipe and the interior wall of the electric heat fusion band of debris (including moisture and gas). Oil污 can be wrapped tightly around the horizontal alignment of the pipe sections to be connected, with the end of the connecting line on the inner circle. The PE rod should also be inserted at this end, inserted from both sides, close to the end. Insert about 50mm below D400, and about 50-100mm above D450.
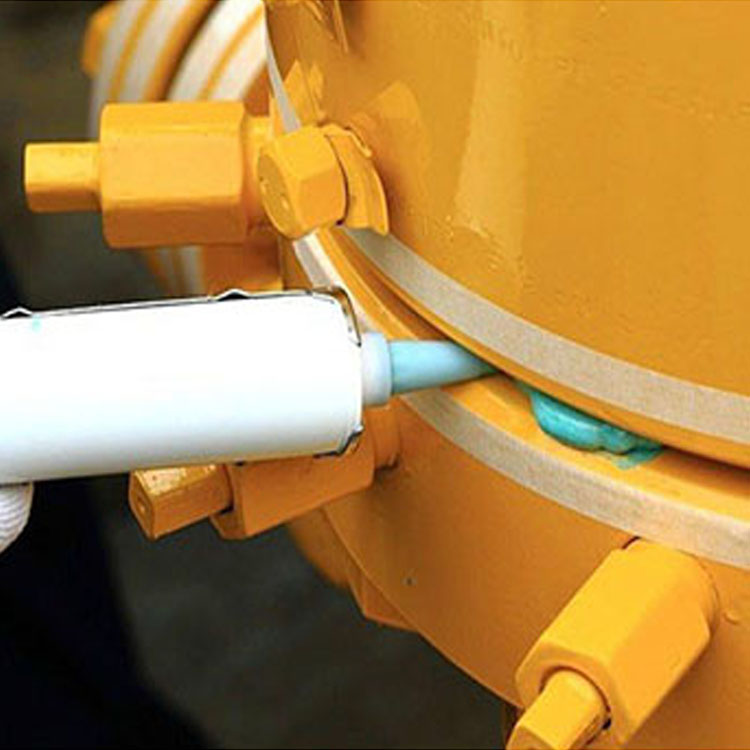
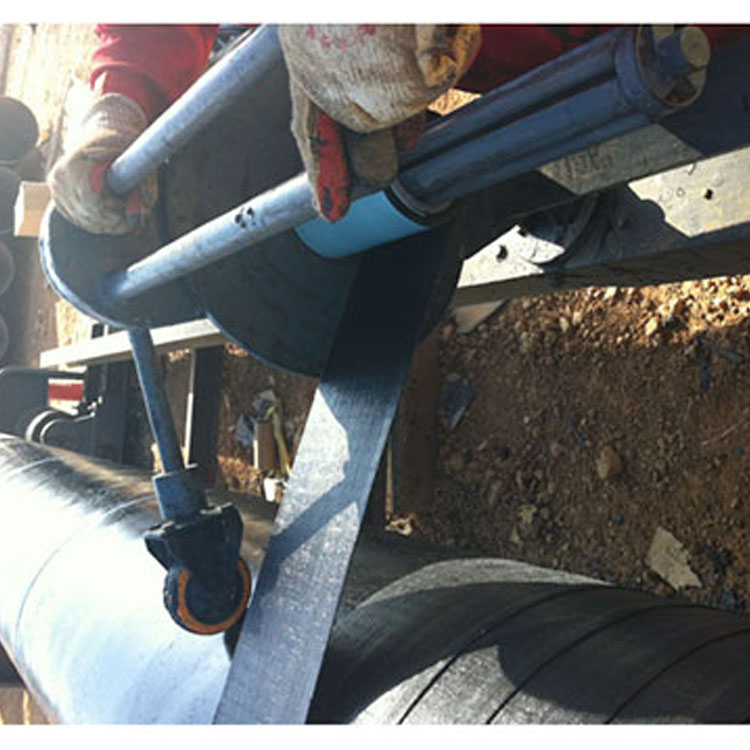
6. Wrap the outside with cotton binding ties, secure with a locking device to ensure the heat shrinkable tape is tightly adhered to the pipe wall. Align the edge of the binding ties with the edge of the welding plate. (Steel ties and U-bolt clamps may also be used.)
7. Connect the clip on the welder's output wire terminal to the connection end of the electric heat shrinkable tape.
8. Set the time and voltage on the electric fusion welder, and proceed with the welding as per the fusion welder's operational guidelines. After the welding time ends, remove the connecting clip, and then tighten the clamp by approximately 1/4 to 1/2 turn.
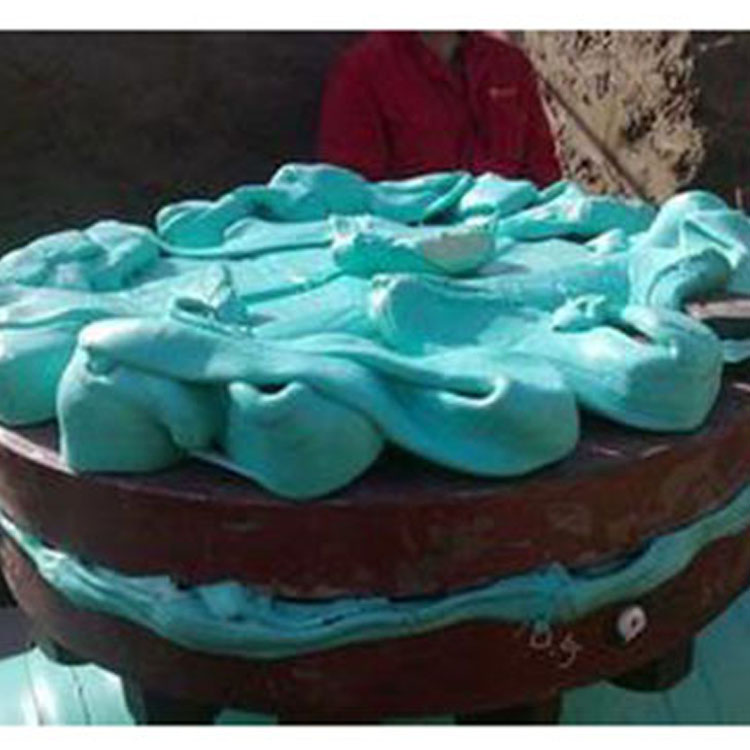
9. Upon completion of the welding time, the buzzer sounds, the power automatically shuts off, and the cooling time begins. During this period, with the wiring disconnected and the steel buckle and clamp securely fastened, the cooling time is typically 20 minutes in summer and 10 minutes in winter. During the cooling phase, the next interface welding can be initiated.
10. After a certain cooling period, open the steel buckle and inspect the welding condition.
Outer Diameter of Steel Pipe: mm, Outer Diameter of Sleeve: mm, Width: mm, Thickness: mm