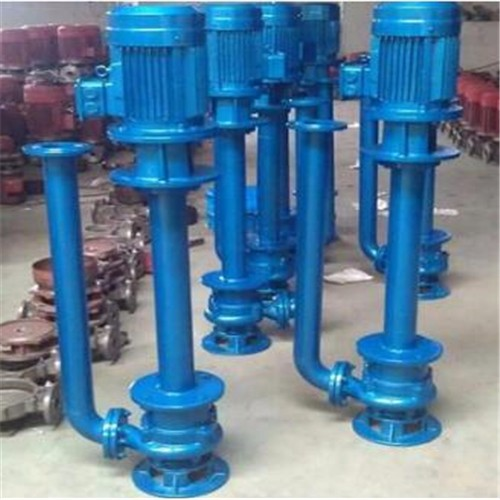


Start, stop, and operation of submersible pumps
1. Start and Stop
(1) Observe whether the installation foundation of the pump is stable and whether all component bolts are tightened.
(2) Check if the axial clearance of the pump has been adjusted properly (if there is no friction sound when turning the coupling).
(3) Inject calcium based butter into the oil label.
(4) Check if the motor rotation direction is correct.
(5) Start the motor, open the pressure gauge plug, and adjust the gate valve opening to the desired range when the pump is operating at full speed.
(6) When the pump stops working, the motor should be stopped first, and then the pressure gauge plug should be closed.
(7) When the pump stops running for a long time, it should be disassembled, wiped clean, coated with anti rust oil, and stored properly.
2. Operation
(1) The temperature of the pump bearing should not exceed 35 degrees Celsius above the external temperature, but the higher temperature should not exceed 75 degrees Celsius.
(2) The oil cup should be filled with calcium based butter to ensure proper lubrication of the bearings.
(3) The grease in the motor support oil cup should be replaced within one month of operation or after 100 hours of operation, and then every 2000 hours of operation thereafter.
(4) Regularly check the elastic coupling and pay attention to the temperature rise of the motor bearings.
(5) If any noise or unusual sounds are detected during the rotation process, the vehicle should be stopped immediately for inspection.
(6) The pump should undergo periodic inspection every 2000 hours of operation. The wear of the gap between the impeller and the pump body (or pump cover) should not be too large, and the larger value of the gap should not exceed 1.5 millimeters. If it exceeds, the impeller or front cover can be replaced.
(7) When the pump is working for 6 hours, the machine seal should be checked and repaired or replaced according to the degree of wear, otherwise it will cause damage to the pump shaft and bearings.
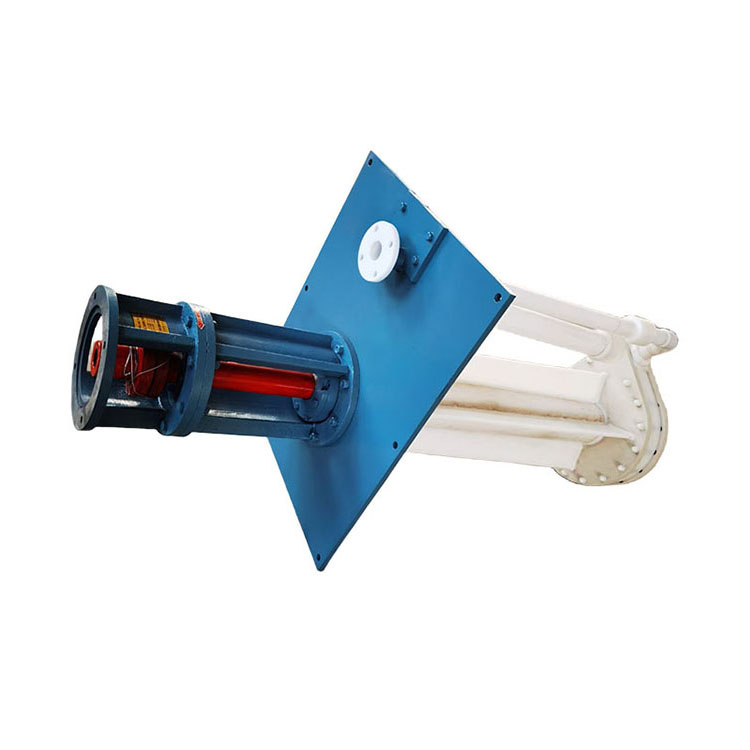
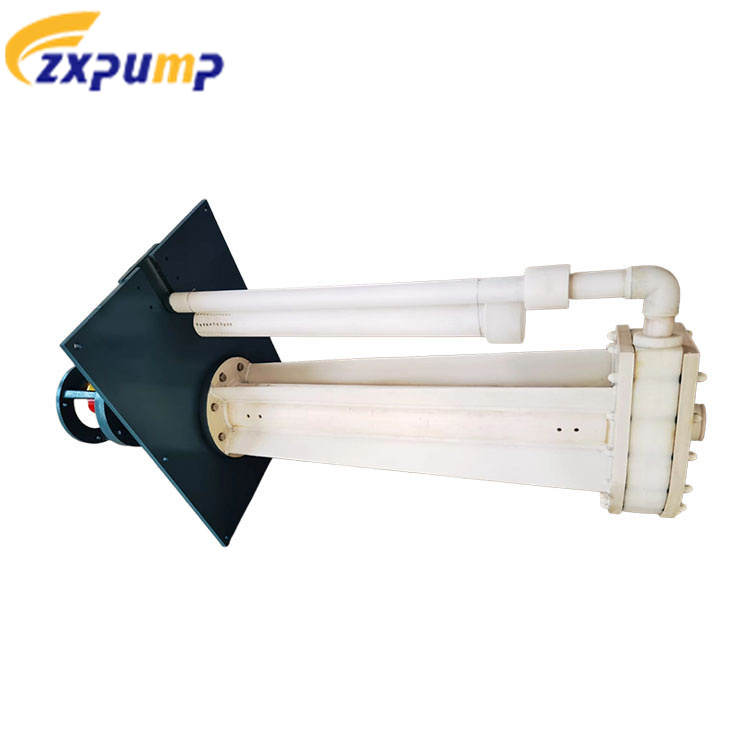
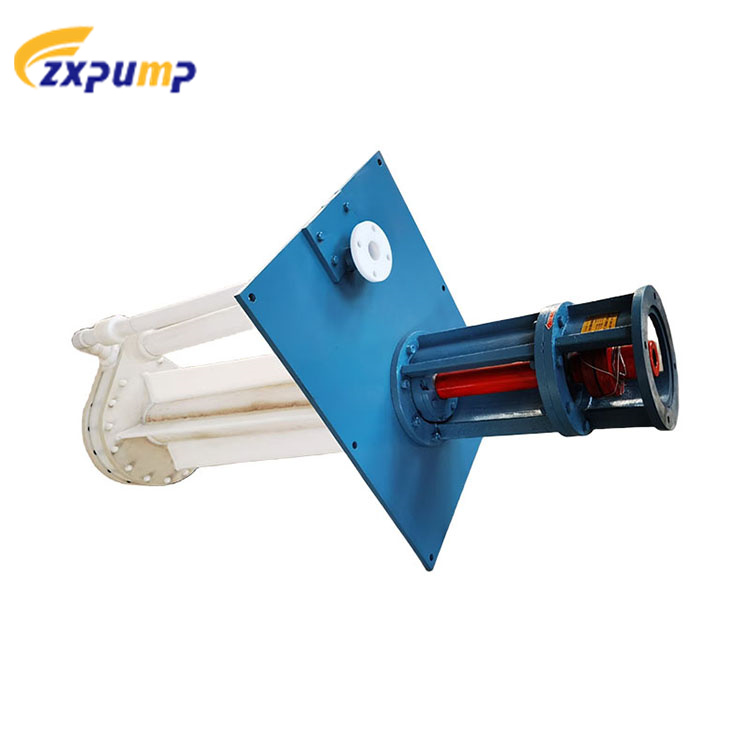
Assembly and disassembly
Traditional assembly sequence of submersible pump:
1. Install the bearings separately on the bearing box and bearing seat.
2. Install the felt ring onto the bearing end caps A, C, and bearing box.
3. Install bearing end caps B and C onto the bearing seat and tighten them with bolts.
4. Thread the bearing box with the installed bearings onto the shaft, tighten the round nut, and fasten the bearing end cover A onto the bearing box.
5. Install the shaft into the bearing seat, fix it with bolts, tighten the adjustment screw, and install the bearing on the support seat. Place the water blocking ring in the appropriate position at the lower bearing.
6. Fix the connecting pipe on the bearing seat and install the pump cover at the lower part of the connecting pipe. Install the impeller at the lower part of the shaft and tighten it. Install the pump body front cover in sequence and fix it with bolts. Use the adjustment screw at the bearing box to adjust the gap between the impeller and the front cover (controlled within 1-1.5mm). After adjustment, tighten it with nuts and bolts.
7. The motor support is installed on the bearing seat and fastened with bolts. A coupling component is installed at the upper end of the shaft, and the motor coupling is fastened to the motor shaft head with fastening screws. The motor is installed on the motor support and fastened with bolts and nuts.
8. Install the asbestos pad, outlet elbow, and outlet pipe fittings in the production sequence of the pump, and fix them on the support seat.