Low-temperature恒温槽, Shaking Incubator, Centrifuge, Spray Dryer, Sample Pretreatment Equipment
19106728583
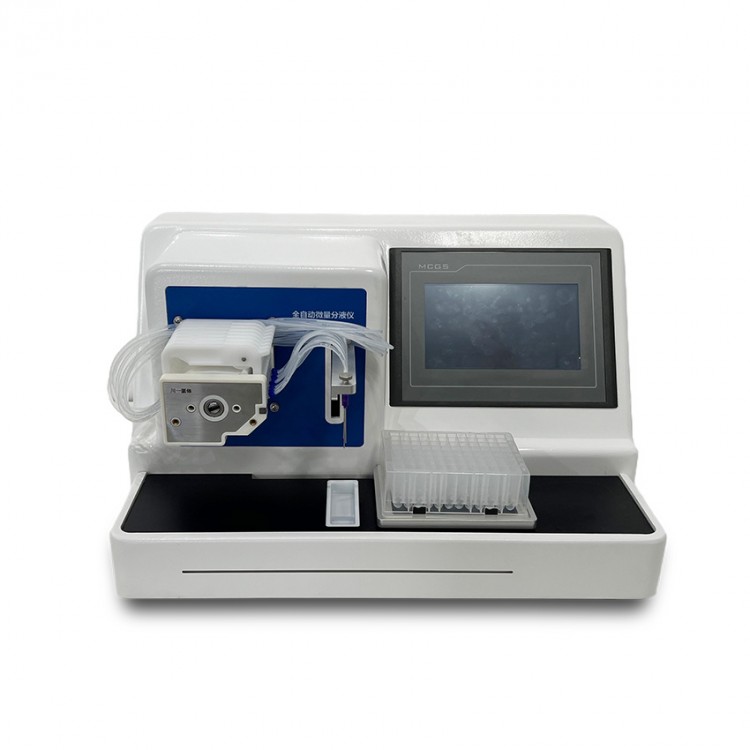
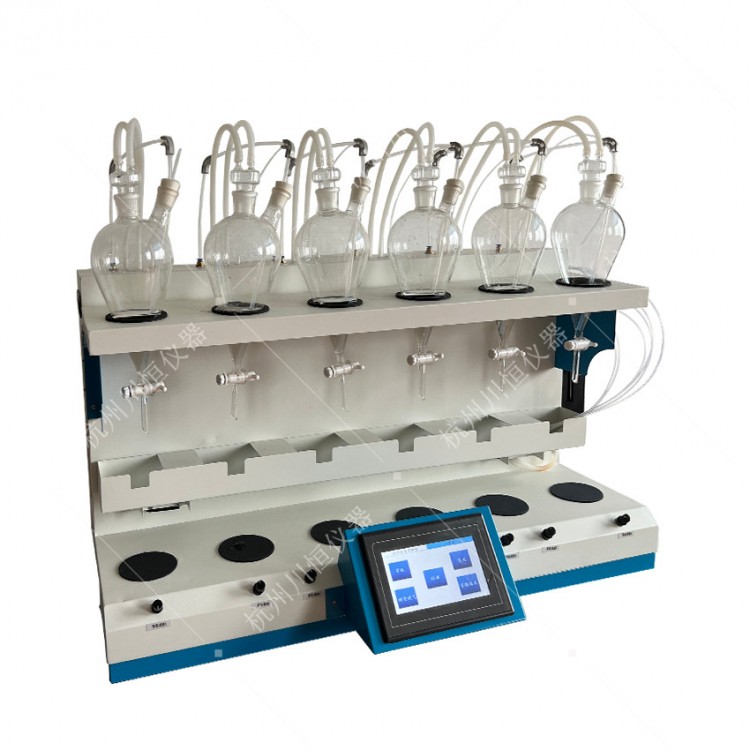
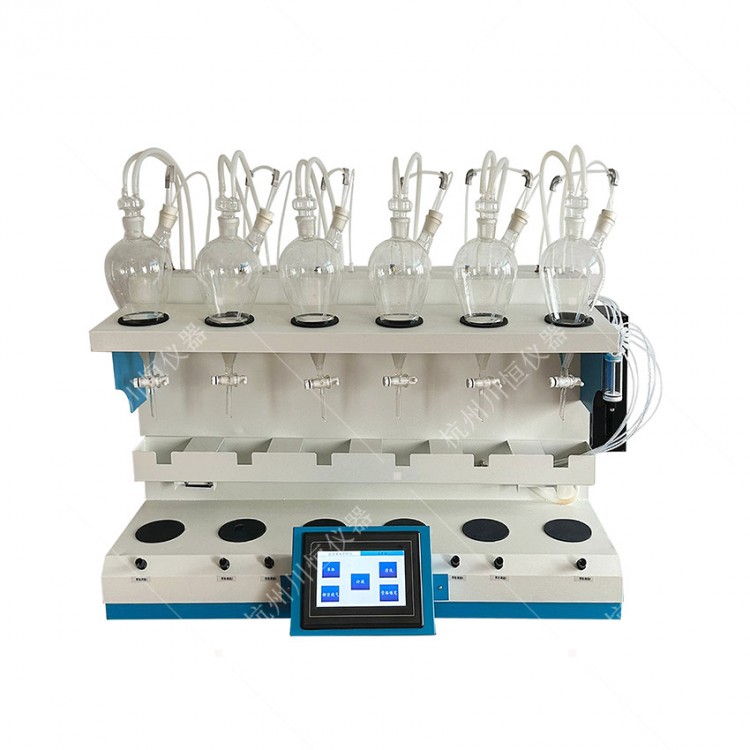
Install and secure the matching glass instruments on the provided glass device bracket.
2. Connect all the hoses. Re-familiarize yourself with the nitrogen blow control line (optional, only for SO2); the incoming and outgoing water lines for recirculating water (one incoming, one outgoing); anti-siphon lines (four or six vacuum relief valves); and the automatic cleaning lines.
3. Familiarize yourself with the main power switch on the panel, the touch screen (visible operation for startup), heating control (single temperature control for four or six channels; clockwise rotation increases the temperature, counterclockwise decreases it), and the stir control (single control for four or six channels, clockwise rotation increases the speed, counterclockwise decreases it).
4. Familiarize yourself with the main power socket on the right (for temperature control, stir control power) and the auxiliary power socket (for refrigeration, circulating water); and connect the power supply accordingly (220V, 50Hz).
5. Familiarize yourself with the main power switch on the right (power for temperature control and stirrer control), the auxiliary power switch (refrigeration and recirculating water), the recirculating water control switch, and the water addition switch. Before turning on the refrigeration and recirculating water, first connect the water addition plastic connector using a silicone tube, and insert the other end into the prepared clean bucket of water. Then, turn on the water addition switch, and the water will automatically be added. A water level gauge is located on the left side of the instrument's back, indicating the water level height. The ideal water level is the middle height of the water level gauge.
Turn on the main power switch (located on the left side of the panel).
7. Click "Intelligent Integrated Distillation Instrument"
8. Click "SO2Residual Volume Detector
9. Select "Formula Settings" from the bottom right corner of the main interface, and the following formula settings interface will appear (please note: Formula Edit--will change with the clicks on "Previous Mode" and "Next Mode", sequentially switching to "Ammonia Nitrogen", "Volatile Phenol", etc.; select and set the required test parameters as needed). Set the temperature and time for each channel according to the experimental requirements. (Because...SO2No weight requirements; set uniformly to 300 or 500 as needed (technical staff clarify this question).
Click to open "Heating Parameters" and set the heating parameters.
11. Once the formula is set, please follow the instructions in the image above by clicking "Save Parameters," then "Use Parameters." Afterward, click "Return" to reappear at the main interface illustration.
Click on the "Intelligent Integrated Distillation Instrument" logo, and the "Intelligent Integrated Distillation Instrument" interface will appear. Then, click "Start" (click "Previous Mode" -- "Next Mode" to select the formula number, for "Ammonia Nitrogen," "Volatile Phenols," etc.).
13. Click "SO2"Residual Detector" logo and illustration displayed.SO2"Open the 'Residual Quantity Detector' interface, then click 'Start' (click 'Previous Mode' -- 'Next Mode' to select the formula number, for 'SO2”
As shown in the above image, under the work interface, the main switch, auxiliary switch, and circulating water switch are all in the ON position. The display interface shows the pre-set "Recipe":. Clicking "Cooling" activates the refrigeration compressor; clicking "Circulating Water" initiates the circulation of condensate water within the condenser tubes (rotary wheel visible); clicking "Stirring" causes the stirrer to rotate within the liquid, with adjustable speed as required (speed control knob on the panel); clicking "Heating" individually heats each circuit, with adjustable temperature as needed (temperature control knob on the panel).
After the experiment is completed, turn off the main power switch on the panel first, then the main power switch on the right, followed by the auxiliary power switch and the recirculating water switch. Unplug the power cord.
16. If conducting another experiment, simply power on the equipment. If the formula settings remain unchanged, the process will proceed according to the original formula (highlighting its significant advantages of integration, comprehensive functionality, and ease of operation in the future).
Contact us

Service Hotline
18758857552
Company Telephone
19106728583

WeChat Number
19106728583

Address
No Chinese content provided.
b2b.china9.net © Zhongshang 114 Hebei Network Technology Co., Ltd.Address: Room 6009, Oriental New World Center, No.118 East Zhongshan Road, Qiaoxi District, Shijiazhuang City, Hebei ProvincePlatform Service Hotline: 4006299930