


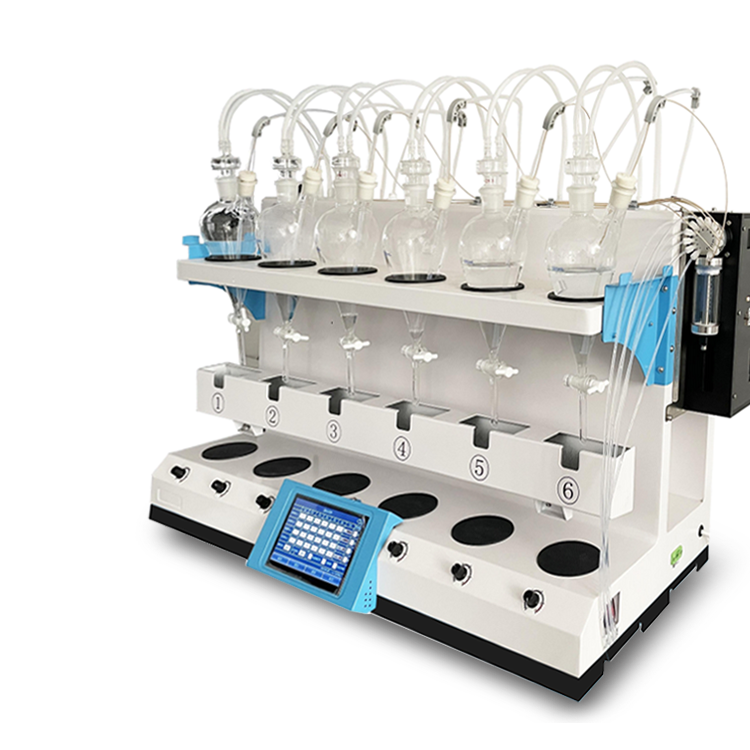

Smart Integrated Distillation Unit CHZL-6G Nitrogen Distiller 8 ChannelsTechnical Specifications
Model | CHZL-6Z | CHZL-6G |
Display Method | 7-inch large LCD touch screen | 7-inch large LCD touch screen |
Number of samples | 6 positions, ready for immediate operation | 6 positions, ready for immediate operation |
Heating Method | Electric Heating | Electric Heating |
Rise time | 8-20min | 8-20min |
Distillation Rate | 12ml/min; | 12ml/min; |
Time Control | 0-999 min (adjustable) | 0-999 min (adjustable) |
Is there a weighing scale available? | Optional | Standard Configuration |
Weight Setting | Optional | Weight Setting: 0-250g (can be set according to customer's request) |
Temperature Display | Room temperature - 400 degrees | Room temperature - 400 degrees |
End-point Control | Time Control | Time and weighing options available |
Is there a prevention of back-siphonage? | Available | Available |
Distillation Flask Specifications | 500mlX6 | 500mlX6 |
Rated Voltage | 220V | 220V |
Frequency | 50HZ | 50HZ |

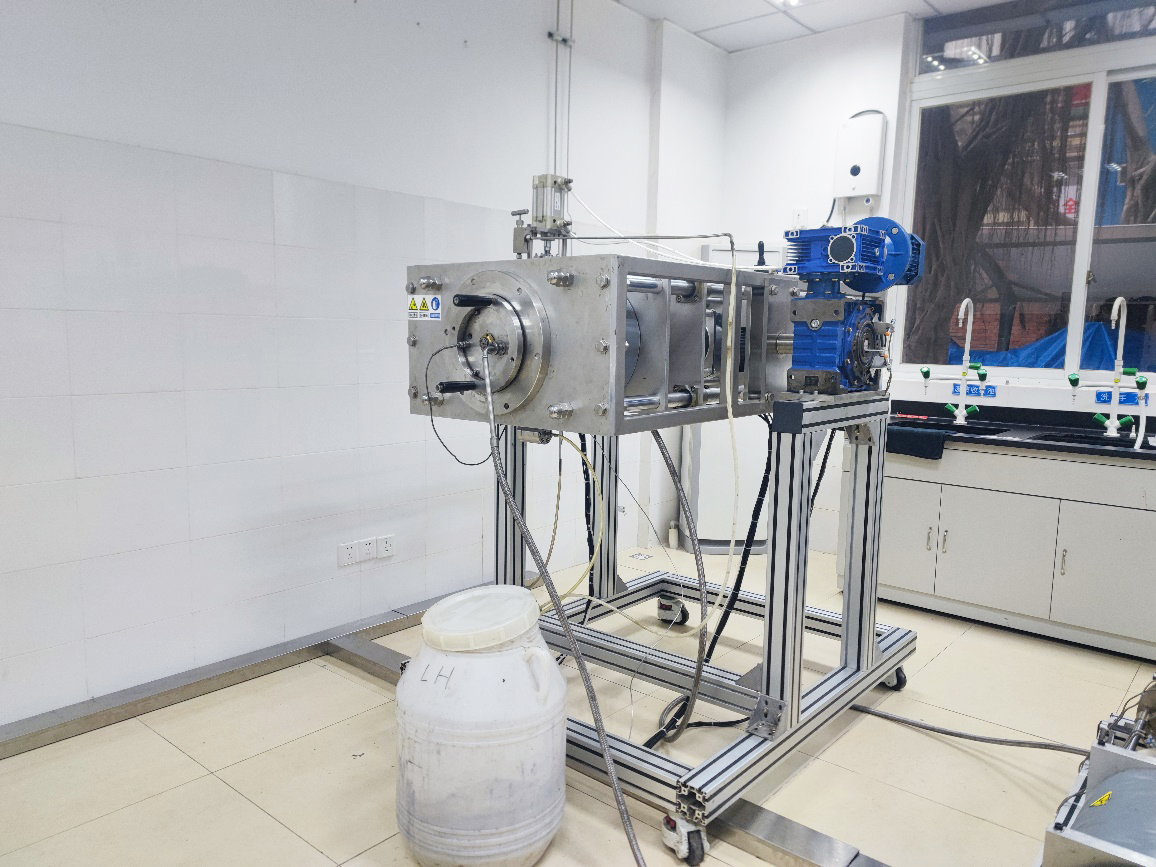
Smart Integrated Distillation Apparatus CHZL-6G Nitrogen Distiller 8 PositionsThe fully automatic integrated distillation unit is composed of four main parts: heating device, distillation device, recirculating cooling water system, and collection device. The heating device features an intelligent control function for heating rate, enabling precise control of heating temperature and efficiency; the recirculating cooling system includes cooling temperature display and control functions to ensure effective cooling.
The distillation process is a common and crucial pretreatment step in water quality testing and food detection. Traditional distillation equipment has separate heating, distillation, condensation, and collection sections, making operation cumbersome. Moreover, the lack of distillation endpoint control often leads to distillation failures. The introduction of fully automated integrated distillation systems addresses these issues perfectly.
The installation and debugging method for the fully automatic integrated distillation apparatus is:
1. Inspect the cooling water circulation system
Turn on the cold water circulation switch, and the condenser tubes begin to fill with water. Check all connections for leaks. If any leaks are found, reseal the joints. Once the condenser pipeline is filled with circulating water, the water tank should be at a normal level between the yellow and red lines. The normal operation of the circulating water can be determined by observing whether the green water flow meter on the right of the gauge is turning.
2. Specific operational procedures
Distilled water is added to the distillation flask, the upper section sealed and connected to the anti-backflow device via a hollow, sealed stopper and tubing. The long arm opening is sealed connected to the condensation flask, and the distillate from the condensation flask is sealed connected to the receiving flask via tubing.
1) Select Distillation Experiment
Turn on the main switch and the auxiliary switch, access the "preset menu" screen, and press the "Select" button to choose "1". Press the "Confirm" button to enter the "Experiment Selection" screen, then press "Select" to choose, press "Confirm" to select, and press "Back" to return to the "preset menu" screen. Each experiment's distillation endpoint control includes weight setting and time setting, which have default values. Users can adjust according to their needs.
2) Select Overall Power Rating
On the "Pre-set Menu" screen, select "Machine Tool Power Supply" and press the "Confirm" key to enter. Choose the required power supply and press "Confirm" to return to the "Pre-set Menu" screen. This project is selected based on the user's needs and voltage withstand capacity. The default factory setting is 3600W.
3. Select Control Mode
On the "Pre-set Menu" screen, select "3" for "Control Mode," press "Confirm" to enter, choose the desired control mode, and press "Back" to return to the "Pre-set Menu" screen. This setting can be adjusted according to user needs; the factory default is set to "Dual Control" (distillation endpoint controlled by both time and weight, following control principles).
4. Distillation experiment begins
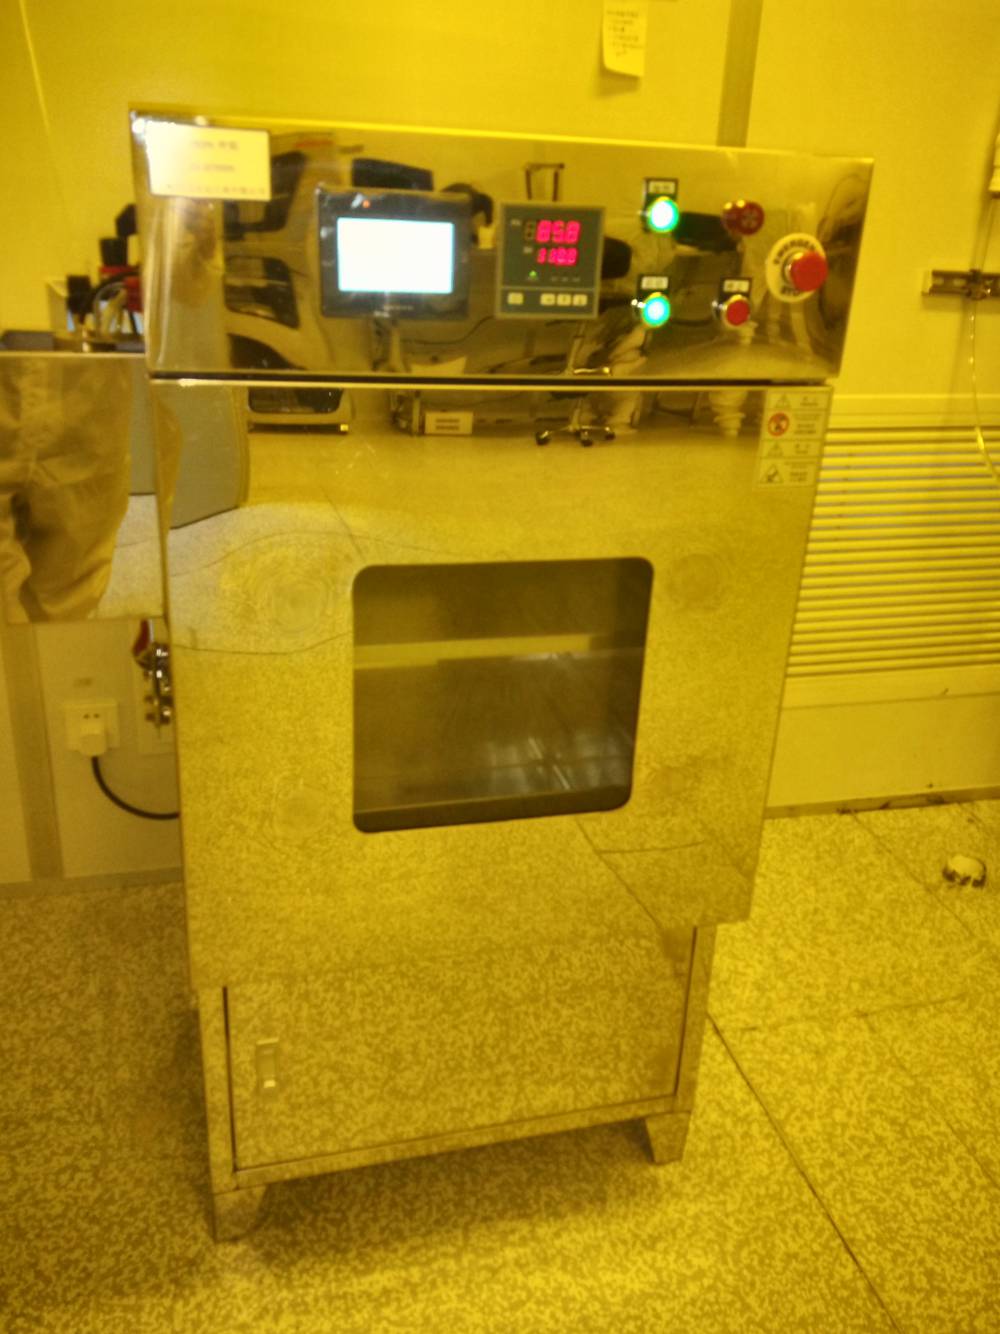
Press the "Confirm" button first, then the heating furnace control button on the lower left of the fully automatic integrated distillation unit to begin distillation.
Installation Instructions
Before installing the instrument, inspect the installation surface, power supply, and installation space to ensure the surface is sturdy, the voltage is stable, and the space meets requirements.
1. Install beam, glassware. Mount the beam, condenser bracket, condenser, and distillation flask onto the apparatus according to the installation drawing, then connect the recirculating water pipes.
2. Power on
2.1) Right-side view of the device, connecting the instrument power connector to the main power and auxiliary power sources.
3. Add cooling water
3.1) Right View of the Device
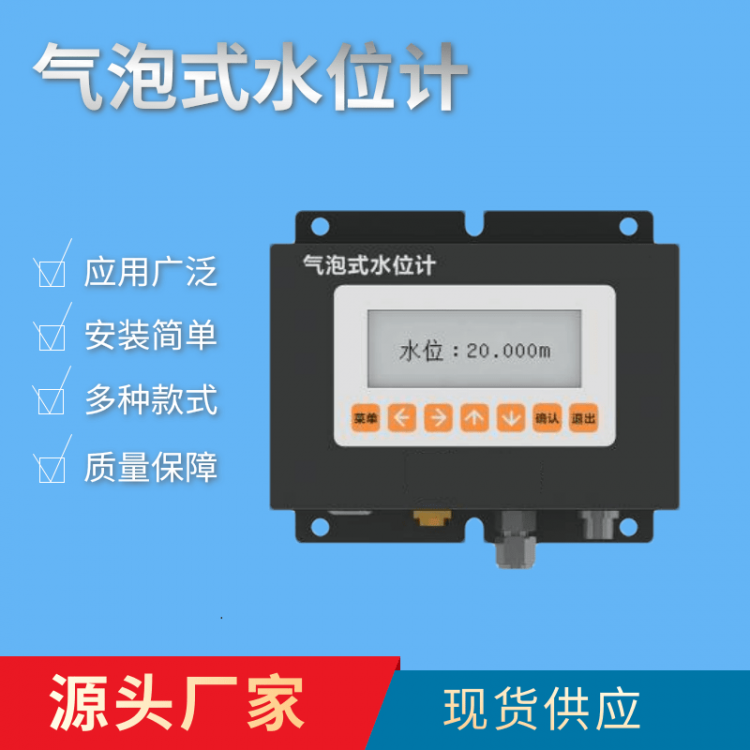
Place one side of the silicone tube in the sink (do not directly connect to tap water), connect the other side to the instrument's left view (water inlet), then turn on the main switch, click the water filling switch on the display screen, and the water tank will start filling. Observe the liquid level height through the liquid level window on the instrument's right side. Close the water filling switch on the water tank when the liquid level reaches the red marking line.
4. Usage Steps
Inspect the cooling water circulation system
Turn on the display screen cooling water circulation switch, the condenser tube begins to fill with water. Check for any leaks at all interfaces; if leaks are found, reseal the connections promptly. Once the condenser tube's circulating water is filled, the water tank should be at a normal level between the yellow and red lines. You can determine if the circulation is running normally by observing if the flow meter on the right of the instrument is rotating.
2. Connection Check
Add the sample to the distillation flask, connect the tube to the anti-siphon device, seal the long arm opening to the condensation flask, and then connect the condensed liquid from the condensation flask to the receiving flask via the tube.
3.1 Initiate Experiment
1). Turn on the main switch and auxiliary switch, then enter the operation interface, as shown in the figure
2) . Select Sample Number Operation. For instance, if you choose Operation No. 1, simply click to proceed. As shown in the following image.
Then proceed with temperature, weight, and time settings.
Click temperature, set the temperature value (avoid high temperature operations above 320 degrees).
b. Click on weight, set the target weight value (not exceeding 200g for the higher end).
c. Click on the time, or set the working value of time
After setting all parameters, place the titration collection bottle on the weighing pan, click the tare operation, then click the timing operation/quantitative operation, and click the heating start. (a. The machine will stop heating when the set time is reached, b. The machine will also stop heating when the set weight value is reached)
Other samples operate in the same manner (as above)