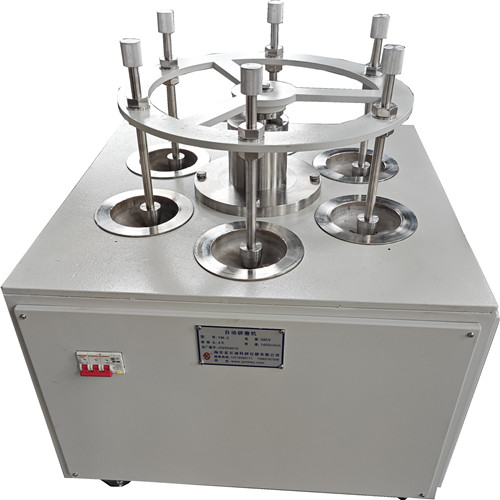


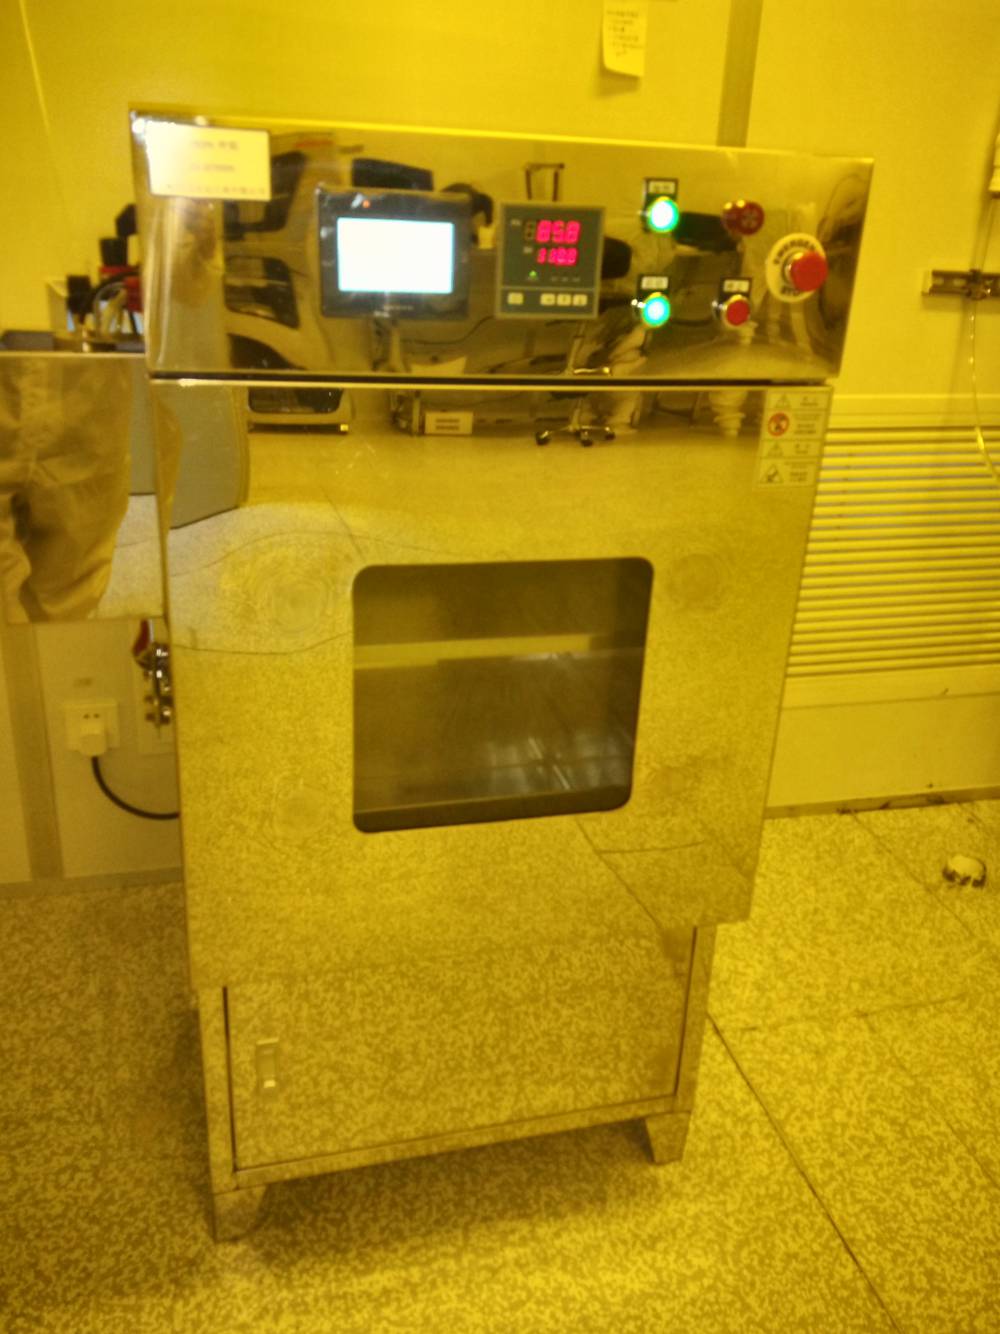


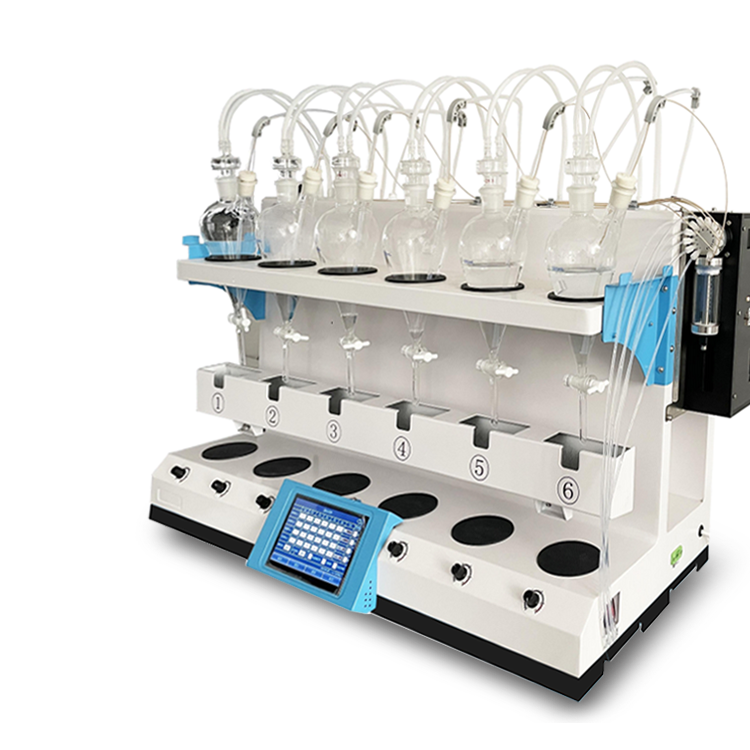

Integrated Distillation Unit CHZL-6D Pure Water 6-Position AdjustableTechnical Specifications
Model: CHZL-6D
2. Heating Method: Electric Heating
3. Heating Unit: 6 far-infrared ceramic heaters, individually controlled for each hole.
4. Heating Time: 8-15 mins
5. Distillation Rate: 12ml/min
6. Time Control: 0-999 mins
7. Digital Temperature Detection: Room Temperature -400°C
8. Terminal Control: Weighing Function (Optional)
9. Distillation Flask Specifications: 500ml x 6
10. Rated Voltage/Frequency: 220V/50Hz.

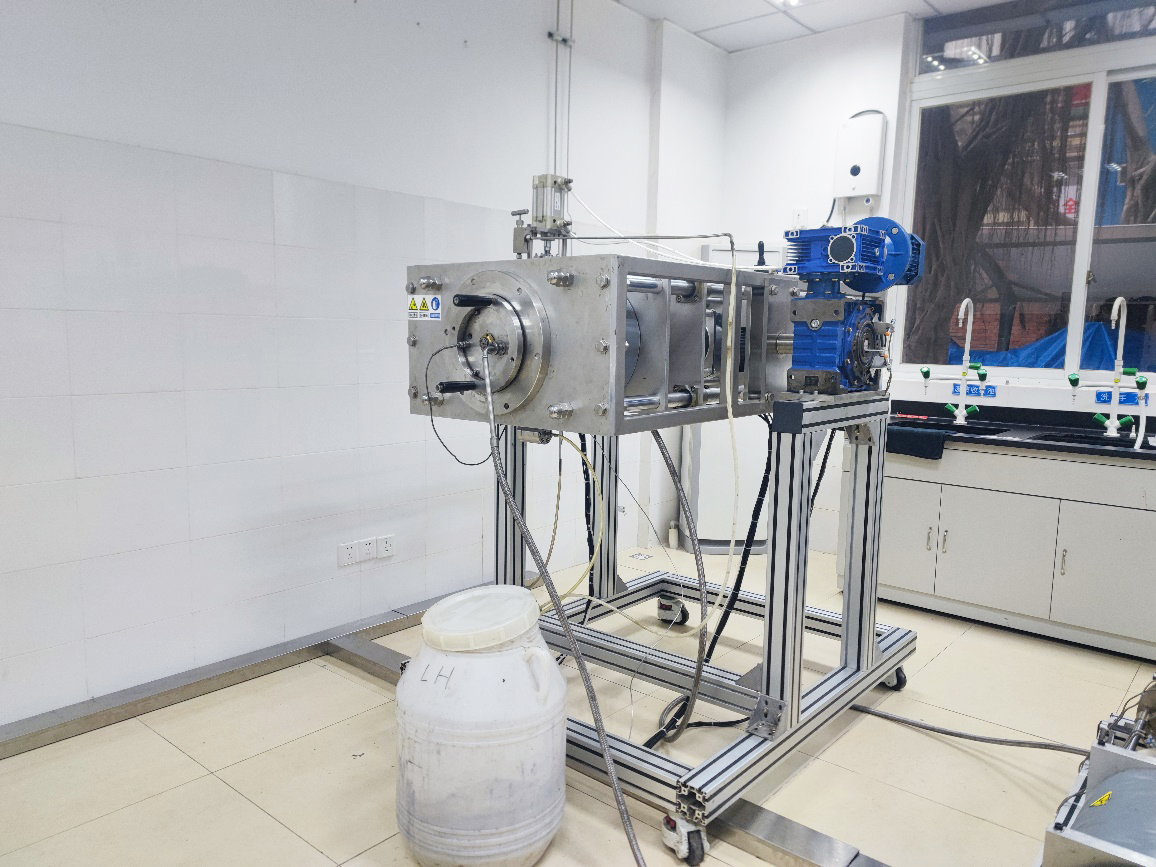
The fully automatic integrated distillation unit is composed of four main parts: the heating device, distillation device, circulating cooling water system, and receiving device. The heating device features an intelligent control function for heating rate, allowing for precise control of both heating temperature and efficiency; the circulating cooling system is equipped with a cooling temperature display and control function, ensuring effective cooling.
This product is a very common and crucial pretreatment step in water quality testing and food detection, where distillation is essential. Traditional distillation equipment, with its separate heating, distillation, condensation, and collection components, is cumbersome to operate and often leads to distillation failure due to the lack of endpoint control. The introduction of this product perfectly addresses these issues.
The installation and debugging method for the fully automatic integrated distillation apparatus is:
Inspect the cooling water circulation system
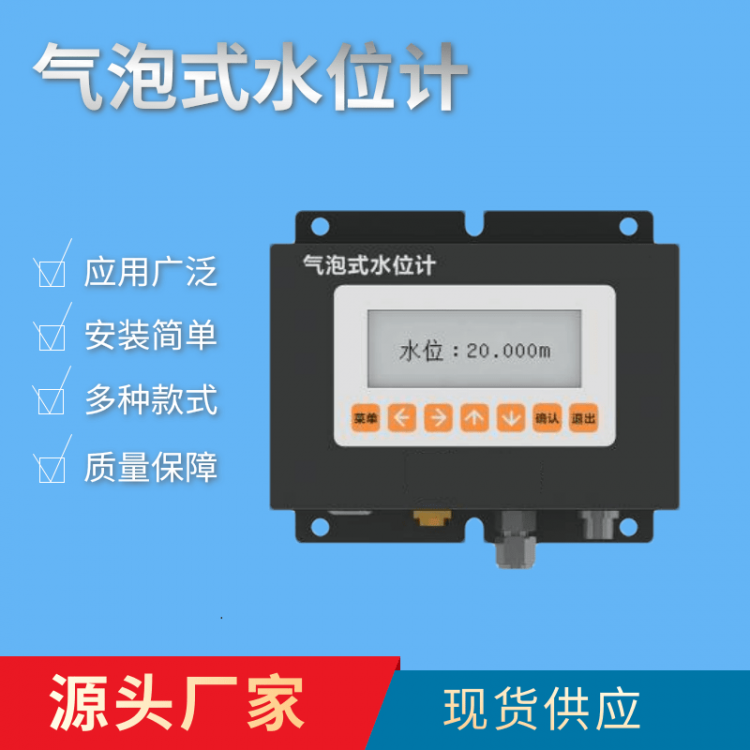
Turn on the cold water circulation switch, and the condenser tubes begin to fill with water. Check all connections for leaks. If there are any leaks, reseal the joints. After the condenser pipeline is filled with circulating water, the normal water level in the tank is between the yellow and red lines. The normal operation of the circulating water can be determined by observing whether the green water flow meter on the right of the gauge is turning.
2. Specific operational procedures
Distilled water is added to the distillation flask, the upper part sealed and connected to the anti-backflow device via a hollow, sealed stopper and tubing. The long arm opening is sealed connected to the condensation flask, and the distillate from the condensation flask is sealed connected to the receiving flask through tubing.
1) Select Distillation Experiment
Turn on the main switch and the auxiliary switch, access the "preset menu" screen, and press the "Select" button to choose "1". Press the "Confirm" button to enter the "Experiment Selection" screen, then press "Select" to choose, press "Confirm" to select, and press "Back" to return to the "preset menu" screen. Each experiment's distillation endpoint control includes weight setting and time setting, with default values. Users can adjust according to their needs.
2) Select Total Power Output
In the "Pre-set Menu" interface, select "Machine Tool Power Supply," then press the "Confirm" button to enter. Choose the required power supply and press "Confirm" to return to the "Pre-set Menu" interface. This project is selected based on the user's needs and the power supply voltage tolerance. The default factory setting is 3600W.
3. Select Control Mode
In the "preset menu" interface, select "3" for "Control Mode," then press the "Confirm" key to enter. Choose the desired control mode, and press the "Back" key to return to the "preset menu" interface. This option can be set according to user needs; the factory default is set to "dual control" (distillation endpoint controlled by both time and weight, both following control principles).
4. Distillation experiment begins
Press the "Confirm" button first, then the heating furnace control key on the lower left of the fully automatic integrated distillation unit to begin distillation.
CHZL-6D Integrated Distillation Apparatus, 6-Position Adjustable Purified Water1. Turn on the chilled water circulation switch; the condenser tubes will begin to fill with water. Check all connections for leaks; if any are found, reseal them. Once the condenser's circulating water is filled, the water tank's normal level should be between the yellow and red lines. You can determine if the circulating water is functioning properly by observing if the flow meter on the front right of the instrument is rotating.
2. Specific operational procedures
Add distilled water to the distillation flask, which is sealed and connected to a hollow, sealed plug, a hose, and a anti-siphon device above. The long arm mouth is sealed connected to the condensation flask, and the condensate from the flask is sealed connected to the receiving bottle via a hose.
2.1 Distillation Experiment Selection
Turn on the main switch and auxiliary switch, go to the "Pre-set Menu" screen, press the "Select" button to choose "1. Experiment Selection", press the "Confirm" button to enter the "Experiment Selection" screen, then press "Select" to choose, press "Confirm" to confirm, and press "Back" to return to the "Pre-set Menu" screen. For each experiment's distillation endpoint control: weight setting and time setting, default values are set. Users can adjust them as needed.
2.2 Selecting Overall Power Rating
In the "Pre-set Menu" interface, select "2. Total Power" and press the "Confirm" key to enter. Choose the desired power and press "Confirm" to select. Return to the "Pre-set Menu" interface. This option is selected based on the user's requirements and the power supply's voltage-bearing capacity; the default setting before shipment is 3600W.
3.3 Select Control Mode
In the "Pre-set Menu" interface, select "3. Control Mode" and press "Confirm" to enter. Choose the desired control mode and press "Back" to return to the "Pre-set Menu" interface. This setting can be customized according to user requirements; if no specific needs, the default factory setting is "Dual Control" (controls distillation endpoint by time and weight, both principles are applied).
3.4 Distillation Experiment Begins
Press the "Confirm" button first, then press the heating furnace control key located on the lower left of the instrument to start distillation.
Integrated Distillation Unit CHZL-6D, 6-Position Adjustable Purified Water SystemIntegrated Distillation Apparatus for Volatile Experimental Operations
Plug in the power, inspect the distillation equipment, ensure that all heating holes are heating properly, turn on the recirculating water switch, check for any leaks at all interfaces to ensure the equipment operates normally.
2. Transfer 250ml of the sample into a 500ml all-glass distillation flask, add 50ml of distilled water, and add a few drops of methyl orange indicator. If the sample does not turn orange-red, additional phosphoric acid solution is required.
3. Begin heating the distillation and stop heating once the distillate approaches 250ml. Then, dilute to 250ml with distilled water.
4. Power on our company's extractor, check if it operates normally, and after inspection, transfer the entire 250ml distillate to the 500ml separating funnel provided with our company's extractor.
5. Add 2.0ml of buffer solution to the separatory funnel, set the extraction intensity to 40Hz, run for 90 seconds, with a dwell time of 0, and extract once to mix the solution thoroughly.
6. Add 1.5ml of 4-cyanindole solution, maintain the extraction intensity, time, and number of times, extract once, and mix the solution uniformly.
7. Add 1.5ml of iron, maintaining the extraction intensity, time, and number of cycles. Extract once to ensure the reagent is evenly mixed with the water sample. Allow to stand for 10 minutes.
8. Add 10ml to the above separatory funnel, set the extraction intensity to 35Hz, the time to 60s, the dwell time to 30s, and the extraction to 3 times. After setting, press the start button to initiate extraction. Once extraction is complete, allow the mixture to settle and separate.
9. Wipe the inner wall of the separatory funnel neck tube with dry defatted cotton or filter paper. Insert a small wad of dry defatted cotton or filter paper into the neck tube. Pass the layer through the dry defatted cotton wad or filter paper, discard the first few drops of the extracted liquid, and then place the remainder directly into a 20mm light path cuvette.
At 460nm wavelength, measure the absorbance with reference to the standard.
11. Blank Test: Replace the sample with distilled water and measure its absorbance according to steps 4-10. The blank and the sample are measured simultaneously.
Points to Note
1. Buffer solutions are prepared with water, so the extraction intensity should not be too high during mixing. Ensure thorough and even mixing at an appropriate intensity; otherwise, it may result in a larger blank value.
2. Release the liquid drop by drop, not in a line.