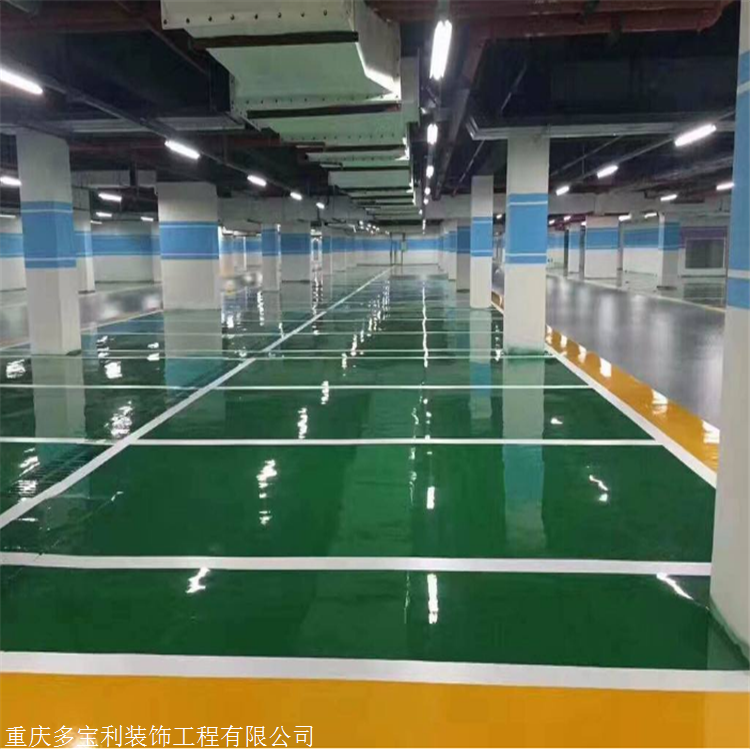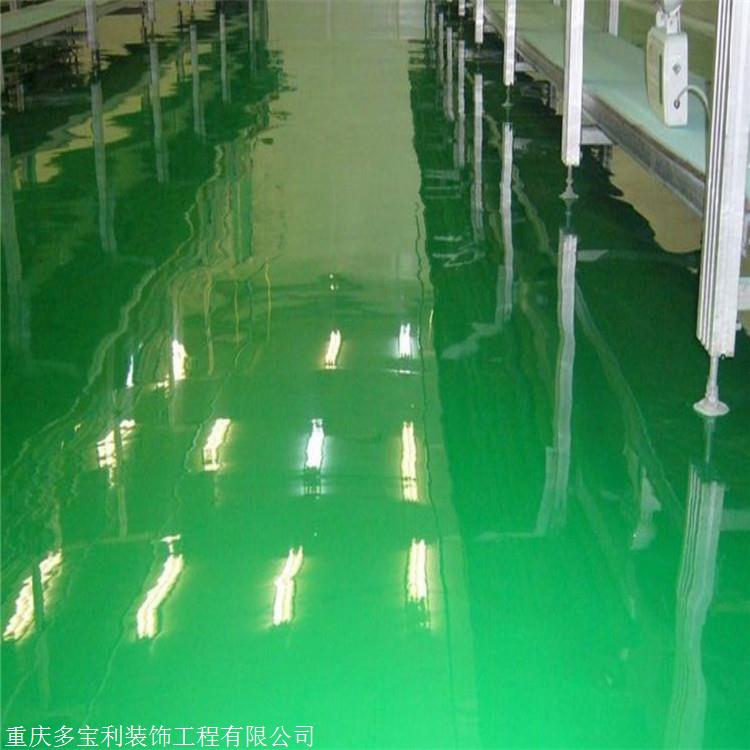
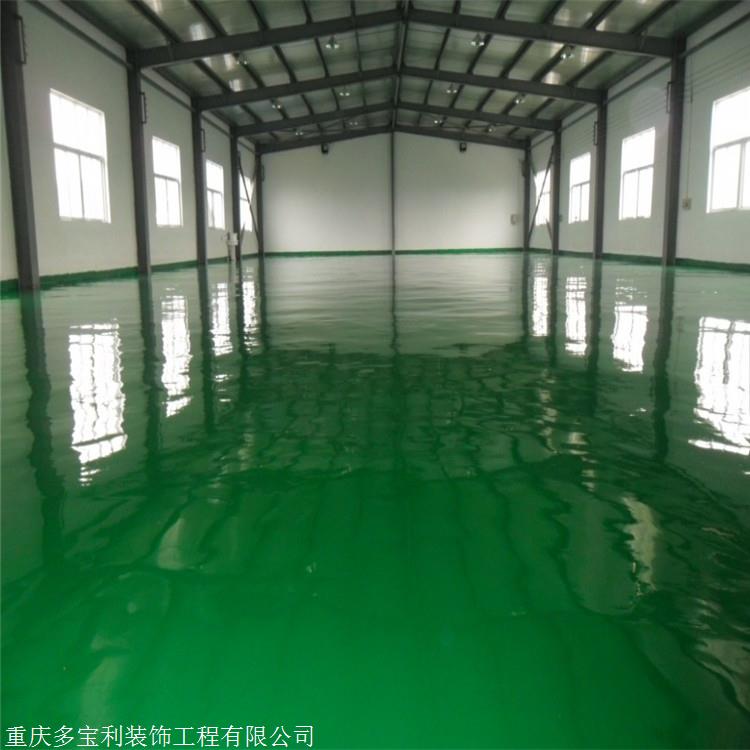


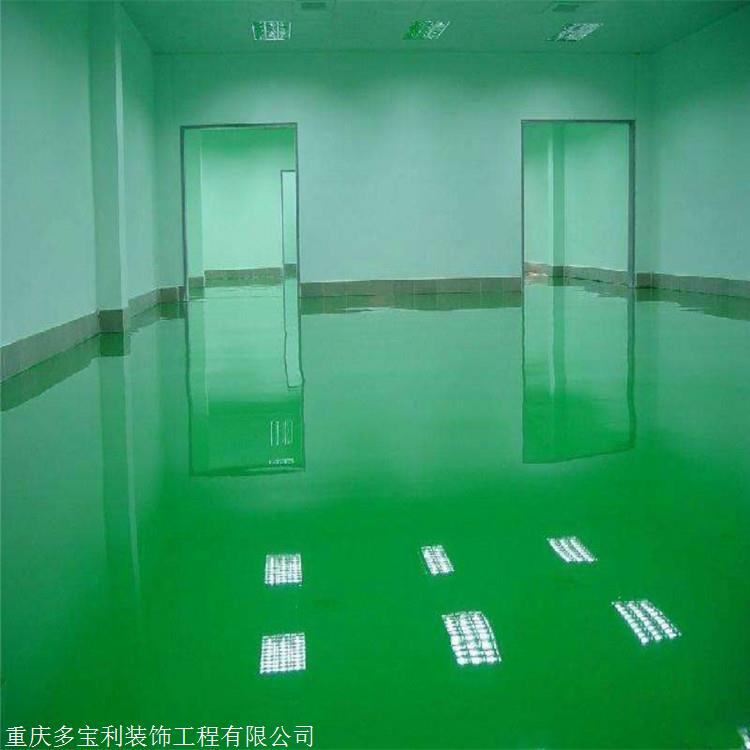
Generally, epoxy flooring installation is not recommended during winter due to the potential impact on construction quality and increased difficulty and risk. However, in cases where clients require urgent installation, what might occur, and how can the challenges of winter installation be addressed?
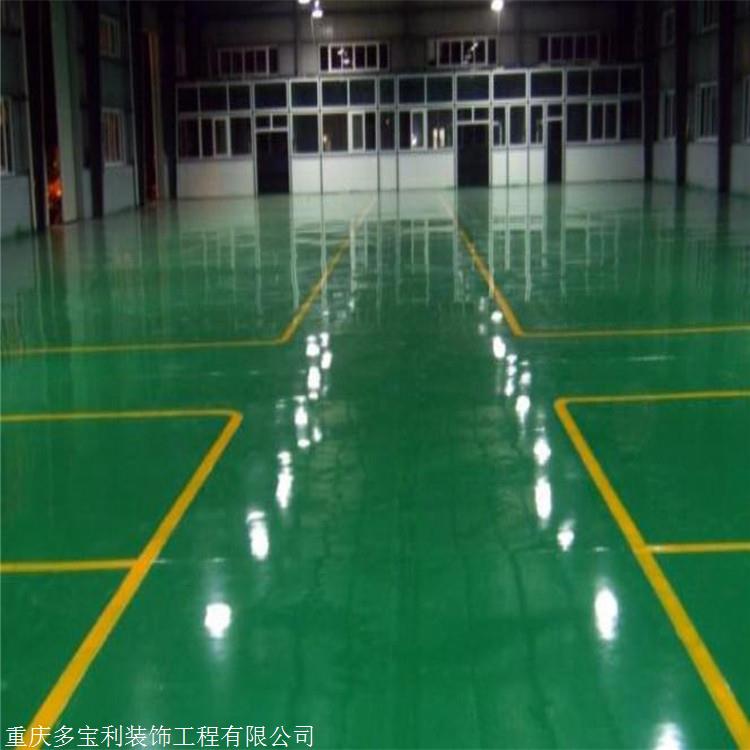
During winter, epoxy flooring installation can lead to a slowdown in paint reaction, a dramatic increase in viscosity, and a decrease in the quality of the coating film.
1. Separate low-temperature periods:
When painting, try to avoid low-temperature periods. Begin after 10 AM and cease by 3 PM to minimize the impact of cold temperatures.
2. Increase room temperature:
Increase indoor temperature to above 5 degrees Celsius, which allows for construction during winter. Many factories in the north have heating systems, which can be activated before and during the construction process.
3. Add solvent:
You can add solvents with a volatile rate of less than 5%, such as ethyl acetate, butyl acetate, etc. This can address the issue of high viscosity and lack of leveling in floor paint at low temperatures.
4. Paint Heating:
Store the paint in a warm environment, or heat it using steam or hot water. Be cautious not to let steam or hot water enter the paint, and keep the water temperature below 38 degrees.
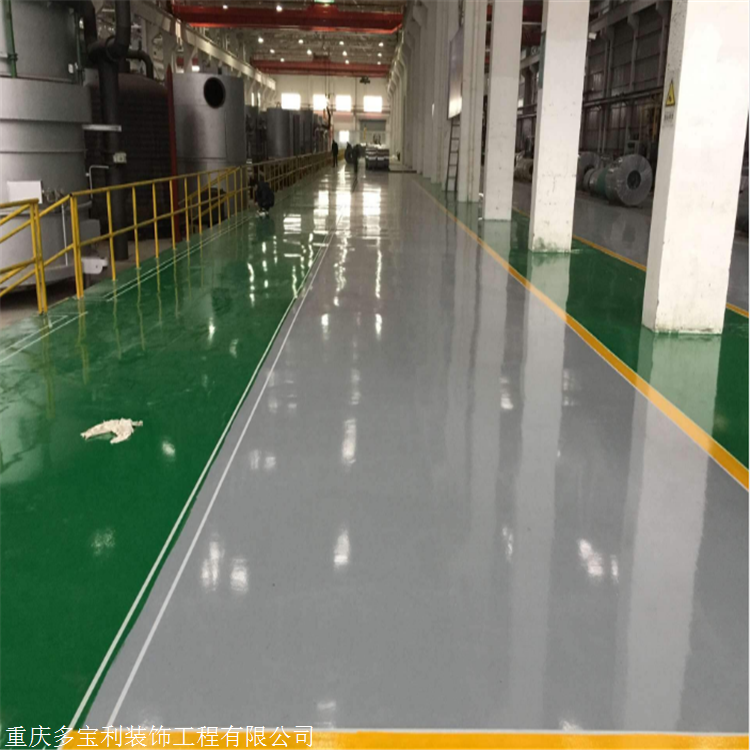
The coating environment for the epoxy flooring construction should have humidity below 75% and a temperature of 10-35°C. Generally, application is possible above 5°C, but below that, the actual effect of the epoxy flooring coating is difficult to guarantee.
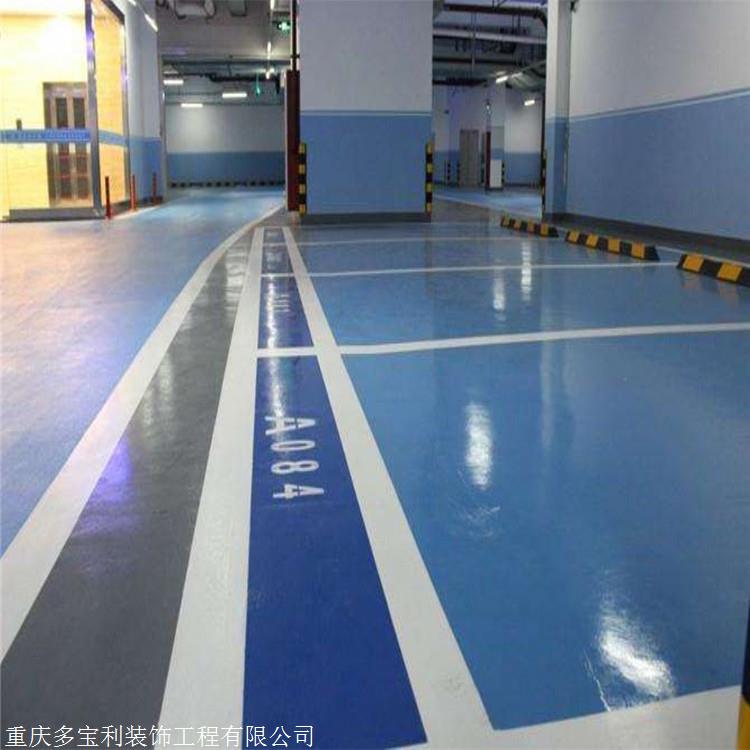
Although winter can add many difficulties to epoxy flooring installation, there are corresponding measures to address these issues. However, it is still advisable to avoid installation during winter, as the costs, difficulties, and risks are increased compared to other seasons.

Construction Notice
1. Firstly, the ground needs to be properly sanded to ensure adequate adhesion.
2. Each layer should be sanded after drying to avoid the issues mentioned above.
3. Be mindful not to perform overlapping construction during the process to ensure quality is not compromised.
4. Ensure the paint is well-mixed and let each layer dry completely before proceeding to the next step to avoid issues like bubbles.
5. Stop work if the construction site or weather is too damp.
(One) Blistering
◆ Reason
1) The substructure, next to the water tank, ground floor, or other ground-level areas have higher humidity levels.
2) No water seal treatment performed or inadequate primer sealing.
Preventive Measures
1) Use a moisture meter to assist in judgment prior to construction.
2) Locations with excessive moisture and water pressure must be treated with water cutoff first.
3) Select hydrophilic epoxy primer.
Color variation
◆ Reason
1) Epoxy resin paint main agent sedimentation, not fully mixed and uniform.
2) The material was poured onto the ground, resulting in an extended contact time with the preceding seam.
3) Inconsistent coating thickness;
4) Material shortage during construction.
5) Use paint with different batch numbers.
Preventive Measures
1) The main agent should be thoroughly mixed before construction.
Avoid prolonged contact with the preceding seam, and ideally, carry out the entire operation line together.
3) Prefer using fixed tools and enhance the construction workers' proficiency.
4) Ensure sufficient paint inventory to prevent stockouts.
5) Use the same batch number of paint as much as possible.
(Volcano)
◆ Reason
1) There is a depression on the bottom layer.
2) There is oil stain on the bottom layer.
3) Paint material issue.
Preventive Measures
1) First, fill and level the concave holes with epoxy putty before beginning construction.
2) Clean the lower layer of oil污 thoroughly.
3) Choose the appropriate paint.
(4) White spots
◆ Reason
1) Paint reacts too slowly in winter and hardener reacts with air to produce a white fog-like substance.
2) Construction in low-temperature and high-humidity conditions.
3) Water intrusion after construction.