


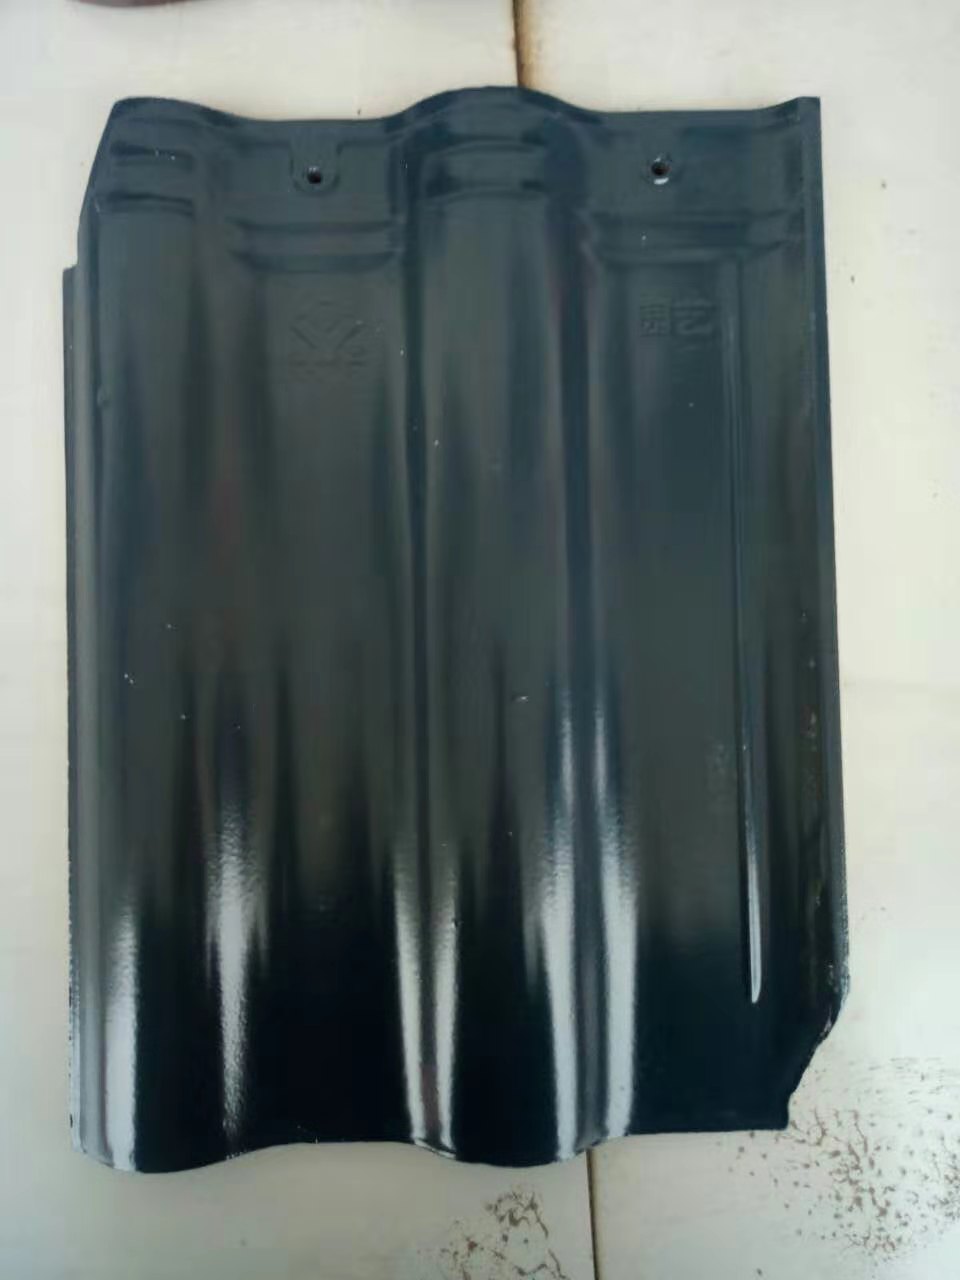


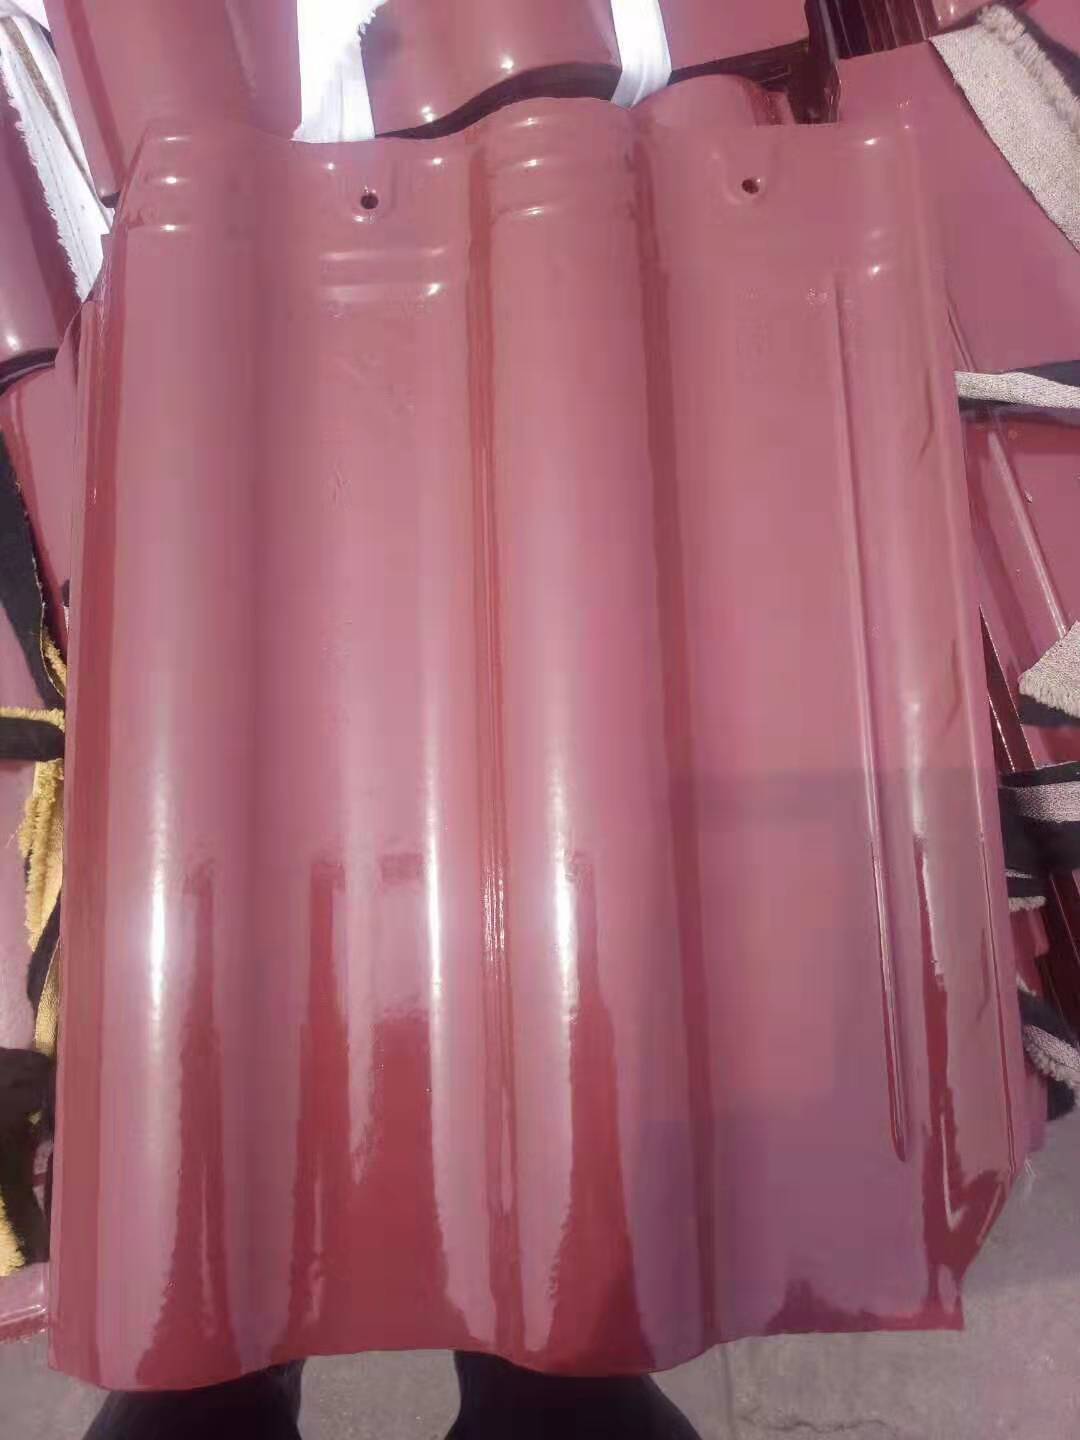


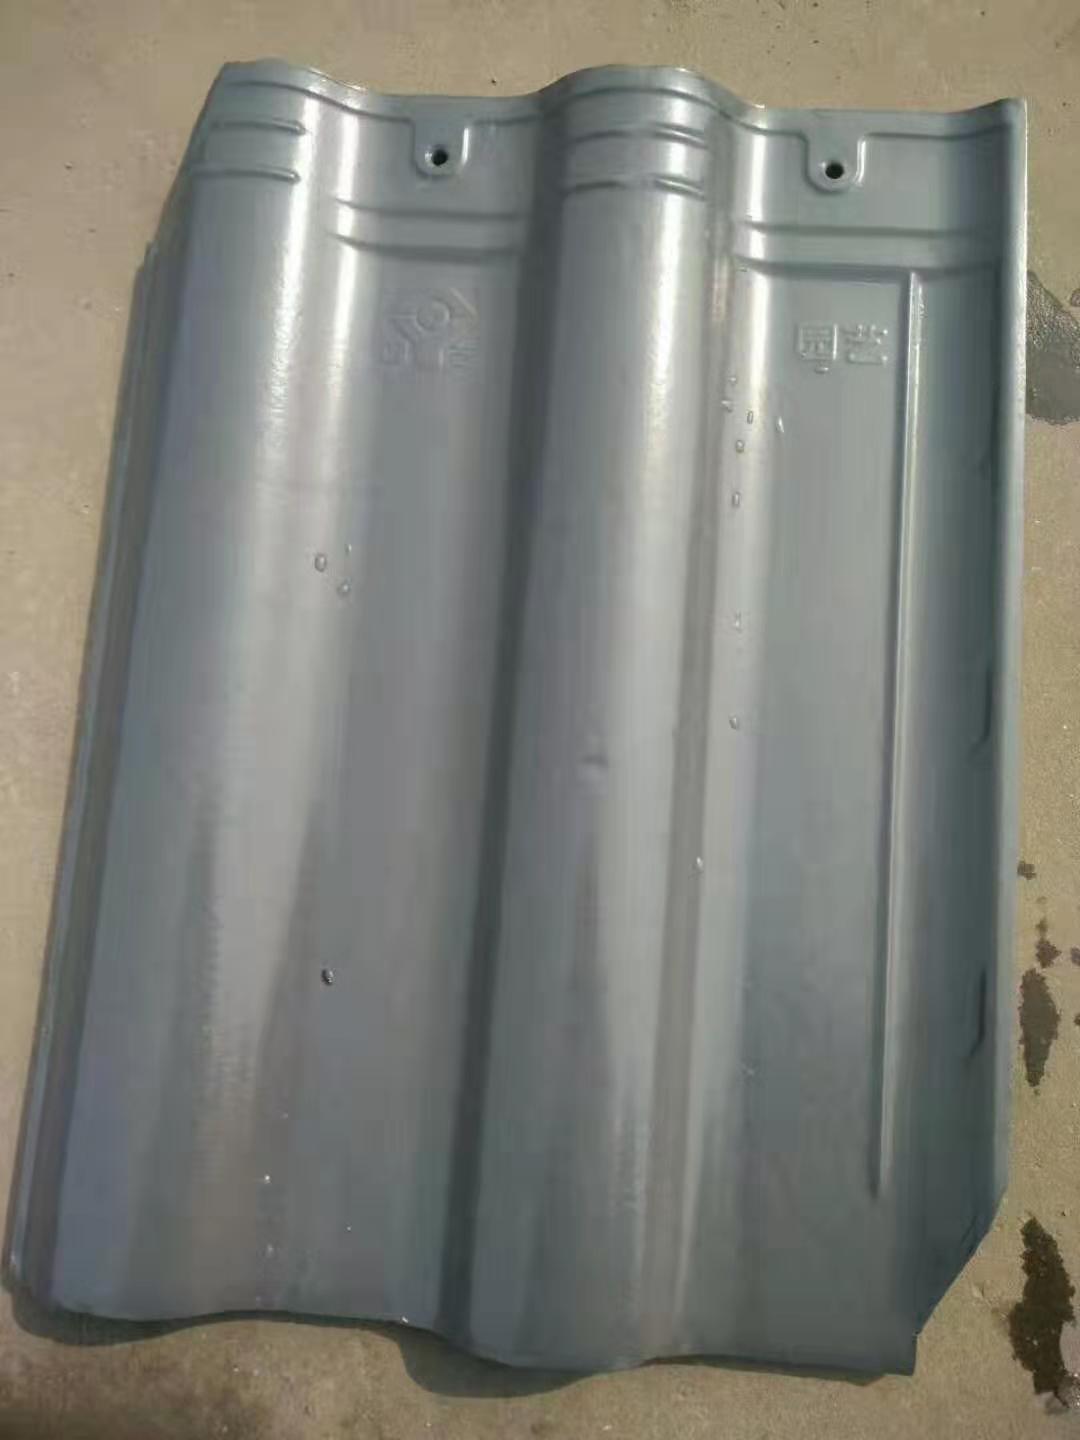
Dry-laid Method: This method is primarily used for wood-structured roof and semi-cement roof. Construction Steps: 1. Clean the roof. The roof must be thoroughly cleaned and dried before laying tiles. 2. Waterproofing Treatment. Apply self-adhesive waterproofing materials to the roof surface, such as asphalt compatible with SBS or APP. 3. First, mark the positions of the ridge cap and the underlayment according to the tile specifications (cut and adjust tiles to effective sizes as much as possible), then nail the underlayment to the roof using rivets and secure the underlayment to the roof using galvanized nails. (If no underlayment is used, the underlayment can be nailed directly to the roof.) Suggestions: A. If there is a eave, nail the underlayment to both sides of the eave. B. If there is a ridge, fix the underlayment along the roof edge. 4. Install the main tiles. Secure the main tiles with galvanized tile nails, starting from the bottom to the top, from the left underlayment to the right. Suggestions: A. If there is a eave, install it first; B. When the first row of tiles is installed at the eaves, the main tiles should extend 6 cm beyond the eaves. C. In areas subject to strong winds, use safety nails to secure the tiles after the head tiles are nailed, and fix them to the underlayment with stainless steel wire through the head nails. 5. Install the ridge tiles. Apply mortar to the ridge underlayment, lay the ridge tiles on the mortar, and then fill the mortar joints with adhesive or mortar. Suggestions: Ridge tiles can also be laid on the underlayment with galvanized tile nails. 6. Install the eave tiles. Fill the eave board with mortar, cut the eave stone, and then fill the mortar gaps with adhesive or mortar. Suggestions: The eave tiles can also be fixed to the eave board with galvanized tile nails. Wet-laid Method for Concrete Roofs 1. Lay a 20mm thick 1:2:5 mortar on the concrete roof, leaving a space 200mm wide and 20mm deep for the eaves. 2. Apply a flexible waterproofing membrane on the dry base line for waterproofing or use a rigid waterproofing layer on slopes (when leveling, mix waterproofing admixture into the cement mortar to prevent leakage in poor-quality work). 3. Based on the actual size of the tiles: as shown in Figure 1, mark the honeycomb lines on the base line, forming a 900-degree cross. Prepare for tiling, and make sure the eave tiles extend 50-70mm beyond the eaves. 4. Lay the tiles with cement mortar, sticking them in a certain order on the bottom of the groove, and nail them down with wire nails to prevent sliding on the steep slope. 5. For various installation methods, refer to the "Dry-laid Method".
WeChat Official Account

Scan to follow Official Account