


During actual construction, different construction methods result in varying differences in the reinforcement of the anchoring adhesive.
Anchoring Reinforcement Precautions:
1. After reinforcement embedding, welding is generally not permitted on the embedded steel bars. If welding is indeed necessary, the weld point should be more than 15d away from the concrete surface of the base material, and a towel soaked in ice water should be wrapped around the root of the exposed part of the embedded reinforcement.
2. The temporary cofferdam must be robust to prevent any water from entering the bearing platform area during the rebar insertion period. The platform must remain dry. If the dryness of the platform cannot be guaranteed, this plan is not feasible.
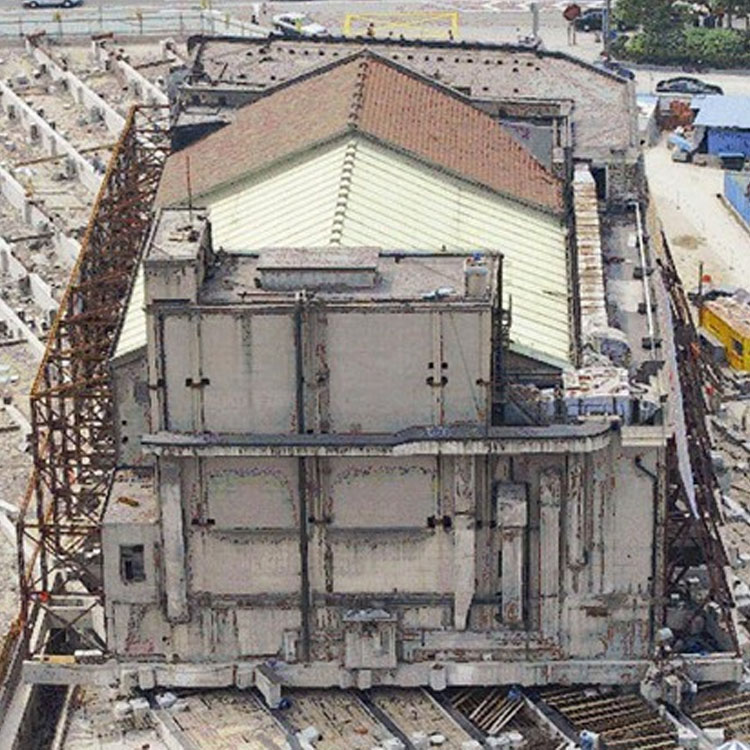
3. Be mindful of weather changes. Check the weather forecast before starting the rebar anchoring work to ensure favorable conditions during the process. Avoid working in cloudy or rainy weather. For this project, as it is being carried out indoors in the factory, weather considerations are not applicable.
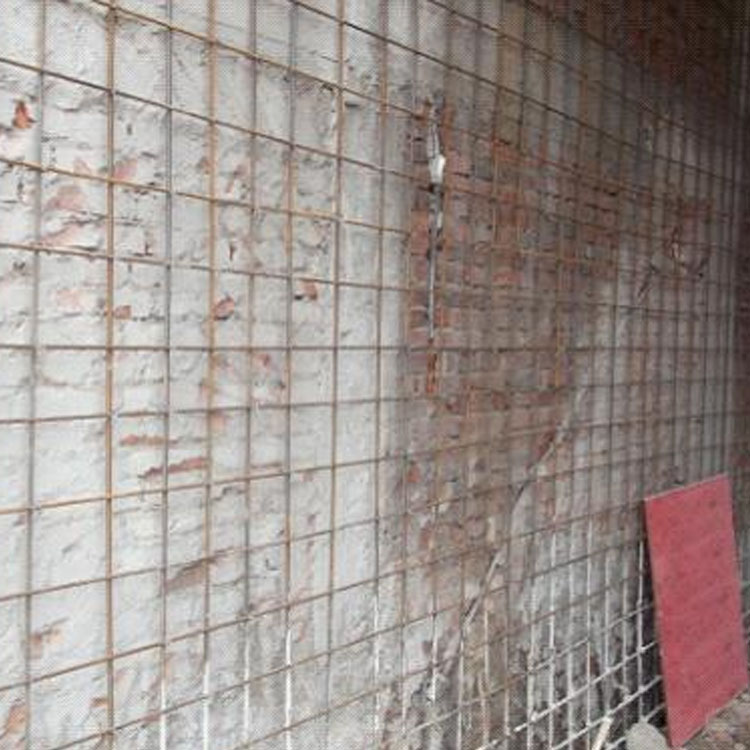
4. Reinforcement bars must be de-rusted according to specifications, and the surface of the bars must be free of oil stains and other debris.
5. The anchoring adhesive used for rebar anchoring must be a qualified product, with all performance indicators meeting the specification requirements.
6. To ensure the quality of the reinforcement, it is necessary to avoid the various factors mentioned in the fourth point that can lead to defects in the reinforcement quality. This requires a comprehensive consideration from aspects such as labor, materials, machinery, process, environment, and methods.
7. Electrical operations for rebarring construction must adhere to the project's electrical procedures to avoid violations.
8. Equipment and tools used for rebar anchoring must be operated according to the manufacturer's operating procedures; unauthorized operation is not permitted.
9. Materials used for rebar anchoring should not be discarded willy-nilly to pollute the environment.
Process of reinforced bar anchoring:
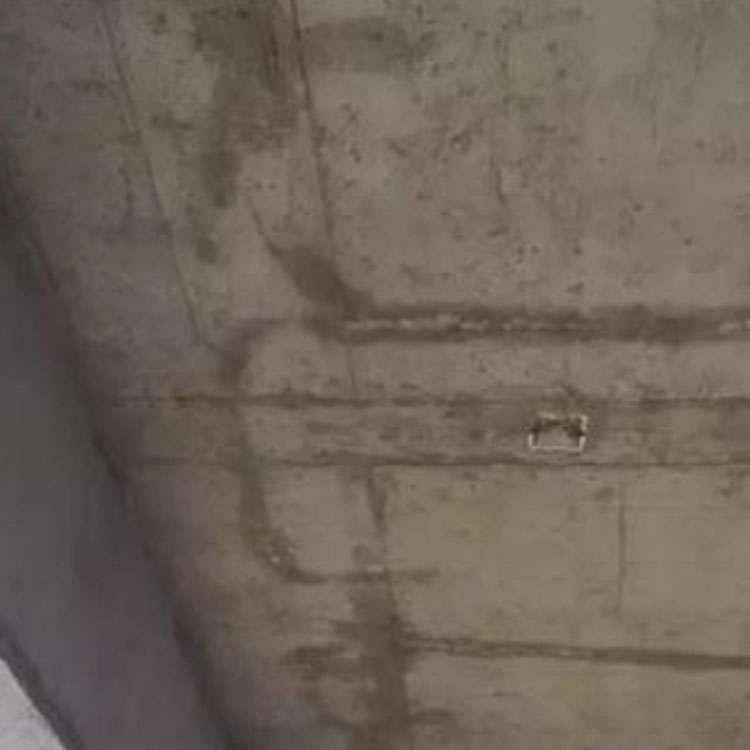
Drilling
Based on the reinforcement position and quantity in the design drawing, offset the original structure reinforcement position and mark the rebar anchoring locations. Drill holes using an impact drill, with the drill bit diameter being about 5mm larger than the rebar diameter. Use φ25 rebars and φ30 alloy steel drill bits. The hole depth should be 15d (375mm), with an actual drill depth of 400mm. Keep the drill bit perpendicular to the column surface during drilling.
2. Clean hole dust removal
Dust removal is a crucial step in the rebar anchoring process, as there will be a significant amount of dust and debris inside the drilled holes, which directly affects the quality of the anchoring. It is essential to clean out all the debris from the holes. The method is as follows: use a non-shedding brush, attach an extension rod, reach the bottom of the hole, and remove the dust and debris. Then, use compressed air to blow out any floating dust inside the hole, repeating this process three times. Afterward, use a lint-free cloth soaked in alcohol to wipe the inner wall of the hole. Do not use water for cleaning, as alcohol is volatile and water is not. Water cleaning will not allow the hole to dry quickly. After the drilling cleaning is complete, have the design and other relevant units inspect it. Only after passing the inspection can the adhesive be applied.
3. Injected Molding
Reinforcement adhesive is an AB group finished product. Take a set of strong reinforcement adhesive, place it into the sleeve, mount it on the manual injector, and slowly pull the trigger. Discard the thinner adhesive at the nozzle without using it. Then, insert the spiral mixing nozzle into the bottom of the hole. If the length is insufficient, extend it with a plastic tube. Pull the trigger again. The trigger moves once, and the nozzle retracts slightly, which helps to expel the air inside the hole. To ensure the hole is filled with adhesive after the reinforcement is inserted without leakage, inject the adhesive to 80% of the hole. Once the hole is fully injected with adhesive, immediately insert the reinforcement.
4. Reinforcement bar insertion
Prior to injection, the bottom formwork is already supported, facilitating the positioning of reinforcing bars after the insertion of reinforcing bars. Before inserting the reinforcing bars, use a wire brush to scrub the insertion part repeatedly to remove rust and dirt, followed by an alcohol wash. After the injection of adhesive into the holes, immediately place the de-rusted reinforcing bars into the hole mouth, then slowly screw them in one direction without reversing or backtracking until the bars reach the bottom of the hole.
5. Solidify
After rebar insertion, position it on the bottom form of the beam before vibration is allowed on the rebar while the high-strength anchor adhesive cures completely. The high-strength anchor adhesive cures at room temperature; follow the curing time specified in the adhesive instructions after which the next construction process can be carried out.
6. Inspection
Prior to the rebars anchoring work, on-site tensile tests should be conducted on the rebars and anchoring adhesive used to ensure they meet the design specifications.
The method is: Prepare concrete specimens with the same strength grade as the concrete components to be reinforced. Follow the reinforcement steps to insert three groups of rebars. After the bonding agent for the reinforcement is fully cured, conduct a tensile test.
Application Fields of Reinforcement Grouting:
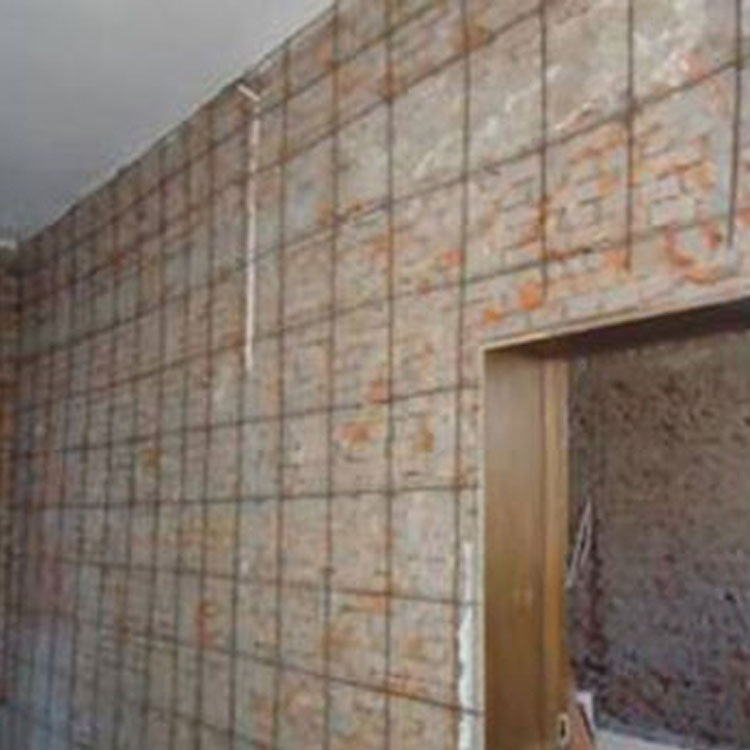
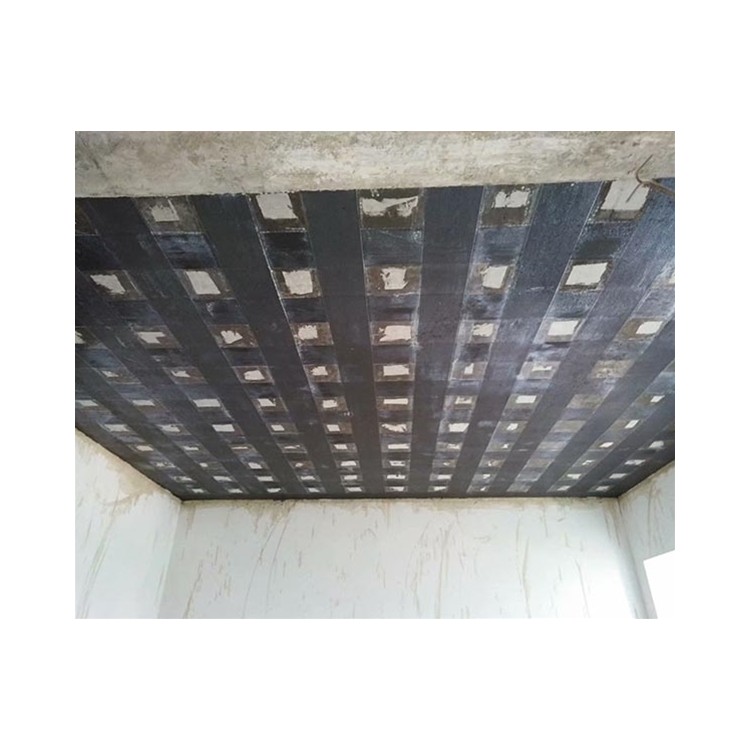
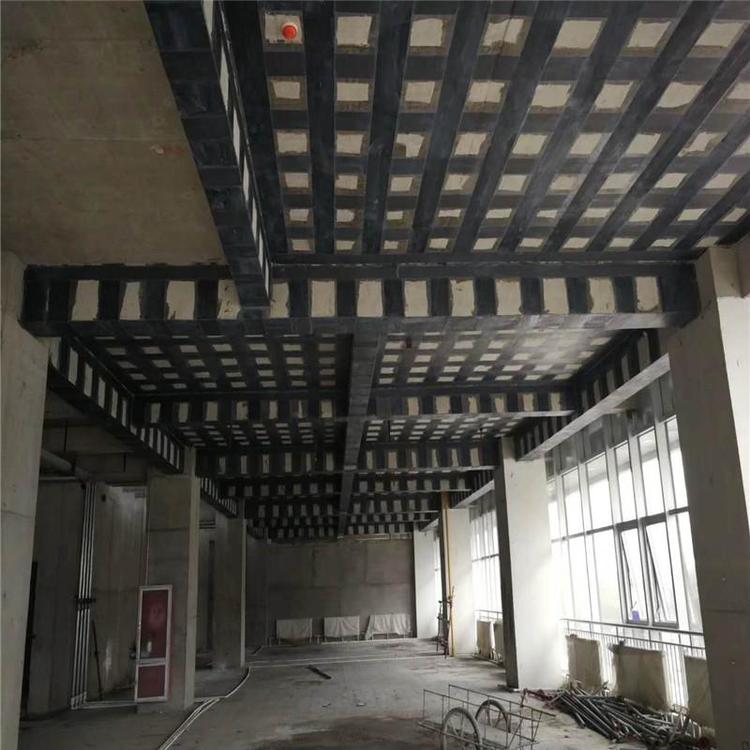
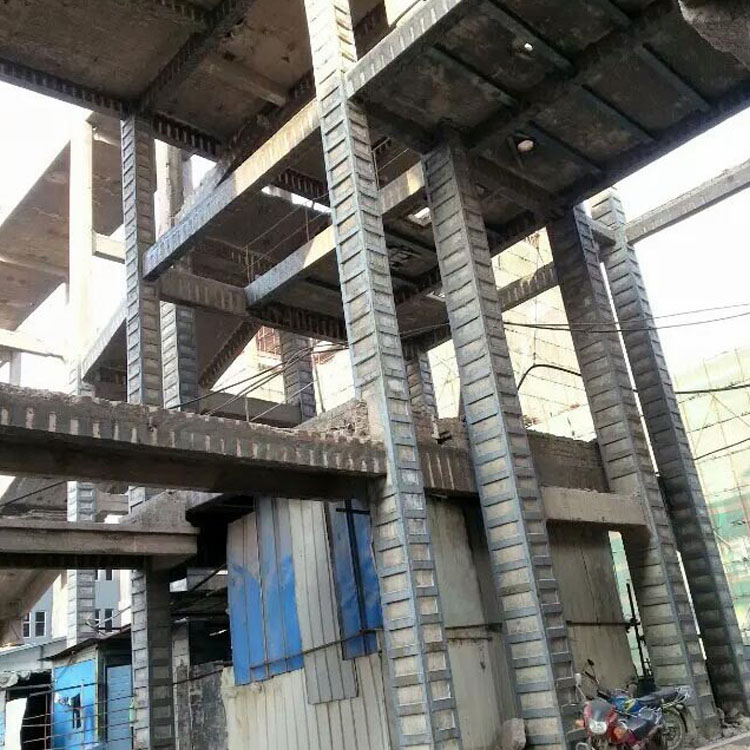
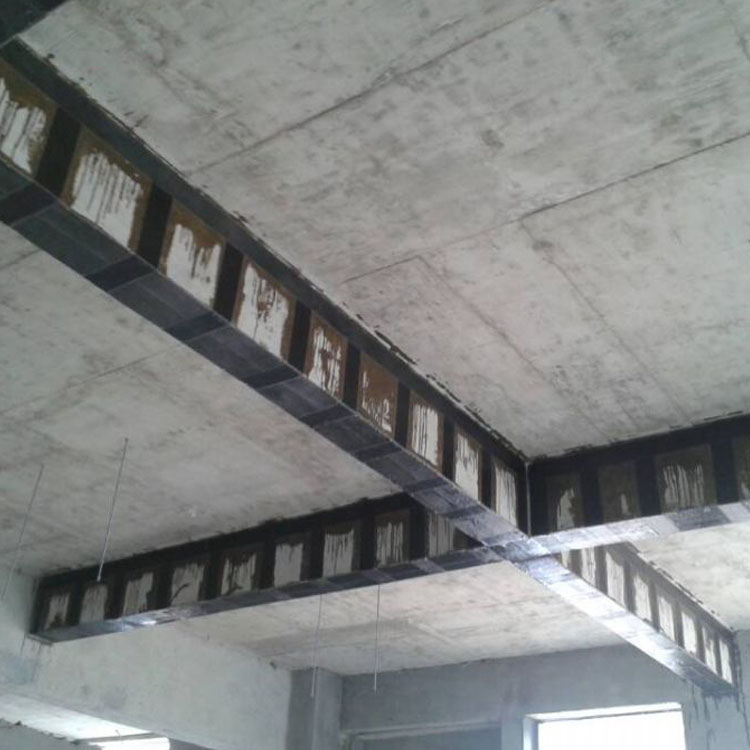
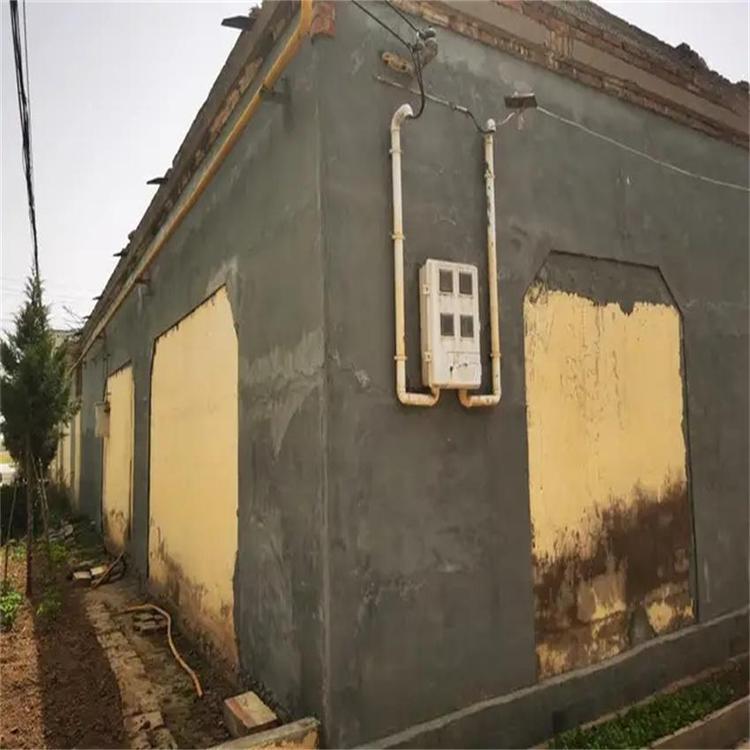
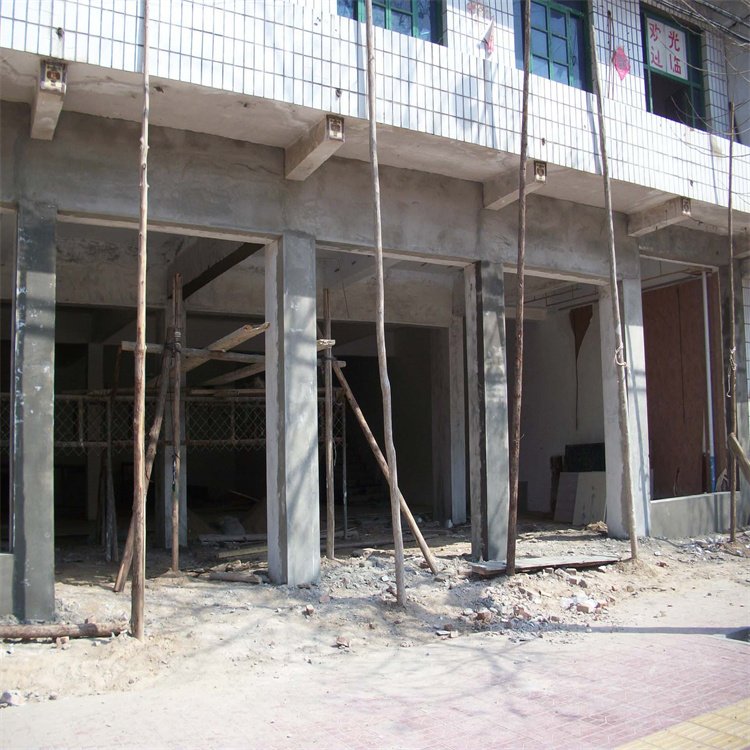
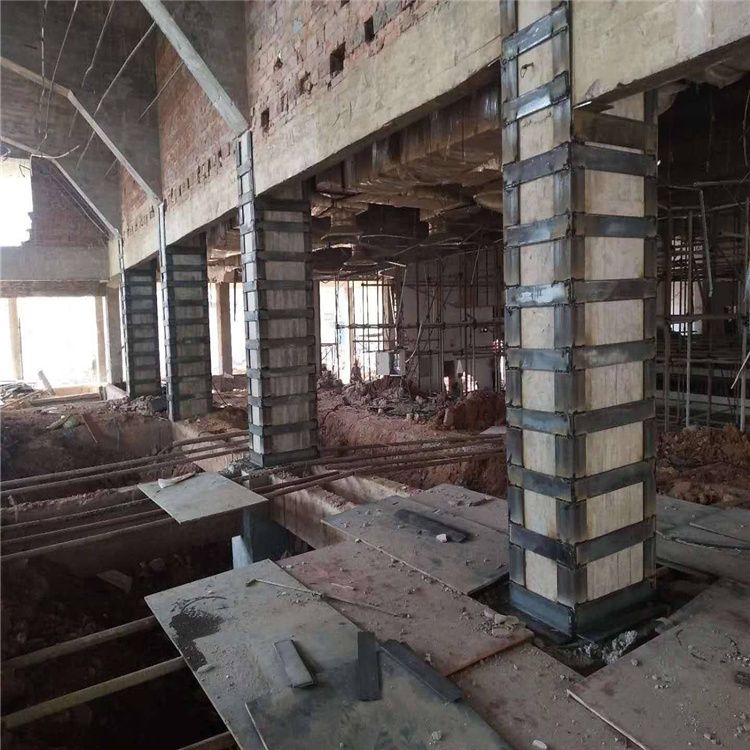
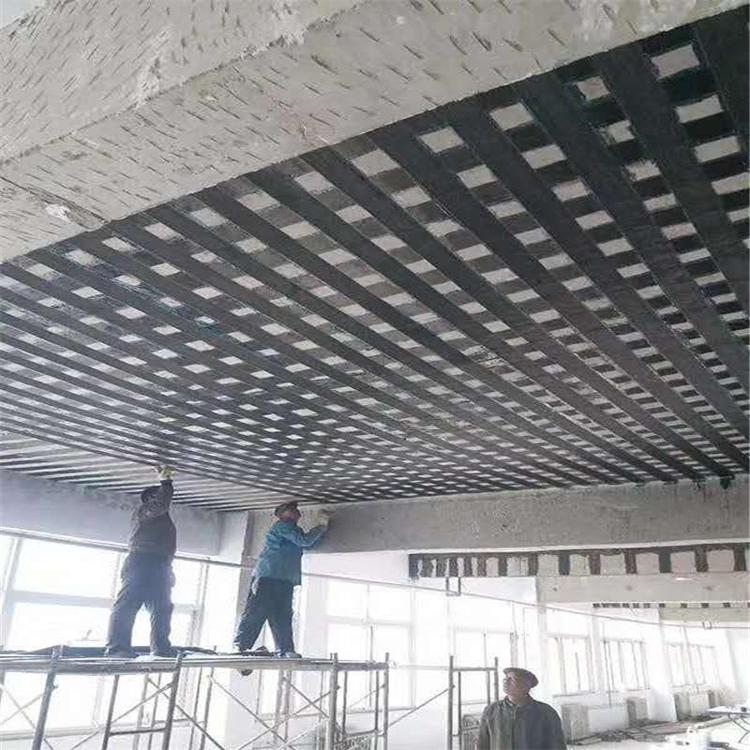
1. Additional beams, floor slabs, walls, pillars, etc., for the building.
2. Reinforcement for walls, columns, beams, etc.
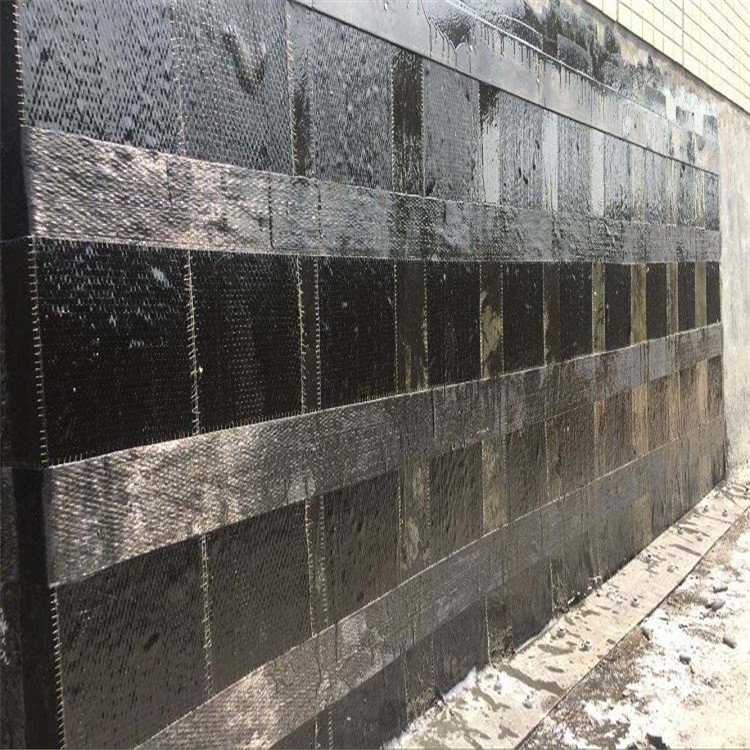
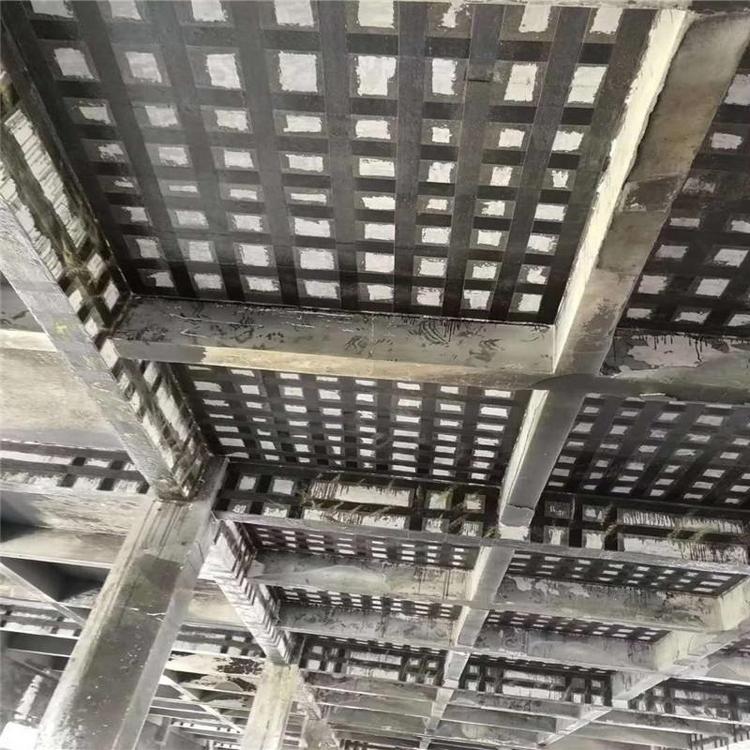
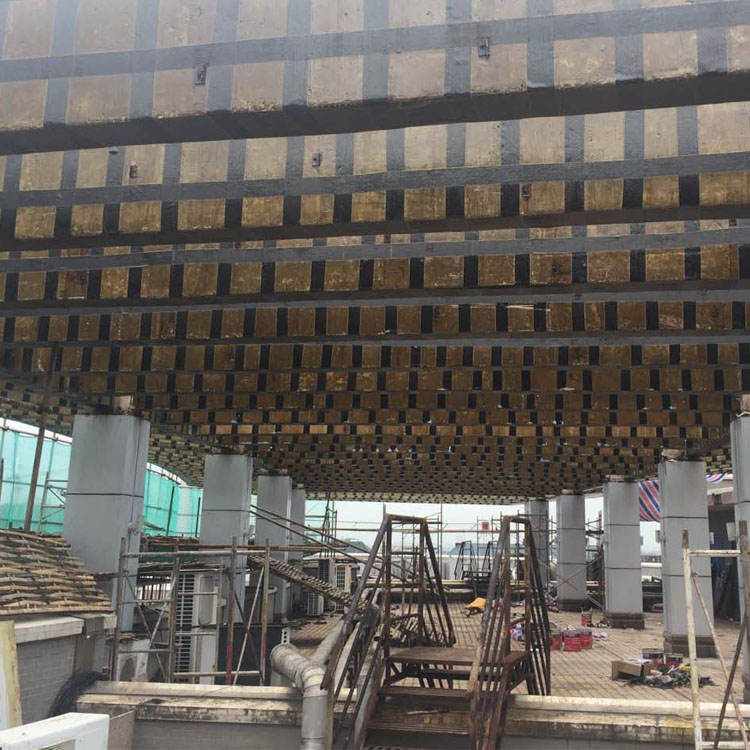
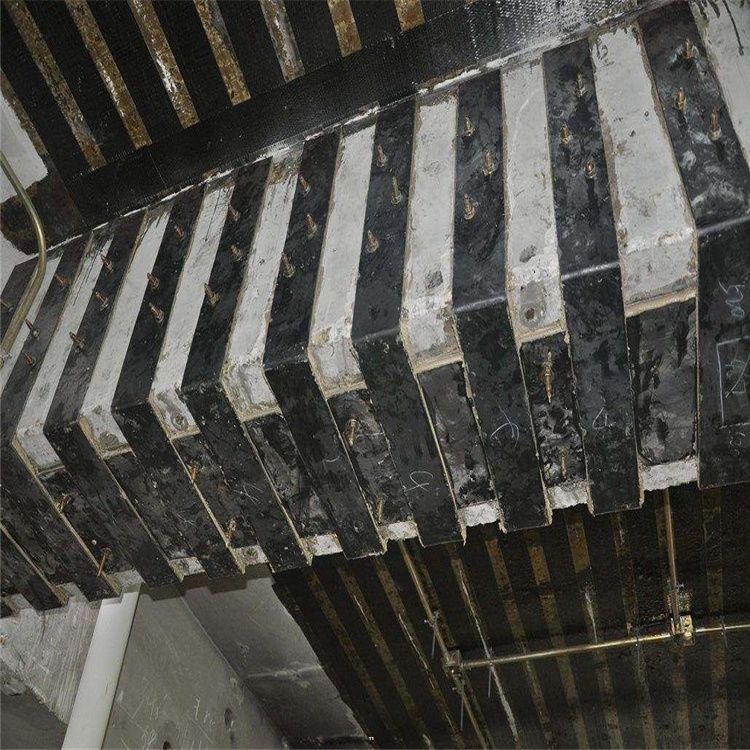
3. Increased cross-section reinforcement for bridges and columns, with added knee braces and horizontal reinforcement.
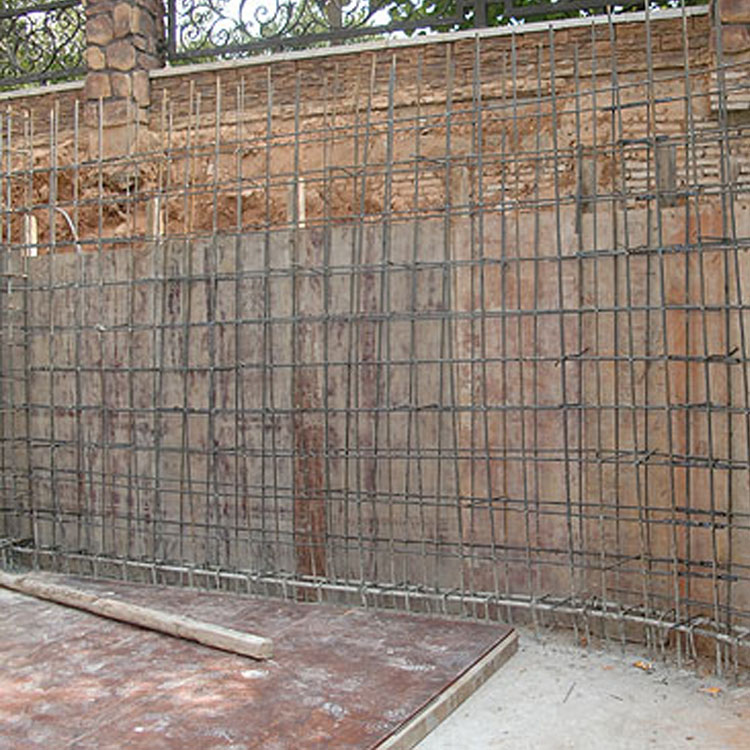
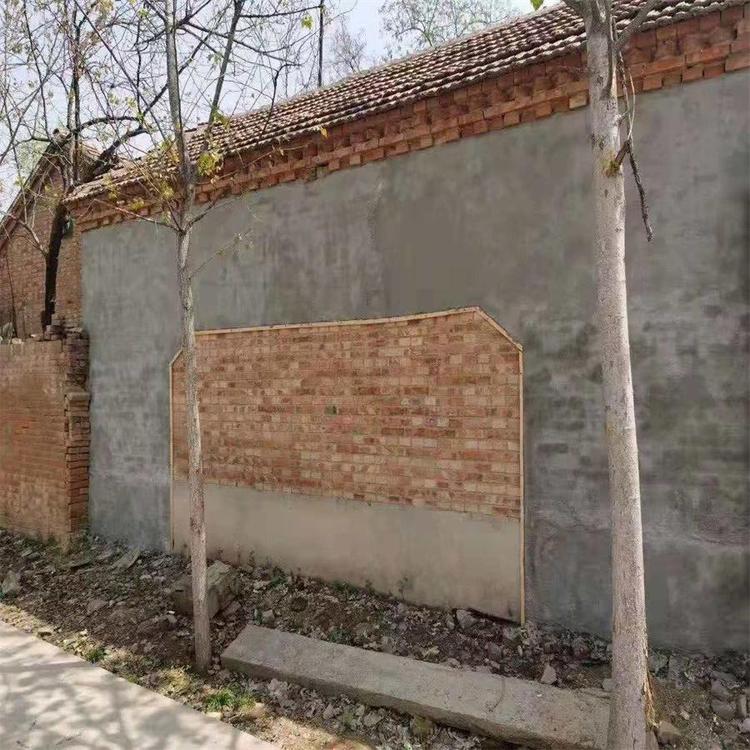
4. Thicker wall with tieback rebar reinforcement.
5. Reinforcement tie bars for structural layered column capitals, horizontal embedded bars for beam extension, columns added on beams, vertical embedded bars, foundation and continuous wall embedded bars, precast beam repair embedded bars.
6. Facade embedment.
7. Machinery and equipment fixation.
8. Anchoring for rocks, brick masonry, etc.
What are the specific steps for rebars reinforcement?
Drilling → Deburring → Gluing → Screw in rebar or bolt → Curing
Boring: Bore according to the specified technical parameters.
2. Debris Removal: First, use an air compressor to blow out all the loose dust inside the hole. Then, use a brush to scrub off the dust adhering to the hole walls, repeating this process multiple times until the hole is completely clean.
3. Filling with Adhesive: Install a static mixer on the adhesive bottle, first挤出a small amount of un均匀 mixed adhesive at the front end using the nozzle, then inject adhesive into the hole, ensuring the filling order from the bottom to the top of the hole. Avoid introducing air bubbles as much as possible, and fill the adhesive to more than 2/3 of the hole's depth.
4. Screw in rebar or bolt: Screw the rebar or bolt into the hole and pull it up and down a few times to ensure even adhesive distribution. Under normal temperature (25℃), the curing time is 24 hours. Do not disturb the rod during this period, and it can bear loads after curing.
Our company is customer-centric, quality-focused, and firmly adheres to the philosophy of "mutual benefits and interests." We are committed to serving you热情 with enthusiasm and rewarding our customers with competitive prices.
WeChat Official Account

Scan to follow Official Account