


What are the steps for steel structure installation? What points should be noted during the installation process?
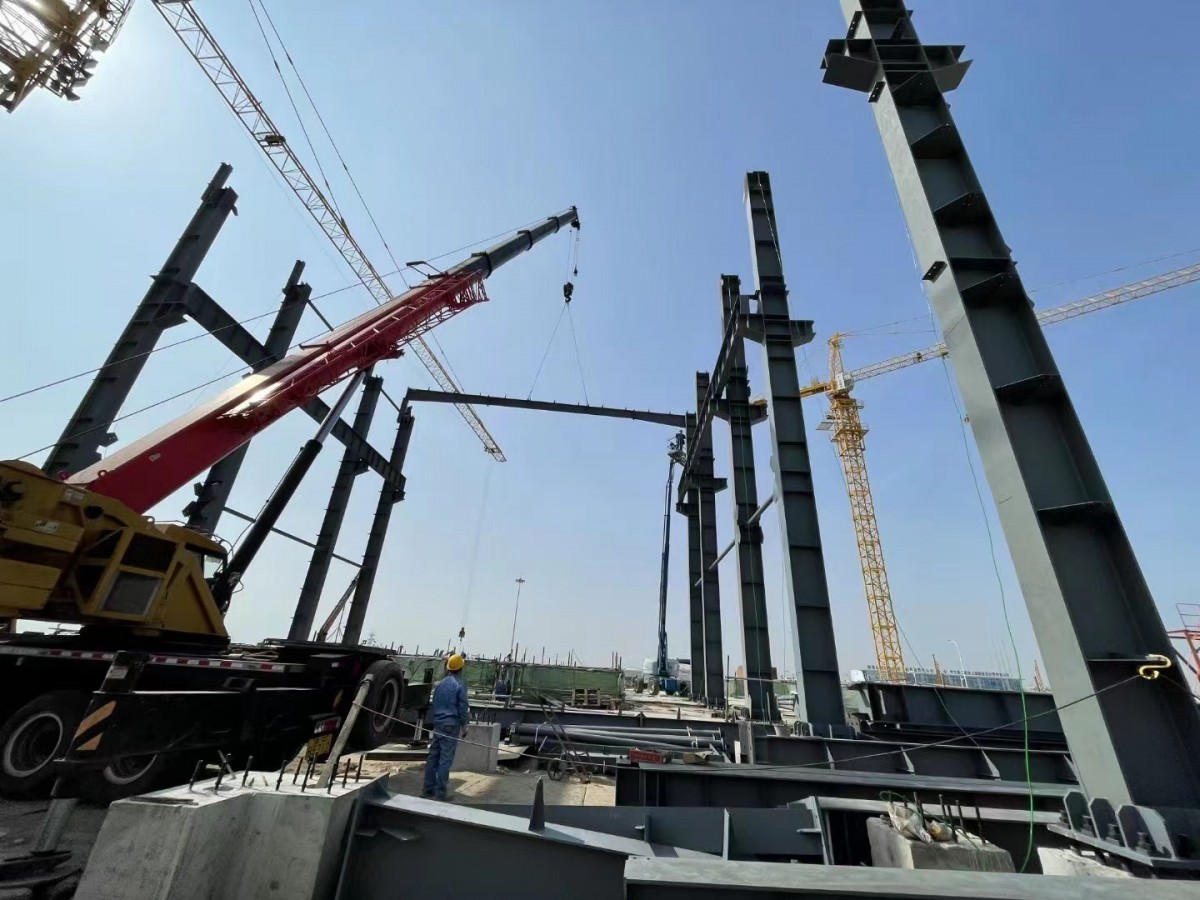
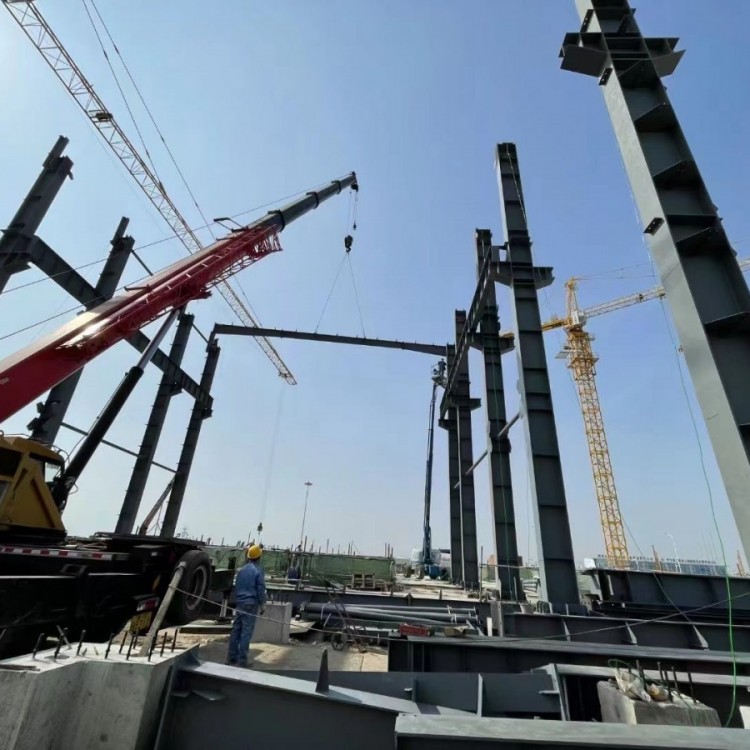
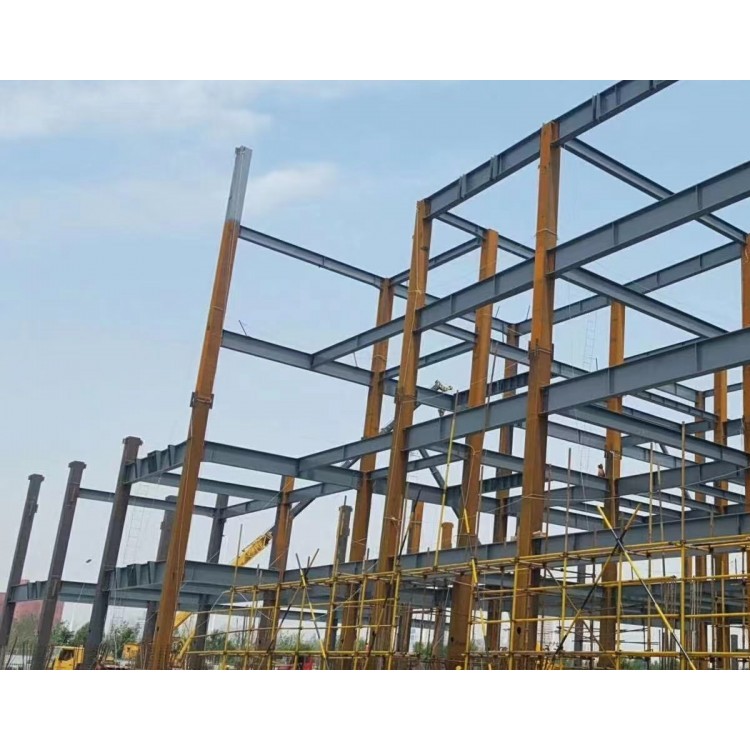
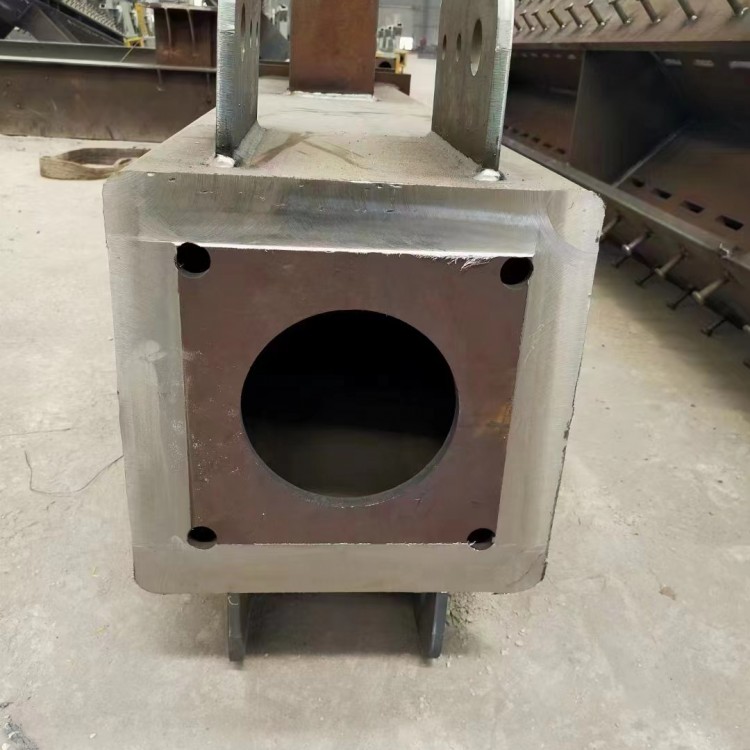
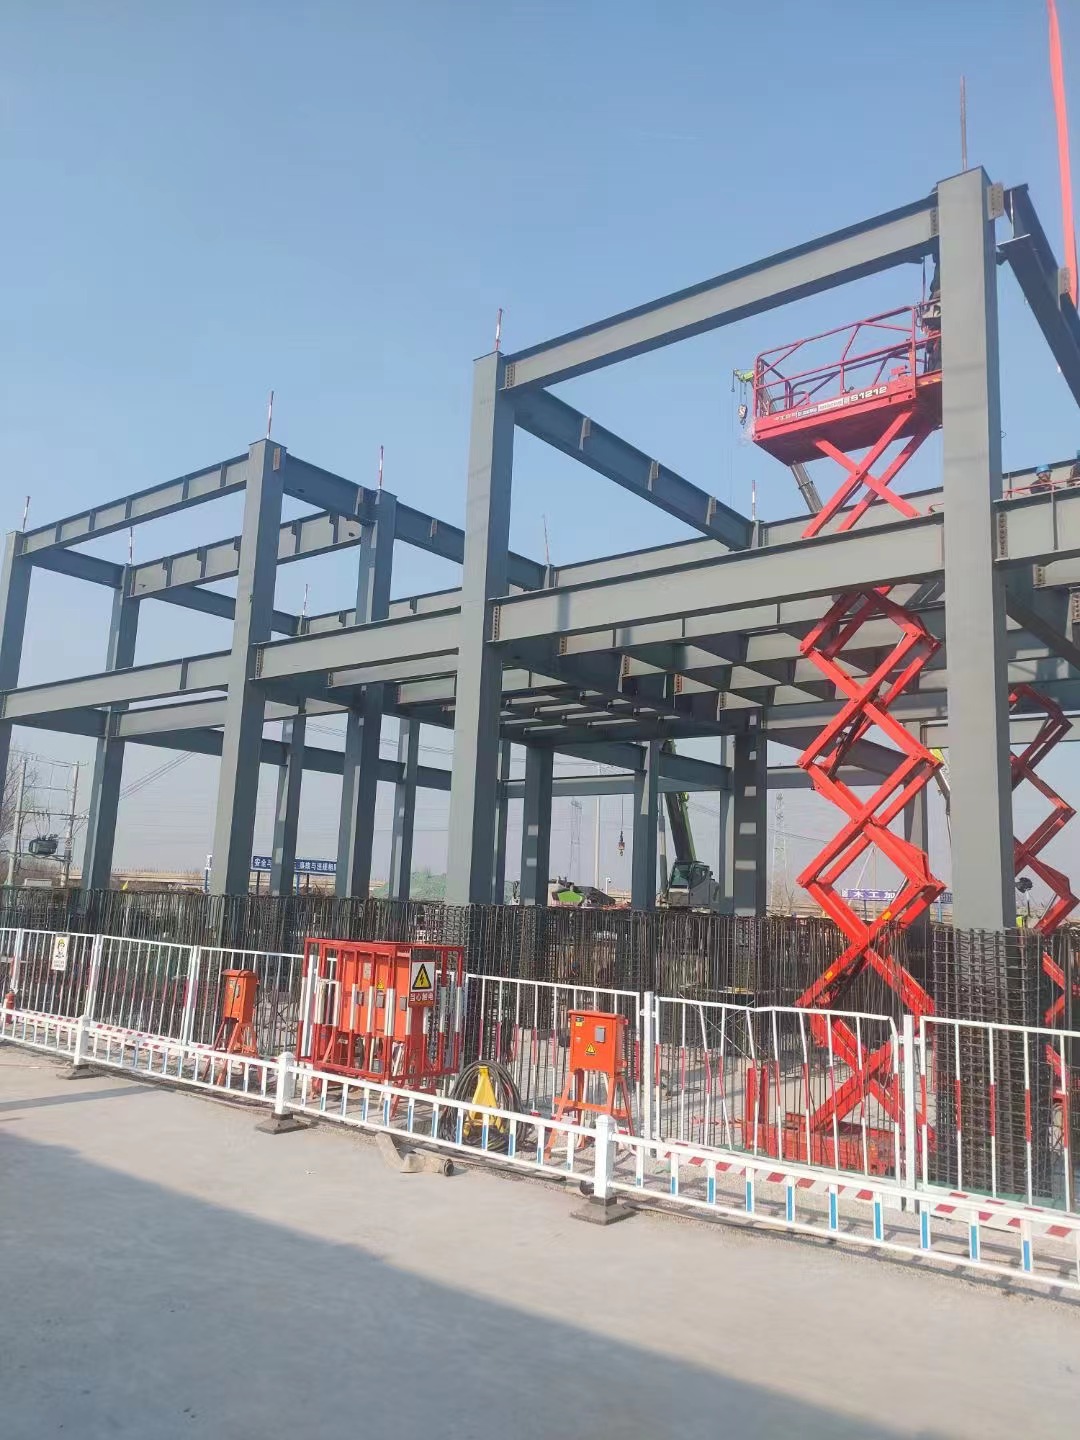
Pile Installation: To eliminate the impact of length manufacturing errors on the pile elevation, before hoisting, measure 1m downwards from the flat surface of the bracket as the theoretical elevation cross-section, mark it clearly, and use it as the reference for adjusting the pile elevation. On the upper surface of the pile base, mark the cross-axis lines intersecting vertically and horizontally through the center of the pile, which serve as the reference for pile installation positioning. During installation, align the cross-section lines on the pile with those on the foundation, first use a level to adjust the pile elevation based on the marked theoretical elevation on the pile, then securely position it with shims and tighten the anchor bolts. Use two theodolites to correct the verticality of the pile from the two axis directions, and tighten the bolts with double nuts once the requirements are met. For single-pile unstable structures, temporary protection measures with guy wires can be employed. For piles designed with inter-pile supports, the installation of inter-pile supports can enhance structural stability.
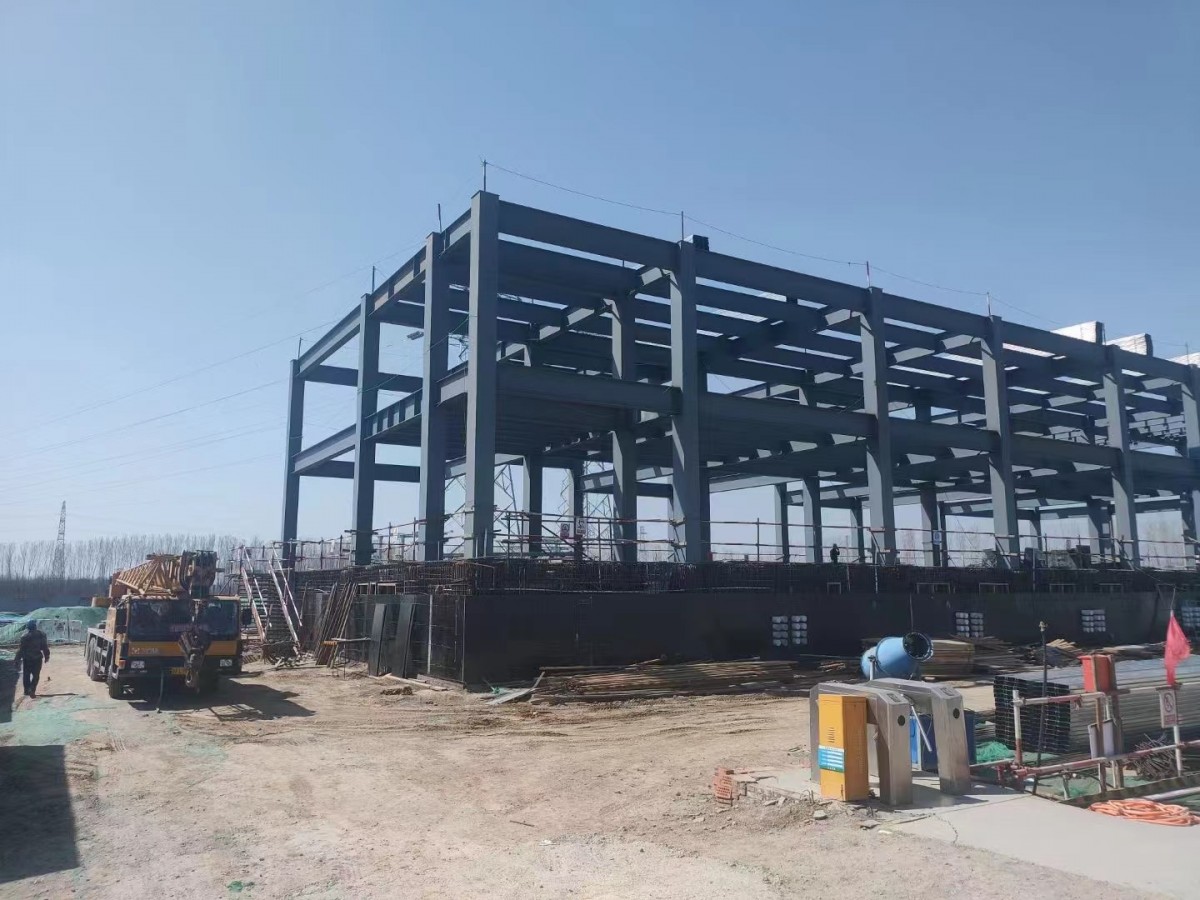
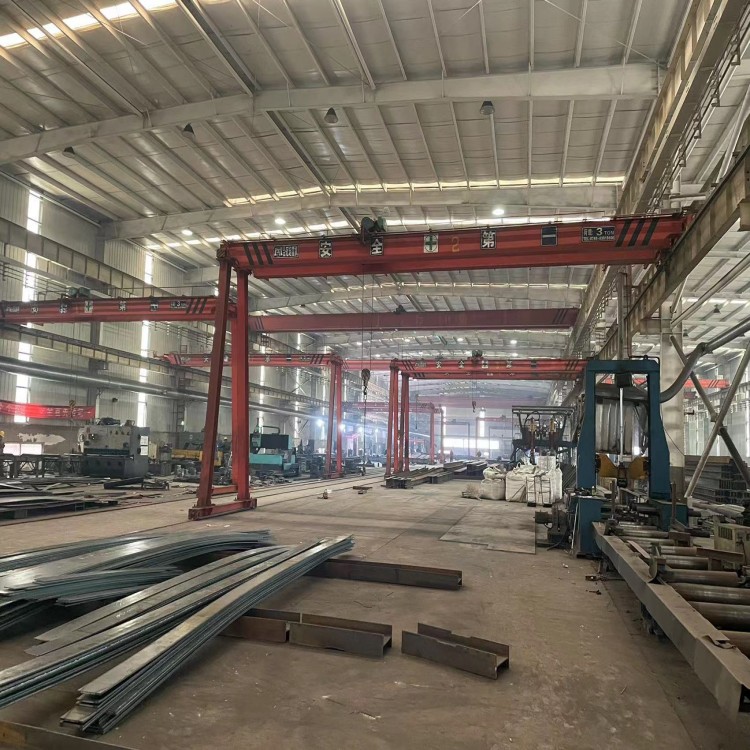
Cranage Beam Installation: Before installing the crane beam, it must be inspected to ensure no deformation exceeds the limit. Once the single crane beam is hoisted into place, it should be promptly connected to the bracket with bolts, and the connecting plate between the beam's top and column should be attached. Adjust using a level and plumb bob, and tighten the bolts once the requirements are met.
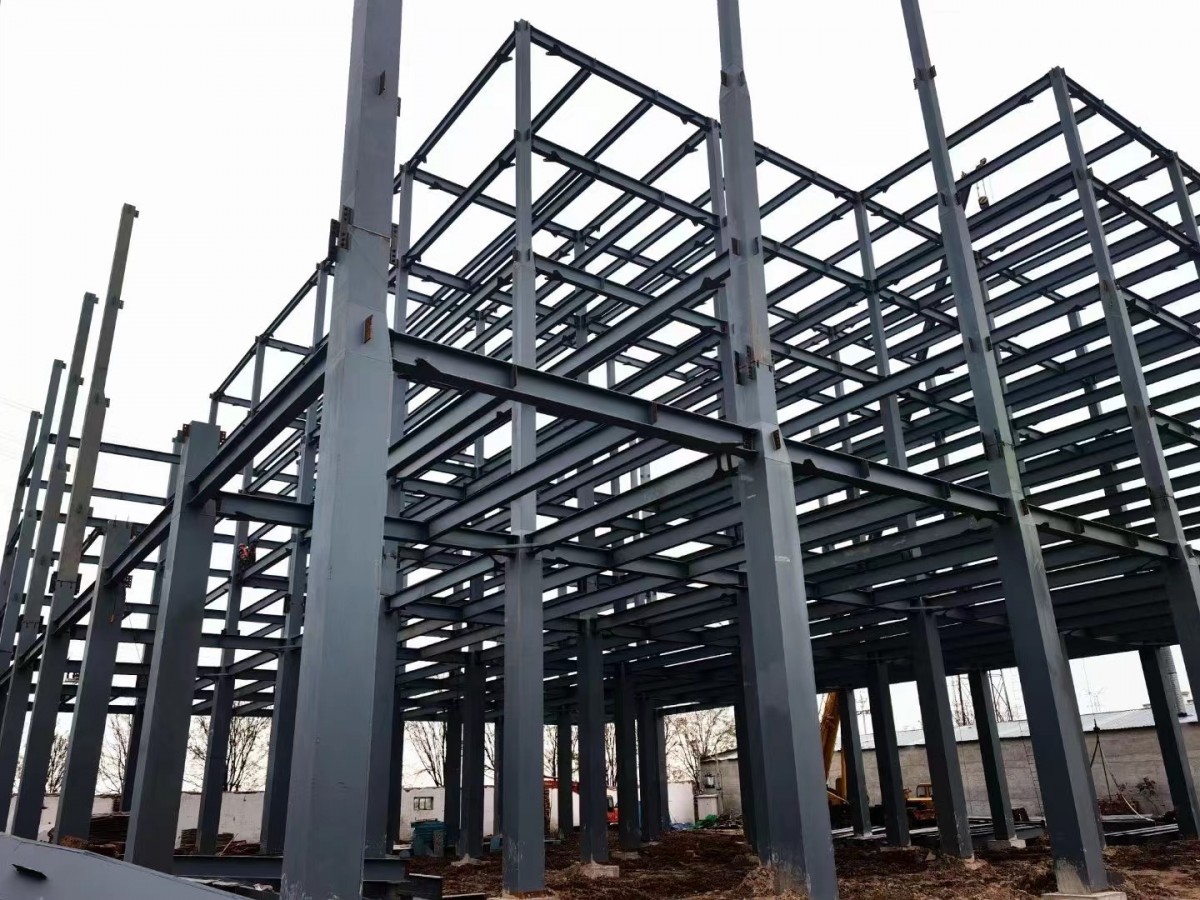
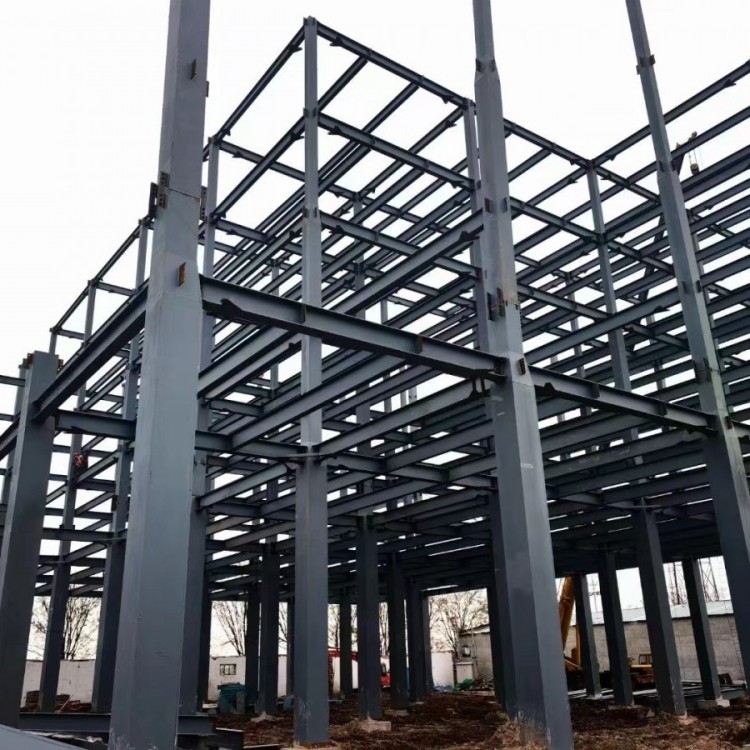
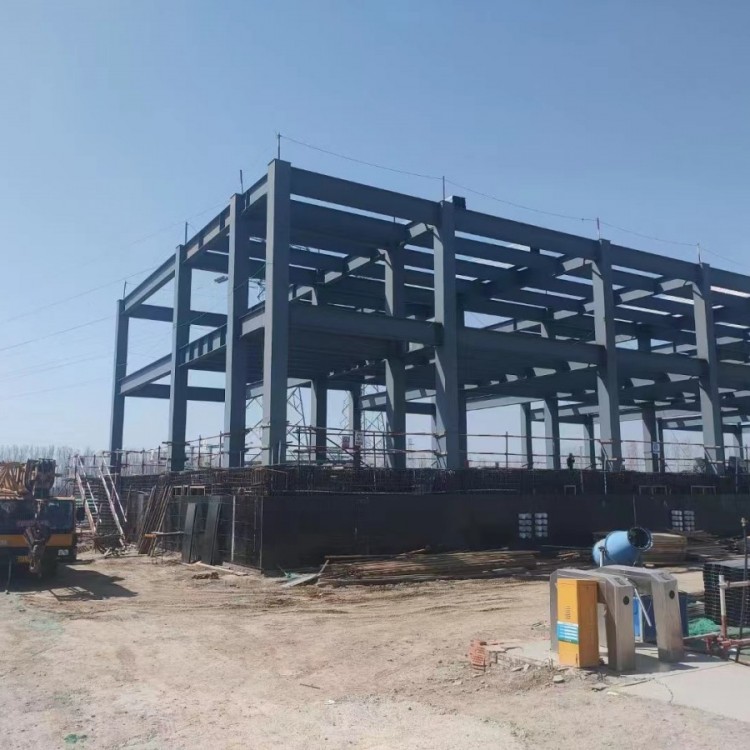
Roof Beam Installation: Before assembling roof beams on-site, check the components. Only proceed with ground assembly if the components are not deformed beyond limits, high-tension bolts have friction surfaces free of dirt and debris, and the surfaces are smooth and dry. During assembly, use oil-free sleepers to elevate the components, and support both sides with wooden props for enhanced stability. Assemble the roof beams in units between two columns. After unit assembly, inspect: 1) the straightness of the beams; 2) the spacing dimensions of bolt holes for connections to other components (e.g., pillars). Adjust and inspect to meet requirements before tightening the high-tension bolts.
Attachment Installation: The installation of roof and wall purlins is carried out simultaneously. Before installing the purlins, inspect the deformation of the components, and address any exceeding limits. Clean the surface of the components of oil, mud, and sand. Assemble several purlins into a group and hoist them together. After completing the installation in one span, check the slope of the purlins. The straightness of the purlins must be controlled within the allowable deviation; otherwise, adjust using the connecting bolts (and add washers if necessary).
Re-inspection and adjustment, welding, touch-up painting: After hoisting, re-inspect and adjust all components; upon meeting design requirements, perform on-site welding, and repair paint damage on components.