


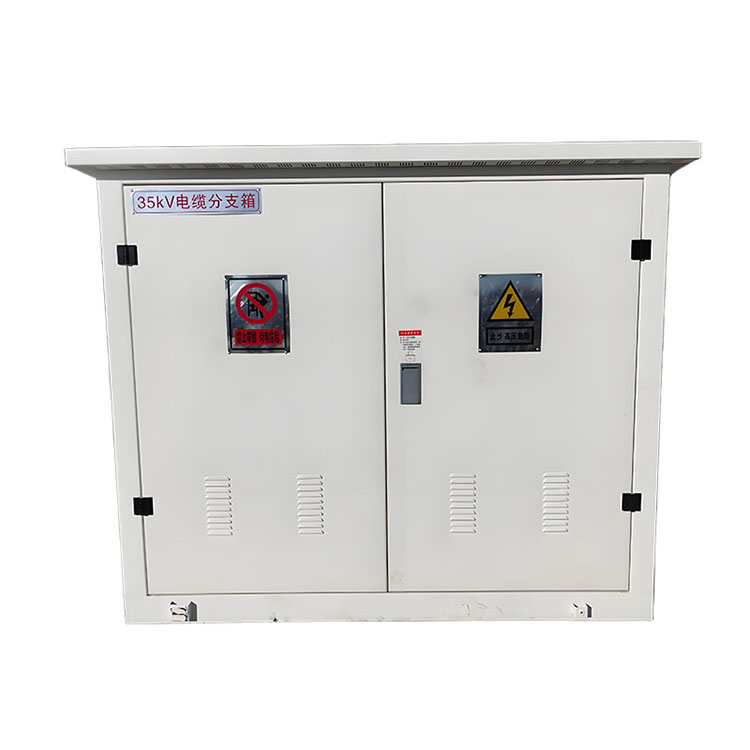
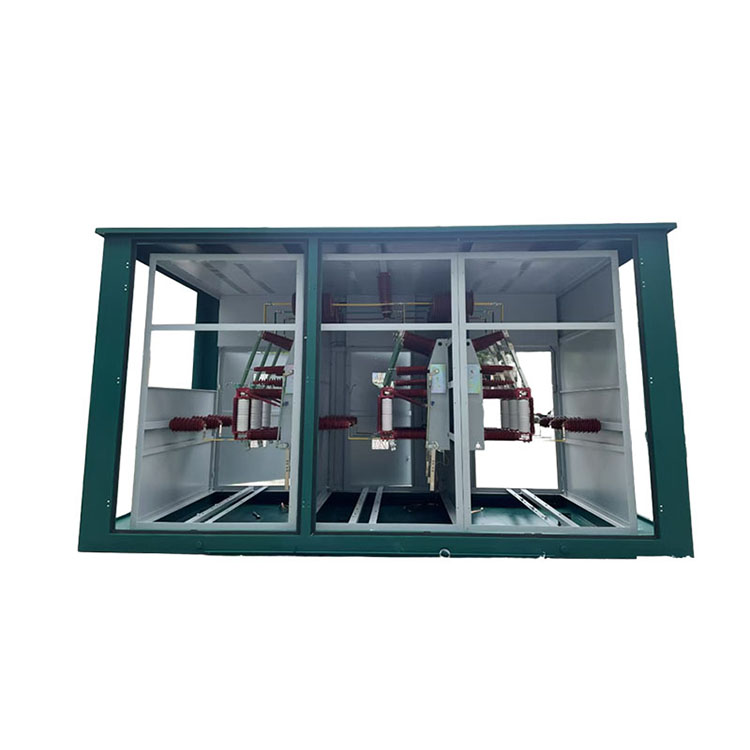
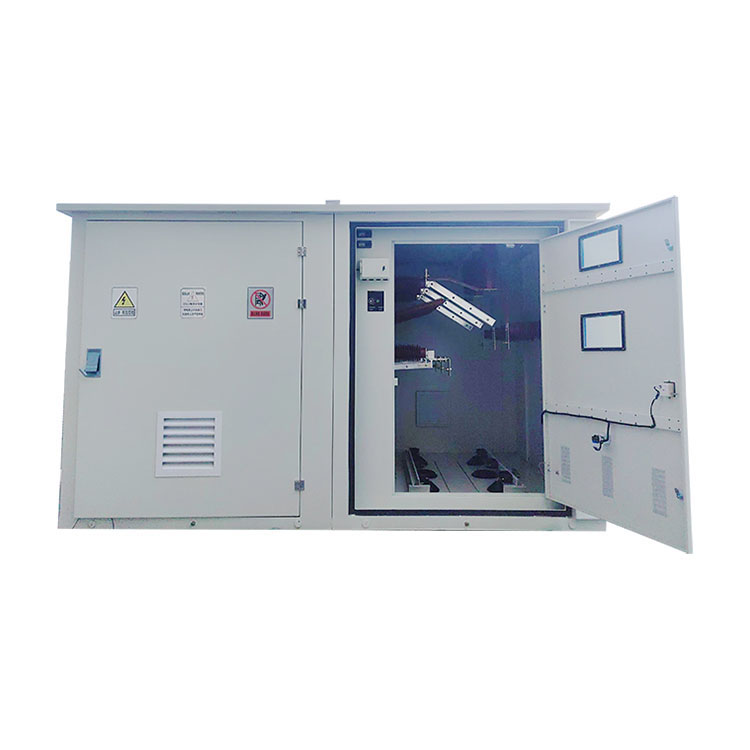
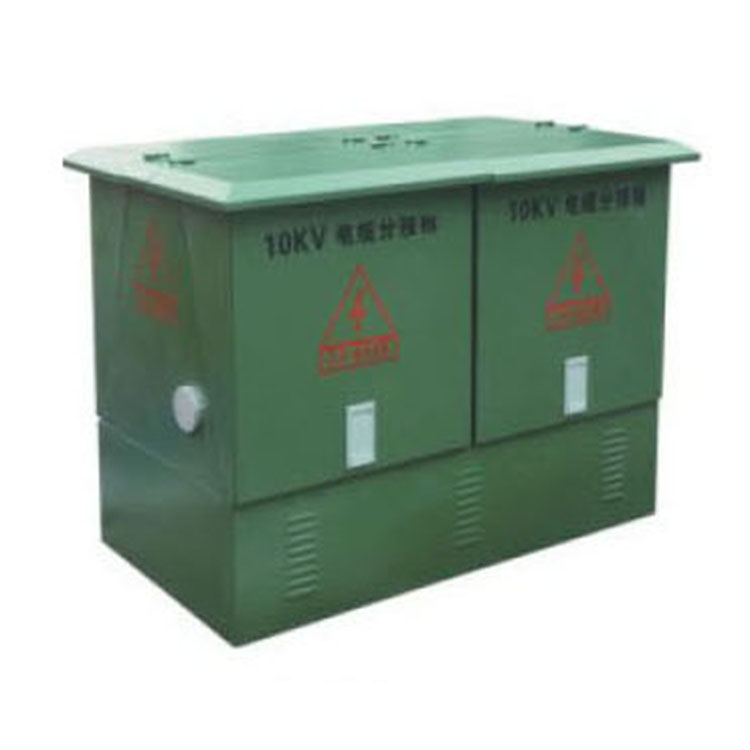
I. Product Overview
Technical requirements for design, manufacturing, and use of cable sheath protection earthing boxes, direct earthing boxes, cross-connection boxes, and sheath insulation monitoring boxes.
Section 2: Execution Standards
GB11032-2000、IEC6009-4、DL/T401-2002
Section 3: Application Scope
System rated voltage: 10KV
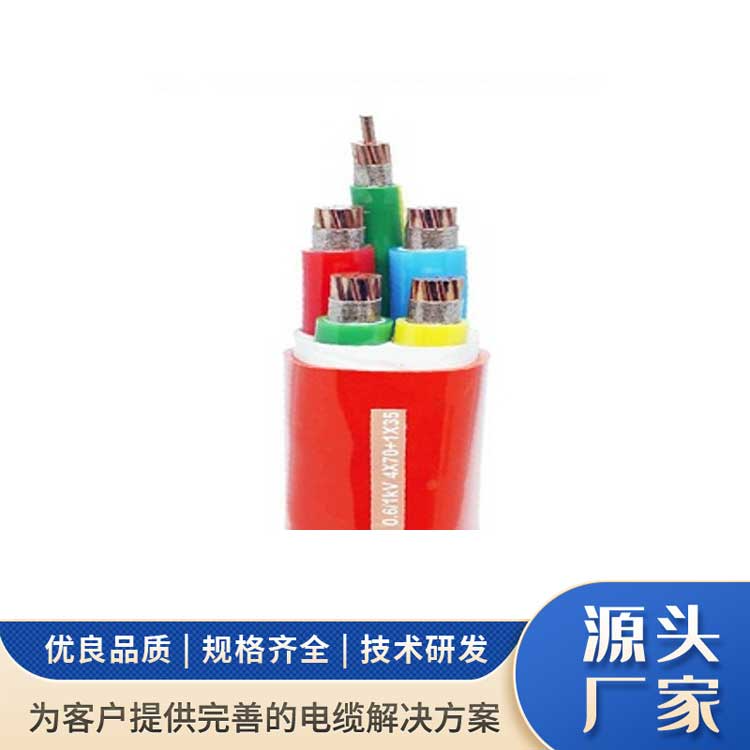
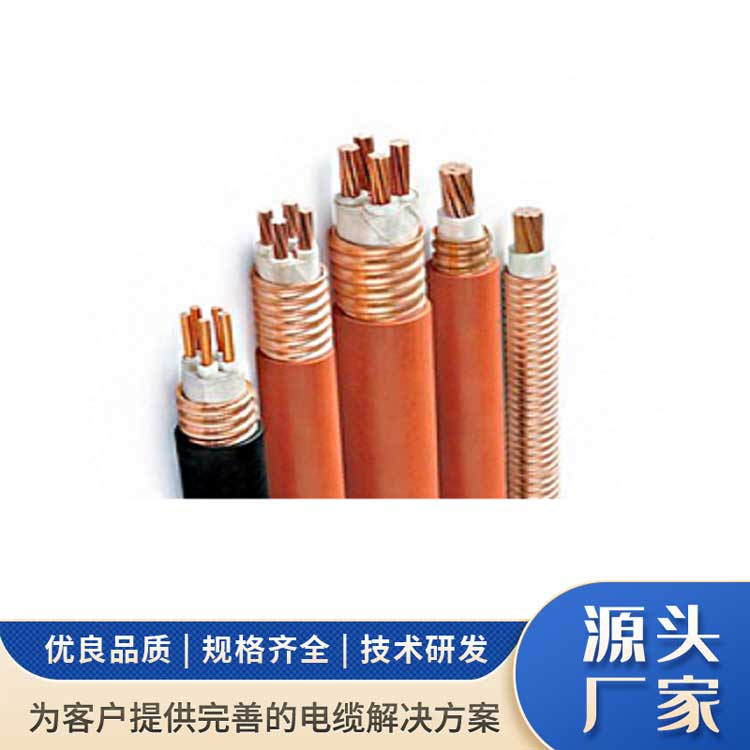
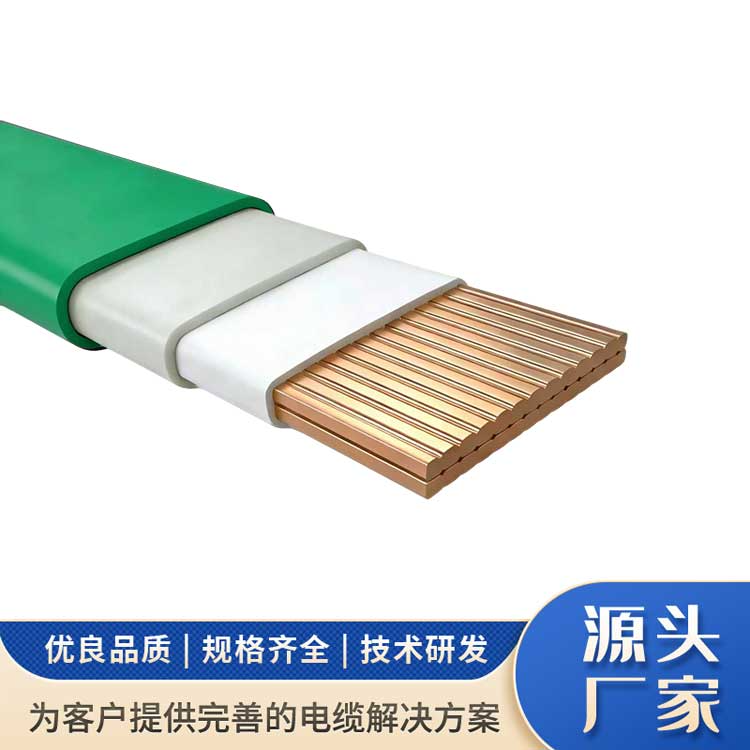
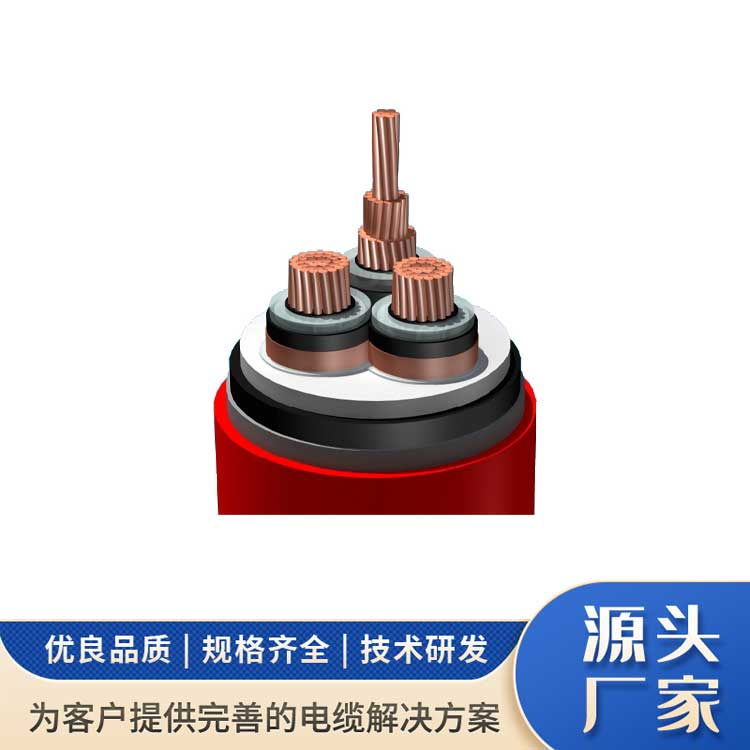
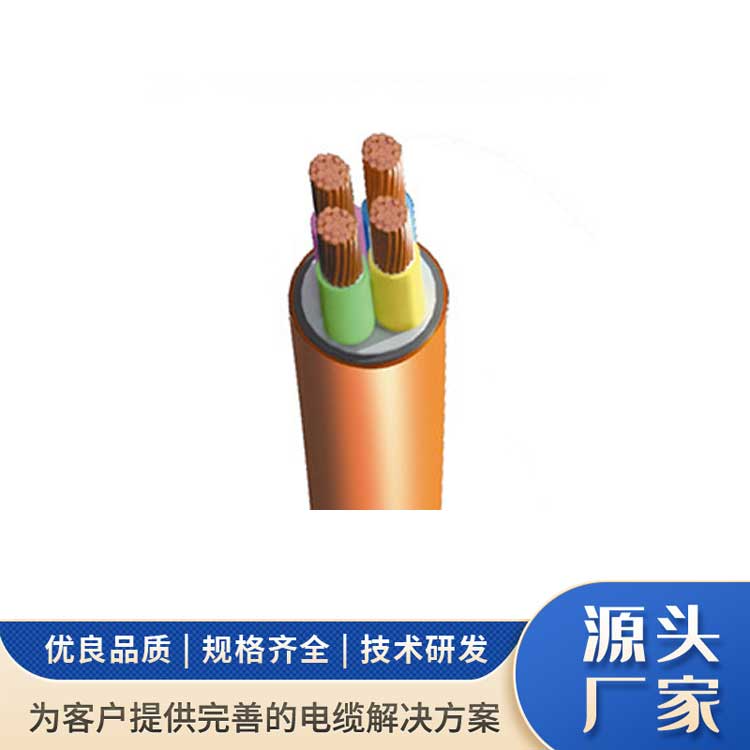
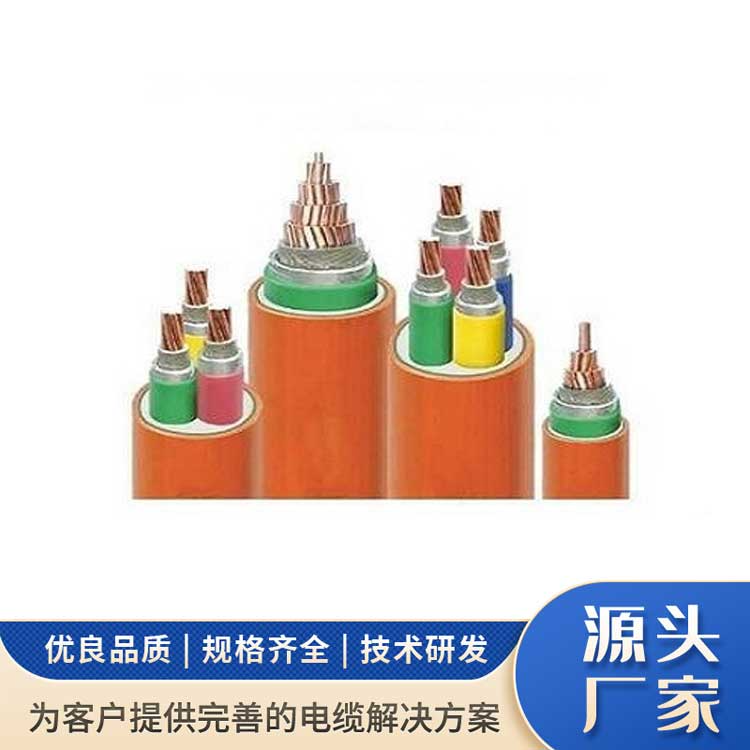
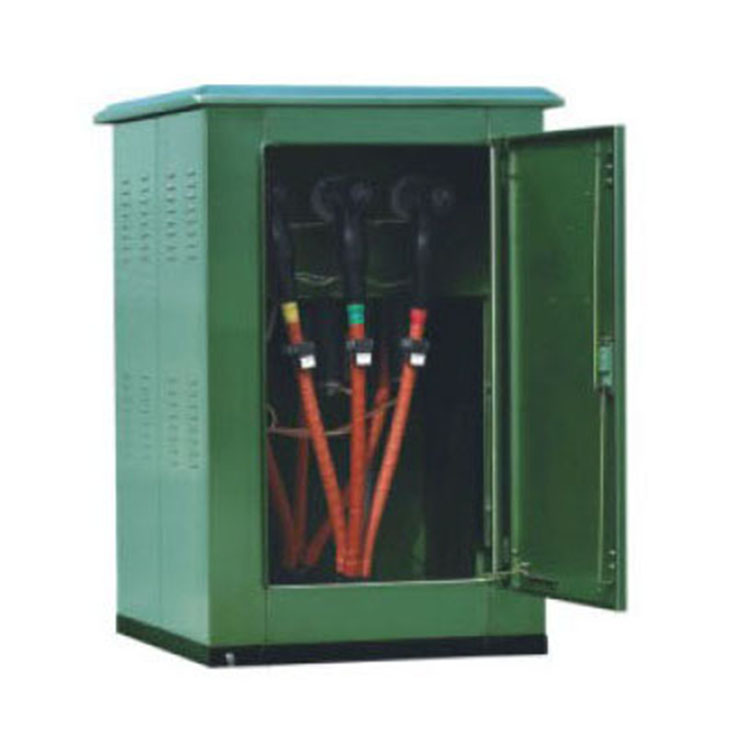
Cable Nominal Section: 25-800 mm²
Rated Frequency: 50Hz, 60Hz
Protective earthing box, direct earthing box, cross-connection box, and sheath insulation monitoring box are for three-phase common body; please specify if single-phase is required.
Four, Factory Testing (Test Standard JB8144)
DC High Voltage Test: 5.5KV, 1 min, no flashover, no breakdown.
2. Rated short-circuit current duration: 4S
3. Rated Short-Time Current Withstand (Main Circuit) 20KA
4. Rated Peak Current Tolerance (Main Circuit) 50KA
5. Rated lightning impulse withstand voltage: 185KV
6. Shell Endurance to Mechanical Stress Test: Shell is free from cracks and any damage that would affect electrical performance.
V. Installation Method
Wall-mounted, underground, bracketed, freestanding, concealed (flush-mounted), etc.
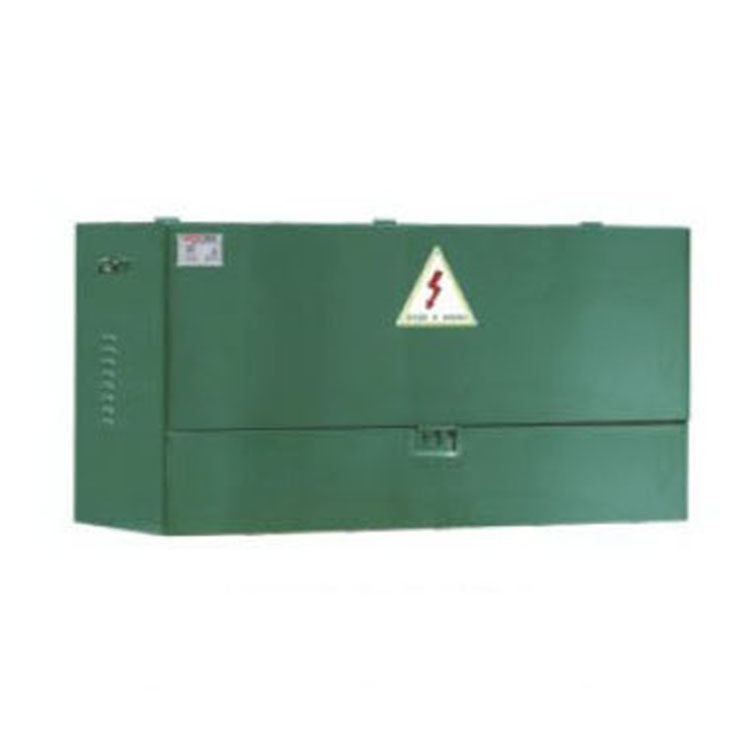
Section 6: Material Used for the Case
Stainless Steel 304, SMC Composite, DMC Glass Reinforced Plastic.
Section 7: Enclosure Operating Environment
Temperature: -25-40℃
Altitude: Below 3,000 meters; please specify if above 3,000 meters.
Protection Grades: IP55, IP56, IP65, IP66, IP68, etc.
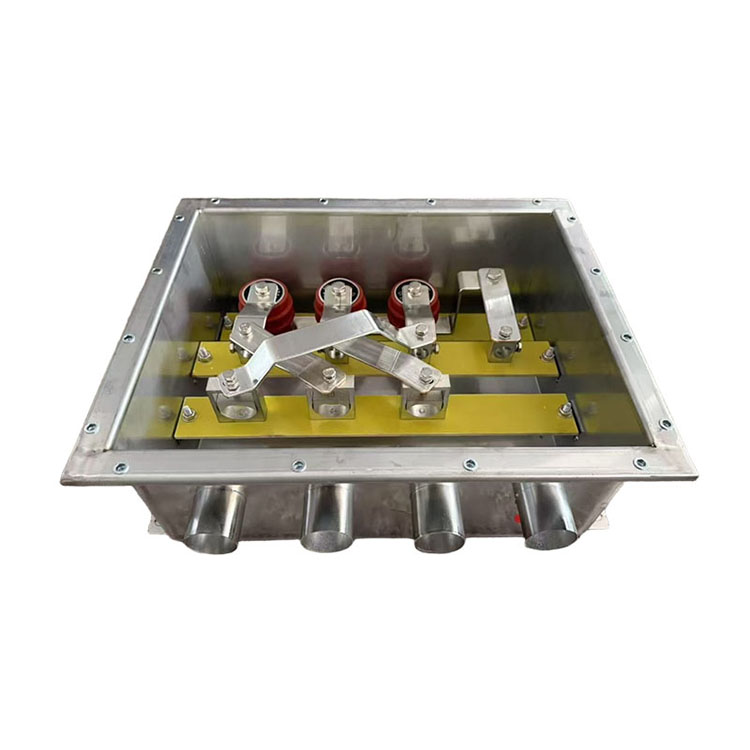
8. Installation Process
1) Strip the cable insulation to ensure the exposed wire length matches the length of the terminal socket holes.
2) Clear the items inside the box.
3) Remove the terminal blocks inside the box, then crimp the stripped and cut ground cable to the terminal blocks, and finally insert the terminal blocks into the box's entry port and secure them with screws.
4) Secure the first cable before inserting the second cable. Repeat step 3 until all four cables are properly fastened.
5) Fill in rubber strips between the outlet conduit and the cable, securing the cable in the center of the conduit.
6) Seal the outlet pipe opening with waterproof tape.
7) Shrink the heat shrink tubing on the outgoing pipe.
8) Seal both ends of the heat shrink tube with rubber insulating tape.
9) Wrap PVC tape over the waterproof strip, partially overlapping to cover two layers.
10) Clear the items inside the box.
11) Secure the sealing pad and lid, ensuring not to tighten the screws all at once. Tighten them in three stages, turning each screw three times. Failure to do so may cause the lid to deform.
12) Simply secure the box to the designated location.