


During the renovation of a house, the key is not the style or quality, but the dimensions and flatness. Only when these two factors are in place can the above situations be achieved. Otherwise, more often than not, achieving perfect style is unattainable. One difficult operation is leveling, and sometimes it's a challenge to remove the leveling tool. So, how do you remove a tile leveling tool? How do you level tiles?
How to remove the tile leveler?
The sequence and method for dismantling leveling templates should be carried out in accordance with the design specifications for paneling, adhering to the principle of first supporting and then dismantling, starting with non-load-bearing sections before load-bearing sections, and working from top to bottom. It is strictly prohibited to use sledgehammers or prybars to forcefully dismantle the molds.
1. First remove the side molds, then the load-bearing molds.
2. Large composite panels should be dismantled in large, whole pieces.
3. Support and connecting parts should be removed with the components. Templates should be removed and passed in blocks; damage to the templates and concrete should be avoided during removal.
4. Removed templates and accessories should be neatly stacked by category, with attachments stored in the toolbox.
How to level tiles
1. Cement Mortar Levelling: Suitable for various floor surfaces and for levelling before laying various types of flooring. Excessive thickness (25-35mm) can lead to surface spalling, sanding, dusting, and cracking if the cement mortar mix is incorrect. Floors (including laminate floors) create gaps with the levelling layer, causing compressed dust to disperse outward when stepped on. The dust then escapes through expansion joints and spreads through the gap in the skirting boards, resulting in dust dispersion. Additionally, improper cement mortar levelling can lead to hollow sounds.
2. Gypsum Leveling: Suitable for local leveling without raising the ground, with a thickness of approximately 5-20mm, causing minimal impact on room height. Dries quickly, is relatively inexpensive, and is easy to install. However, it is only recommended for leveling in small areas.
3. Self-leveling leveling: No segregation (various components in the cement slurry do not separate throughout the construction process and after hydration), no sanding, no dusting, no cracking; low shrinkage rate, typically between 0.3% to 0.4%, no cracking on the surface after hydration. The shrinkage rate of ordinary cement is higher, which often leads to cracking. The construction thickness is relatively thin, ranging from 2 to 5mm. The surface can be walked on after 4-8 hours of construction, and flooring can be installed after 36-48 hours. However, it must be done throughout the entire room, not just in parts.
Laying tiles is a crucial step in renovation, and the quality of the master's skills affects the overall look. In the past, most masters laid tiles manually, often dealing with frustrations like uneven铺设, bumps, uneven gaps with varying sizes, hollow tiles being crushed leading to damage and peeling off; repeatedly aligning the baseline, resulting in slow and labor-intensive work.
Now with technological advancements, the tools for tiling are also evolving. Many people are now using the tile铺设 magic tool, which helps us perform installations more perfectly and error-free. Have you heard of the tile laying magic tool—the tile leveler?
Tile Leveler Types
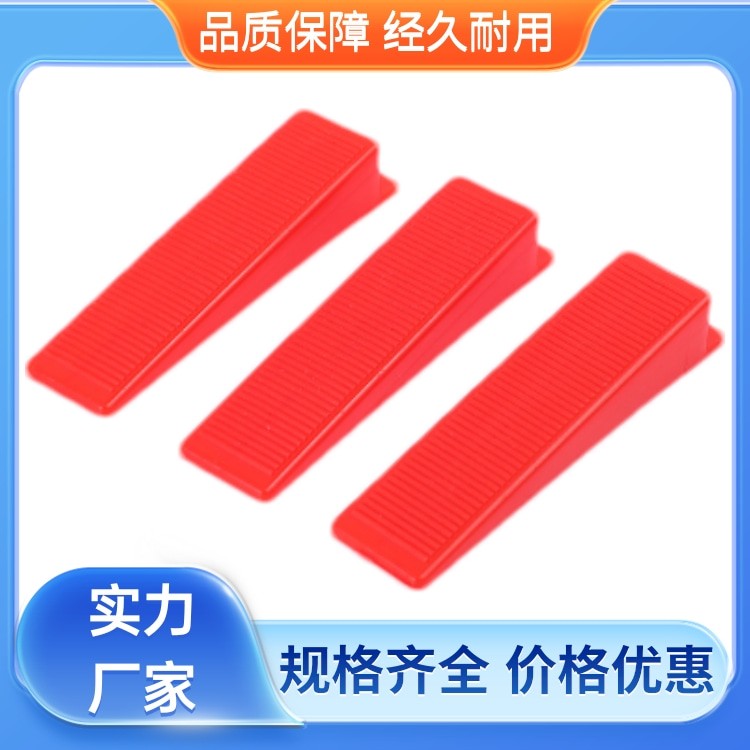
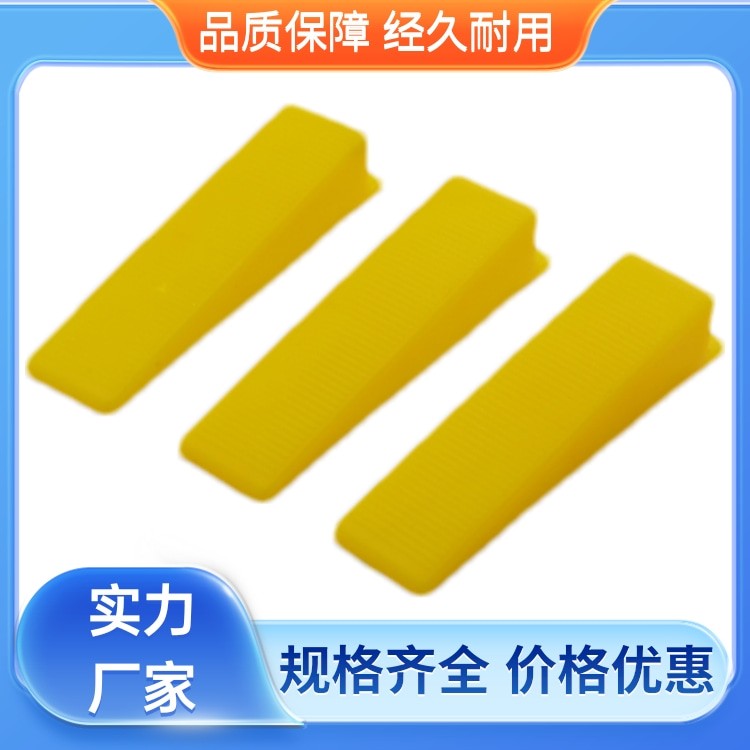
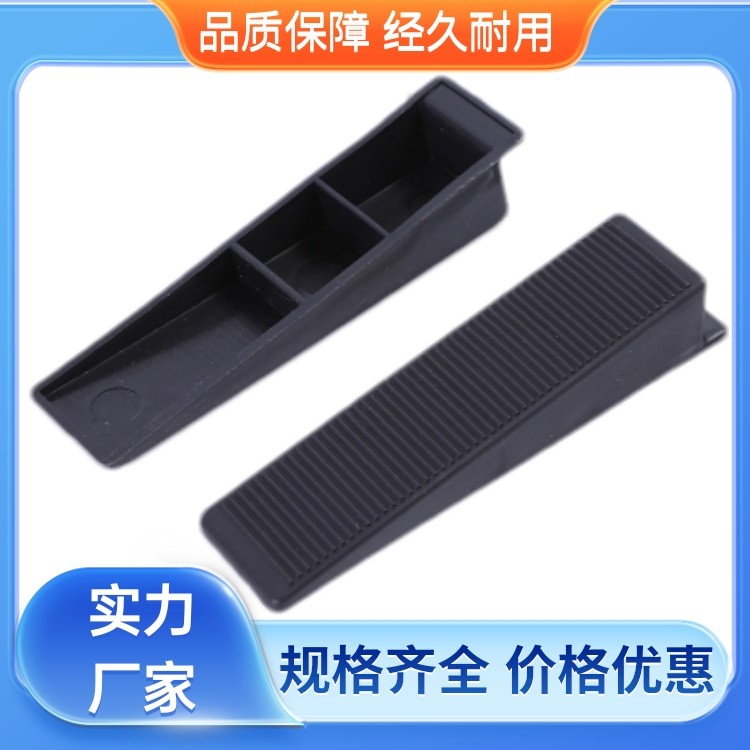
1.楔子款 -楔子付款
Composed of a push-in clamp, a wedge, and a base, the push-in clamp and wedge are reusable, while the base is not. Common base sizes on the market include 1mm, 1.5mm, 2mm, 2.5mm, and 3mm. The variation in bases mainly depends on the width of the tile gap specified by the customer.
2. T-shaped steel needle style
They are divided into non-replaceable needles, replaceable needles without a level, and replaceable needles with a level; all are reusable.
3. Cross Groove Tile Spacers
Standard Sizes: 1.0mm, 1.5mm, 2.0mm, 2.5mm, 3.0mm, 4.0mm, 5.0mm, 6.0mm, 7.0mm, 8.0mm, 9.0mm, 10.0mm. Aimed at adjusting the gap between tiles for a neat and uniform appearance, ensuring consistent gaps between tiles. The primary purpose is to accommodate expansion and contraction, preventing tile hollowing due to expansion and contraction pressure.


.jpg)