


During the renovation of a house, the key is not the style or quality, but the dimensions and flatness. Only when these two factors are in place can the above scenarios be achieved. Otherwise, style perfection is often unattainable. One challenging operation is leveling, as sometimes it's difficult to remove the leveling tool. How do you remove a tile leveling tool? How do you level tiles?
How to remove the tile leveler?
The sequence and method for removing leveling templates should follow the specifications of the panel design, adhering to the principle of removing supports before dismantling, non-load-bearing sections before load-bearing sections, and from top to bottom. It is strictly prohibited to use hammers and pry bars to forcibly remove the molds.
First, remove the side form, then the load-bearing form.
2. The assembled large template is best removed in large, whole pieces.
3. Support and connecting parts should be removed with the components. Templates should be dismantled and passed in blocks; no damage to the templates or concrete should occur during removal.
4. Removed templates and accessories should be neatly stacked by category, with attachments placed inside the toolbox.
How to level tiles
1. Cement mortar leveling: Suitable for various floor surfaces and for leveling before laying different types of flooring. If the leveling thickness is too thick (25-35mm) or if the cement mortar mix ratio is incorrect, the surface may powderize, sand up, and crack. Floors (laminated floors) create gaps with the leveling layer. When stepped on, the pressure disperses the floor dust outward, then escapes through the expansion joints. It spreads out through the gap in the skirting boards, resulting in dust飞扬. Additionally, poorly detailed cement mortar leveling may lead to hollowed spots.
2. Gypsum Leveling: Suitable for local leveling without raising the ground, with a thickness of approximately 5-20mm. It has minimal impact on room height, dries quickly, is relatively inexpensive, and is easy to install. However, it is only suitable for leveling in small areas.
3. Self-leveling leveling: No segregation (various components in cement slurry do not separate throughout the construction process and after hydration), no sanding, no dusting, no cracking; low shrinkage, typically 0.3% to 0.4%, and after hydration, no cracks appear on the surface. The shrinkage rate of common cement is high, leading to more cracking. The construction thickness is thin, between 2-5mm. The surface can be walked on within 4-8 hours after construction, and flooring can be installed after 36-48 hours. However, it must be done for the entire room, not just a section.
Laying tiles is a crucial step in renovation, with the master's skills greatly affecting the overall result. In the past, most masters used manual measurements for laying, often encountering such troubles: uneven laying, with highs and lows; uneven gaps, varying in size; hollow tiles being crushed, leading to damage and peeling off; repeatedly aligning to the baseline, slow construction, consuming time and effort.
Now with the advancement in technology, the tools for laying tiles are also evolving. Many people are now using the "laying wizard," which helps us perform work more perfectly and error-free. Do you know about the "tile leveling tool" for laying tiles?
Tile Leveler Types
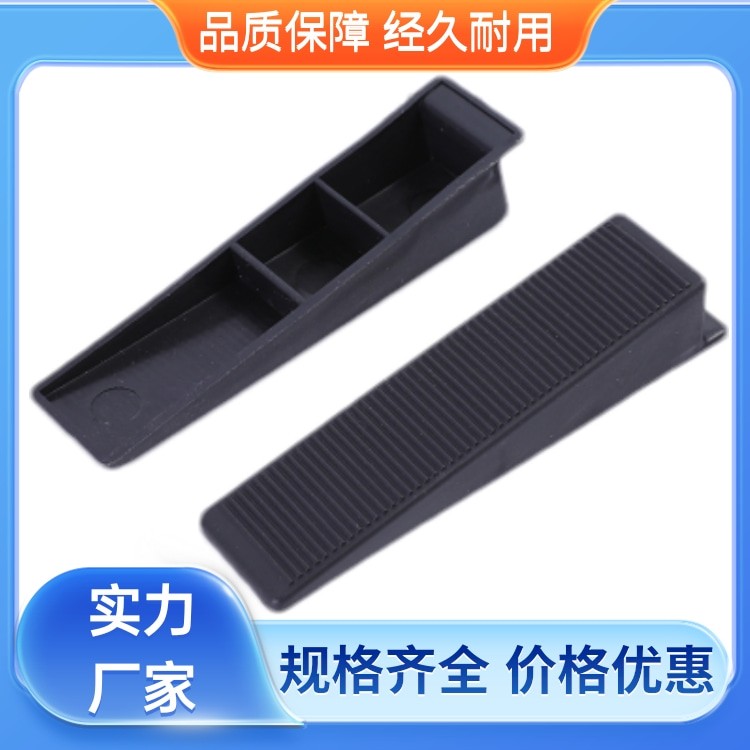
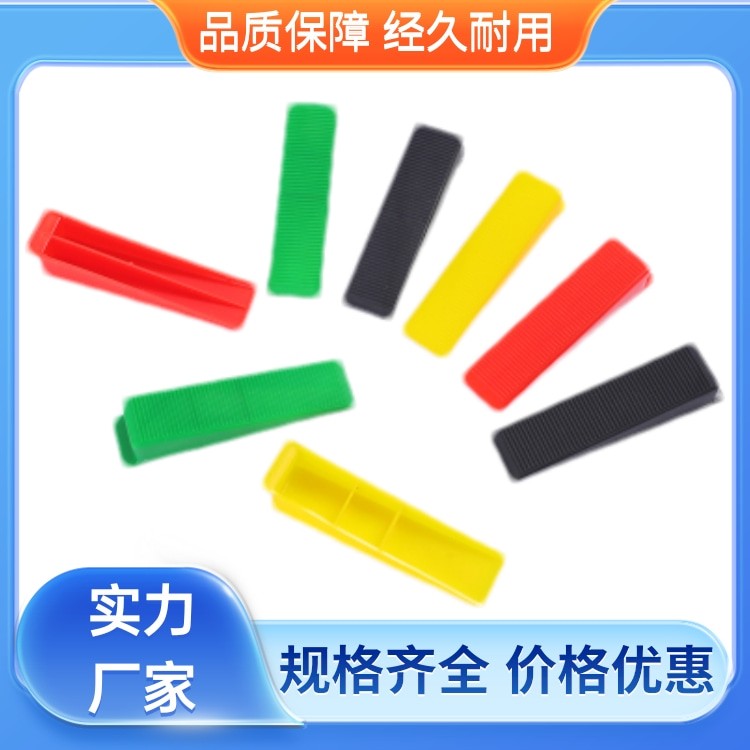
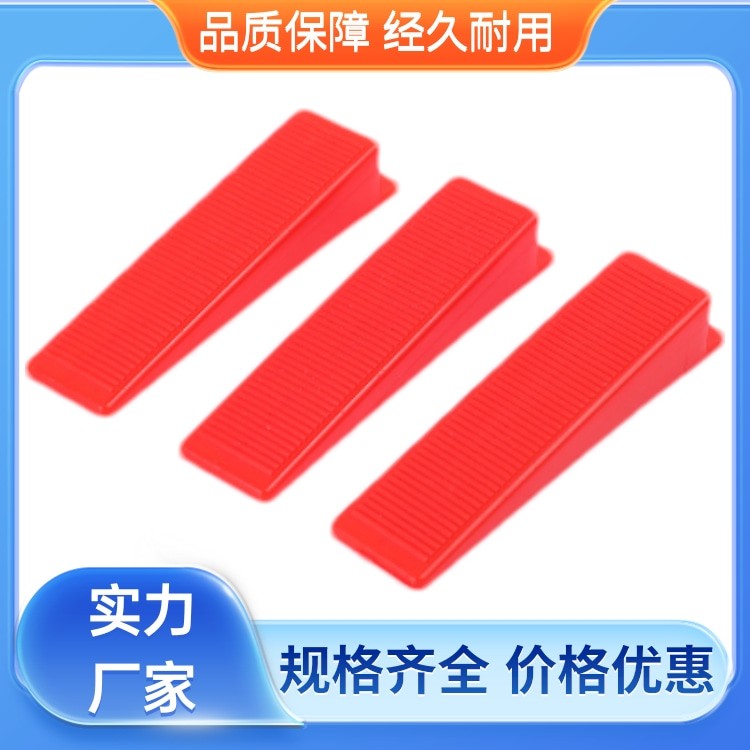
1.楔子款 - Wedge payment
Composed of a push clamp, a wedge, and a base, the push clamp and wedge are reusable, while the base is not. Common base sizes on the market include 1mm, 1.5mm, 2mm, 2.5mm, and 3mm. The difference in the base is mainly based on the width of the tile gap required by the customer.
2. T-bar needle style
They are divided into non-replaceable needles, replaceable needles without a level, and replaceable needles with a level, all of which are reusable.
3. Cross Card Seam (Tile Positioner)
Standard Sizes: 1.0mm, 1.5mm, 2.0mm, 2.5mm, 3.0mm, 4.0mm, 5.0mm, 6.0mm, 7.0mm, 8.0mm, 9.0mm, 10.0mm. The purpose is to adjust the gap size between tiles for a neat and attractive finish, ensuring consistent and even gaps between tiles. The primary aim is to accommodate expansion and contraction to prevent hollowed tiles due to thermal expansion and contraction.


.jpg)