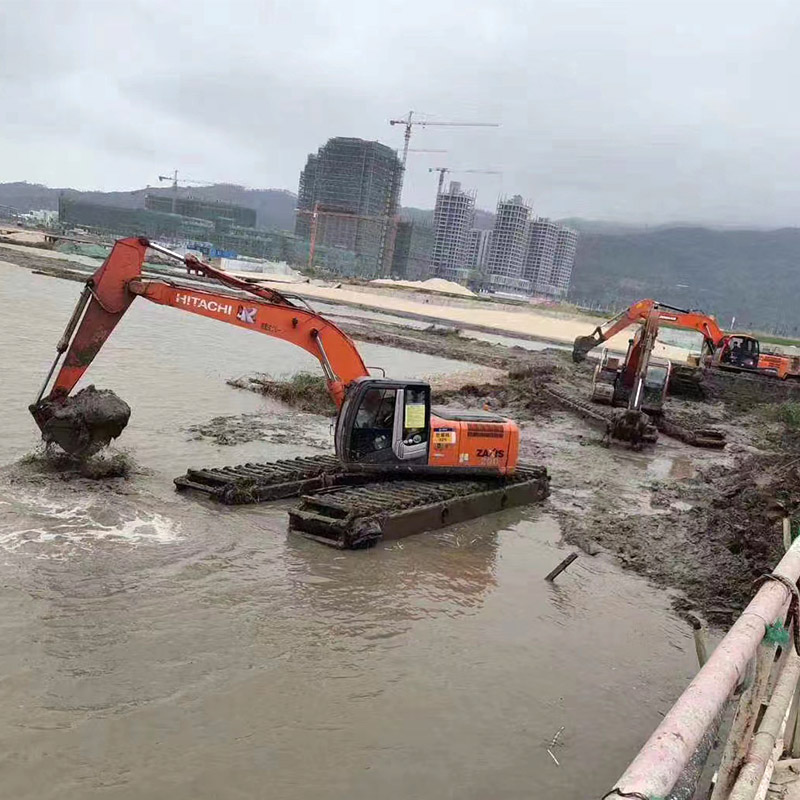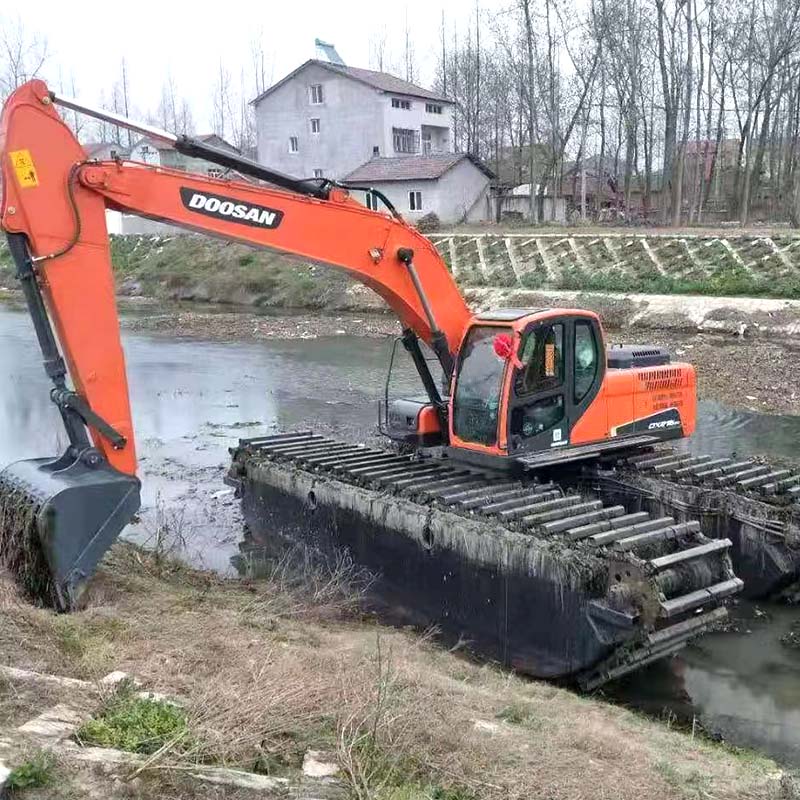


The bucket of a water excavator is a crucial component, serving as the primary equipment for digging and loading. During the operation of a water excavator, the bucket may need to be replaced due to wear, damage, or the requirement for different bucket models. Therefore, learning how to replace the bucket is also a fundamental task for us.
Preparation
Prior to replacing the bucket, the excavator must be parked on a level surface, and the bucket should be placed on the ground. Additionally, the engine of the excavator must be turned off, and all electrical and hydraulic line connections should be disconnected. To prevent the bucket from falling, specialized support equipment must be used to hoist the bucket in the air.
Section II: Disassembly of Old Bucket
Before disassembling the old bucket, it's necessary to first drain all hydraulic oil from it. Then, use tools to remove the bolts and nuts from the bucket. Be mindful of the quantity and position of the bolts and nuts while removing them, for easy reassembly with the new bucket.
Section 3: Replacement with New Bucket
Once the old bucket is removed, you can proceed with the new bucket replacement. Firstly, place the new bucket on the support equipment and secure the bolts and nuts in the same position as the original. Next, connect the hydraulic lines and electrical wires on the bucket to ensure proper operation of the new bucket.