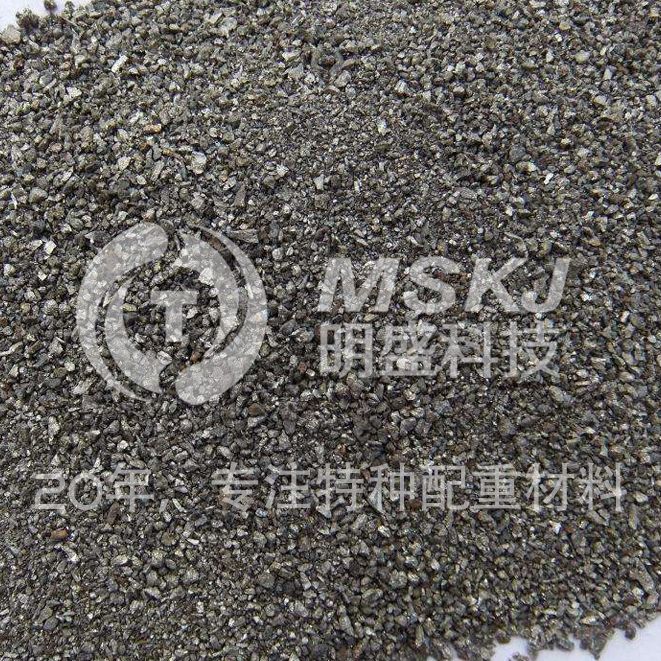


Rapid Concrete Pavement Repair Material
Cement Concrete Pavement Surface Repair Construction Standard: Thin-Layer Perfect Restoration
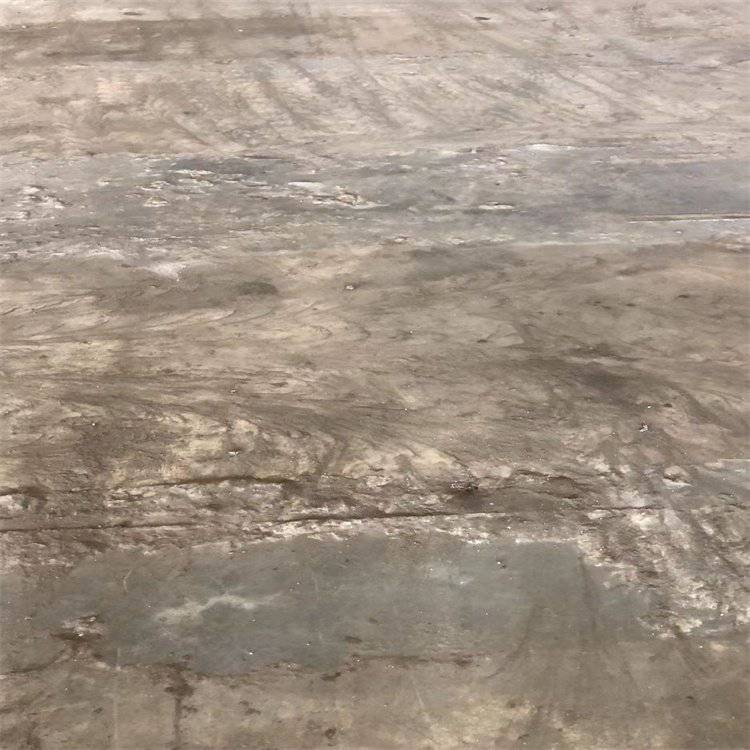
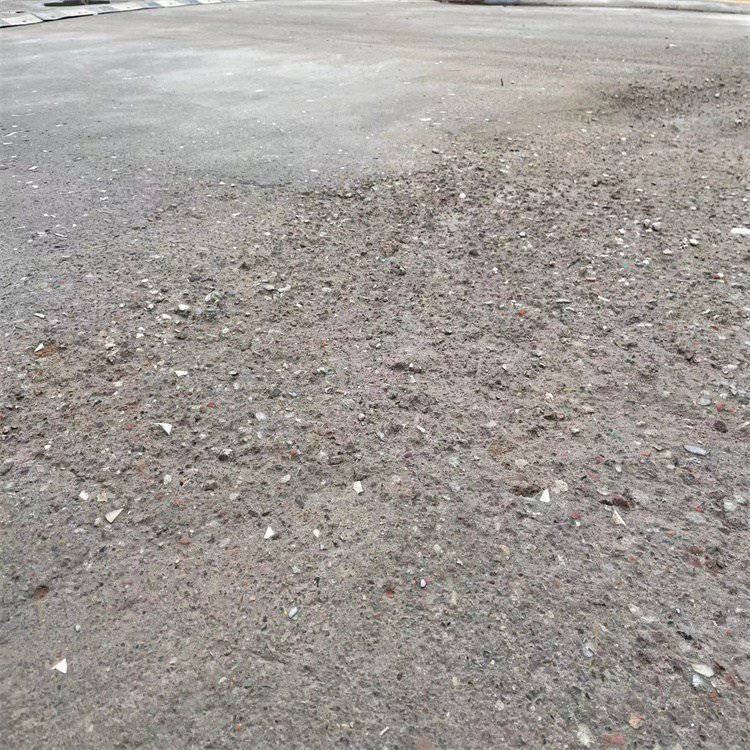
This procedure is for the repair of superficial concrete pavement defects such as honeycomb, rough surface, peeling, sanding, freeze-thaw, exposed aggregate, and minor cracks.
I. Construction Process
Label → Clean → Scrub → Wet → Clean → Add Water → Stir → Lay → Maintain → Cut Seams
II. Construction Equipment:
High-pressure air gun, high-pressure water gun (or water trucks with pumps), vertical mixers or electric drill mixers, trowels, iron trowels, water storage barrels, clean water, plastic film.
III. Construction Steps:
(1)、MarkingSelect the areas requiring repair.
(2) CleaningRemove碎石and loose concrete from the area to be repaired, and clean up dust with a high-pressure air gun.
(3Washing and brushingThoroughly rinse the area to be repaired with a high-pressure water jet, ensuring mud is flushed out of the work area and preventing backflow.
(4) WetAfter rinsing with water, the water should be retained on the work surface for a period, ensuring the surface is fully moistened until no more water seeps through.
(5Clean-upBlow away all visible water from the operating surface with a high-pressure air gun. (Visible water can severely affect the adhesion, compressive strength, and aesthetics of the material.)
(6(Add waterMix the material with water and stir. The effect is achieved at a water content of 16% to 17%, meaning 9 kilograms of water should be added to one bag of material, without any water leakage.
(7) Mixing: Use a vertical mixer to mix. Ensure thorough mixing, observing no lumps of dry powder or bubbles. If lumps or bubbles persist, let it stand for one minute before resuming mixing. Aim for a mixing time of about 5 minutes, but avoid excessive time to prevent solidification in the mixing drum. Pay attention to the water-cement ratio; the mixed patching material must not segregate water!
(8Flooring installation:Pour the mixed patching material onto the area to be repaired, then immediately smooth it out with a trowel (note: there should be no standing water in the area before repair); ensure the finished floor level matches the original level. Keep the patching material workable for 10-15 minutes (note: do not re-smooth after initial setting; no work below 0℃), and use a large trowel for assistance in smoothing.
(9)Cut缝: Mark and cut缝 at the original expansion joint location.
(10)Release: The release can be granted within three hours when the temperature is above 20°C, and the opening time can be extended appropriately when the temperature is lower. If conditions permit, extending the release time can also help improve the material's performance.
Section 4: Important Notes:
1. The operating surface should be thoroughly cleaned with a high-pressure water jet, leaving no loose dust.
2. The surface should be thoroughly soaked until no more water seeps through.
3. The surface to be patched must be thoroughly rinsed clean, moist but without standing water.
4. Mix the repair material with a mixer as much as possible, ensuring the water-cement ratio is well-controlled. The mixed repair material should not exhibit bleeding.
5. No construction allowed during rain or below freezing temperatures.