


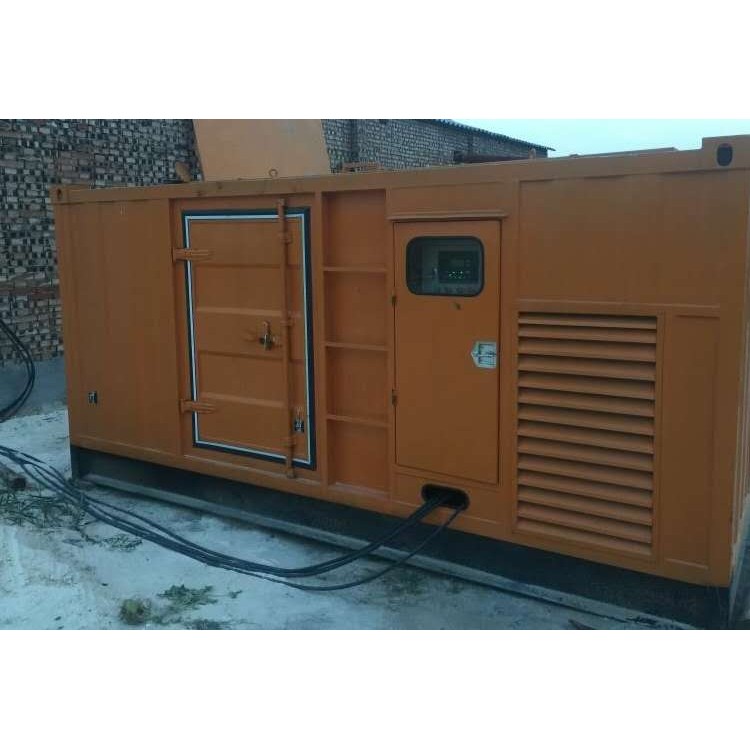

Generator Maintenance Steps
Pre-start maintenance each time
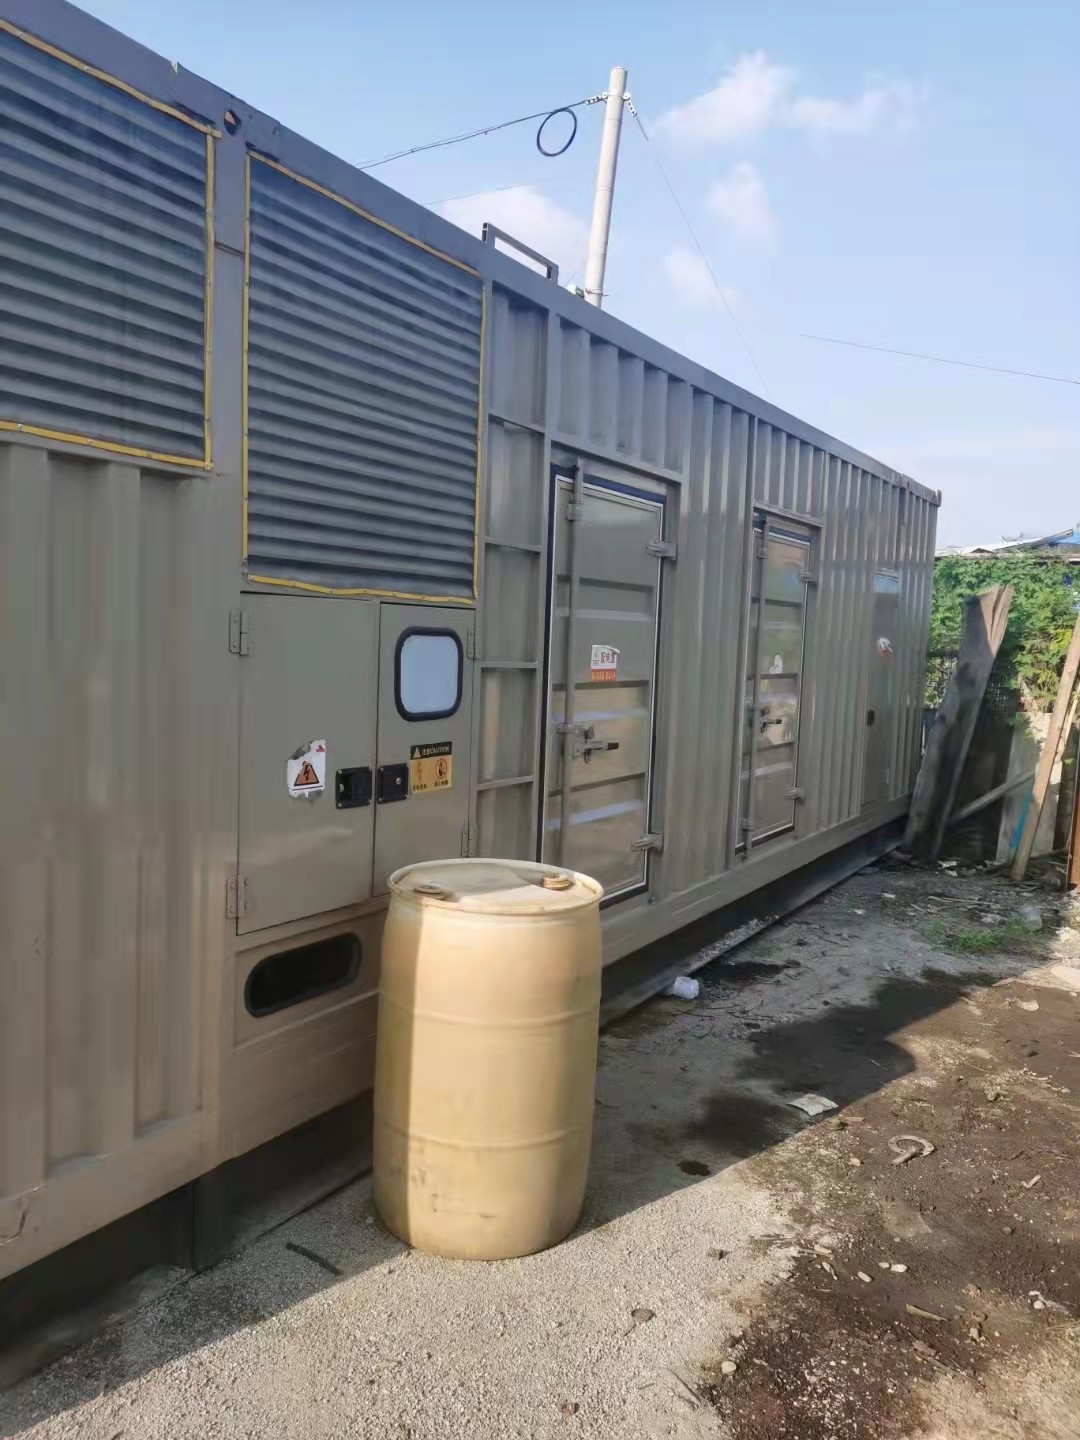
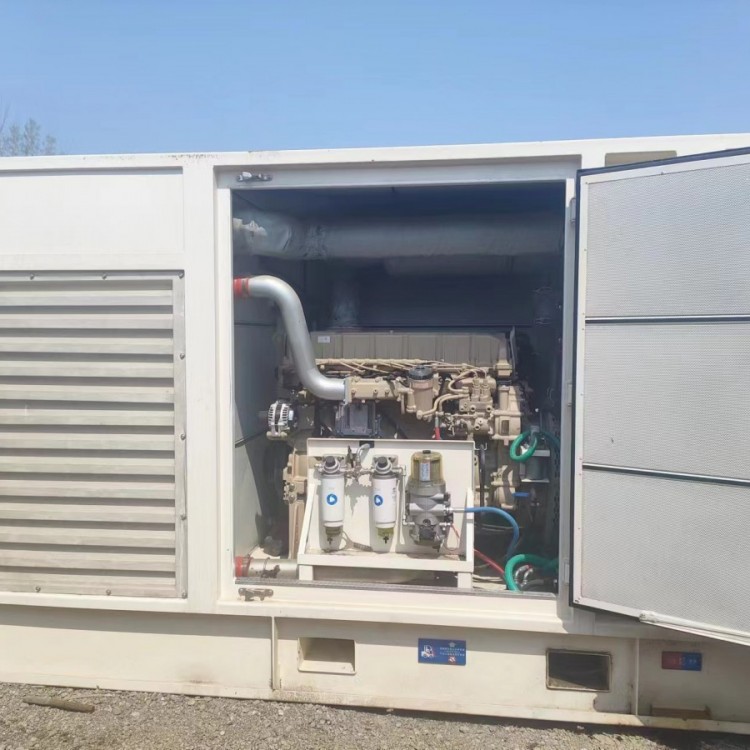
Ⅰ. Clean the surface of the unit; Ⅱ. Check the coolant level in the water tank; the level should be as close as possible to 5 cm below the welding surface of the filling cap, and it is recommended not to exceed this. Ⅲ. Inspect the external surfaces of the radiator core and the intermediate cooler in the water tank; no foreign objects are allowed to obstruct. Ⅳ. Check the air filter clogging condition; if the clogging indicator is in the red zone, the unit should be immediately shut down after operation, and the filter should be replaced immediately. The removed air filter is not allowed to be reused. Ⅴ. Check the diesel engine oil level, ensuring that the oil level is between the high and low marks on the dipstick. Ⅵ. Inspect for loose electrical connections in the control system.
2. Post-operation maintenance: I. Thoroughly inspect and tighten bolts on all rotating parts, particularly those on the fuel pump, water pump, belt pulleys, and fans, and secure the base bolts. II. Check for any signs of "three leaks" (leaks of oil, water, and gas) and clean as necessary. III. Eliminate simple malfunctions and abnormal phenomena encountered during operation. IV. Clean the dust from the air filter element. V. Check the oil level in the engine oil and fuel pump, and add high-quality oil that meets technical requirements if needed. VI. Inspect the coolant level in the radiator and add distilled water if necessary. VII. Check for loose electrical connections in the control system. VIII. Clean the surface of the unit.
3. Maintenance every 50 hours; in addition to completing the aforementioned maintenance items, the following tasks should be added: Ⅰ. Check the battery; measure the battery voltage and fully charge if necessary. When handling the battery, please wear safety goggles, as it contains explosive gases and corrosive sulfuric acid. Igniting a flame near the battery may cause an explosion. Ⅱ. Inspect for any signs of three-liquid leakage. Ⅲ. Check the three-filter system for proper functioning and replace if necessary. Ⅳ. Inspect and adjust the tension of the fan belt. Ⅴ. Add or replace the coolant in the radiator and engine as needed. Ⅵ. Check and secure all connections on the generator and electrical components. Ⅶ. For units with an oil-water separator, drain and clean or replace the filter element regularly after every 50 hours of use. Ⅷ. After the initial operation of a new unit reaches 50 hours, replace all engine oil and oil filters.
4. Maintenance every 250 hours; I. Change engine oil, drain the oil when the engine is hot. The normal replacement interval for engine oil and oil filter is every 250 hours; under harsh conditions, the replacement cycle for engine oil and oil filter is every 100 hours. Be cautious during replacement to avoid burns from hot oil. II. Replace oil filter and bypass filter; remove the filters using tools. Ensure the new filters are filled with oil to expel air, then tighten by hand, turning an additional 1/2 turn after making contact with the sealing washer. Start the unit to check for any oil leakage. III. Replace diesel filter; remove the diesel filter using tools. Lubricate the gasket and hand-tighten the new filter filled with clean diesel. Turn an additional half turn after making contact with the gasket. Note: No dust should enter the fuel system. And only replace after the unit is completely cooled to avoid fire caused by diesel splashing onto the exhaust pipe. IV. The replacement interval for the diesel filter element is every 300 hours.
5. Maintenance every 400 hours; I. Inspect all pump overflow ports. II. Air filter element replacement every 400 hours; the replacement of the air filter should be based on the air filter indicator. If the air filter indicator enters the red zone, replace the air filter.
6. Maintenance every 800 hours; I. If possible, clear accumulated sludge from the fuel oil; II. Check for leaks in the oil lines to and from the turbocharger; III. Inspect the air valve and its fittings for air leaks; IV. Examine all air valves for damage, replace if necessary, and re-tighten all securing screws after replacement; V. Clean the fuel tank and pipes; VI. Clean the oil sump and oil filter; VII. Check and tighten rod bolts, main bearing bolts, and cylinder head bolts; VIII. Check and replenish battery electrolyte if needed; IX. Inspect and calibrate instruments; X. Check and adjust the excitation circuit.
7. Maintenance every 1200 hours; I. Complete all tasks of the 800-hour inspection; II. Check valve clearances. It is required to be performed by trained and qualified engineering personnel. The equipment must be shut down during inspection.
8. Maintenance every 6 months; I. Replace the coolant filter. Turn off the coolant water, remove the filter with a tool, and reinstall a new one.
9. Annual maintenance; I. Complete all checks every 6 months. II. If the unit is equipped with an air compressor, replace the air filter on the compressor; the method is to open the valve fastening device, remove the filter and destroy it, then install a new filter and tighten the fastening screw. III. Clean the cooling system/replace the coolant (only applicable to units without a coolant filter); IV. Check for any leaks.
10. Maintenance every 24 months; I. Clean the cooling system/replace the coolant (applicable only to units with coolant filters); II. Check for any leaks. Low coolant level, thermostatic valve failure, exhaust fan failure, or blockage in the intermediate cooler/radiator or other parts of the cooling system can cause the coolant to overheat.