Cranes accessories, mechanical parts, metal stamping mold...

The adjustment of the flex disk coupling is crucial for the lifespan and smooth operation of the entire connection assembly. Axial, radial, and angular deviations should be less than the displacement values specified by the machinery during adjustment to fully utilize the coupling's ability to correct deviations. The adjustment can be checked using a micrometer, ruler, caliper, and feeler gauge to measure the axial, radial, and angular offsets.
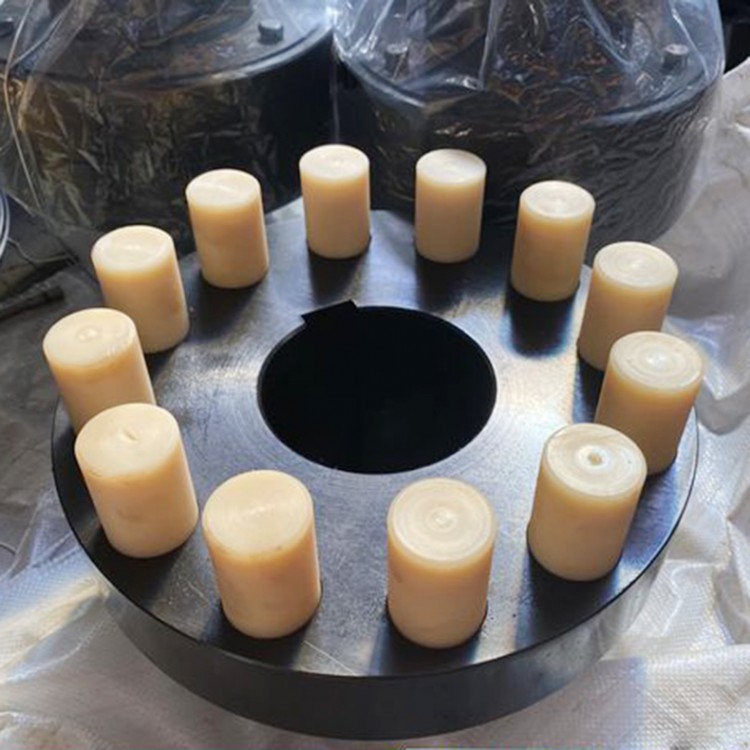
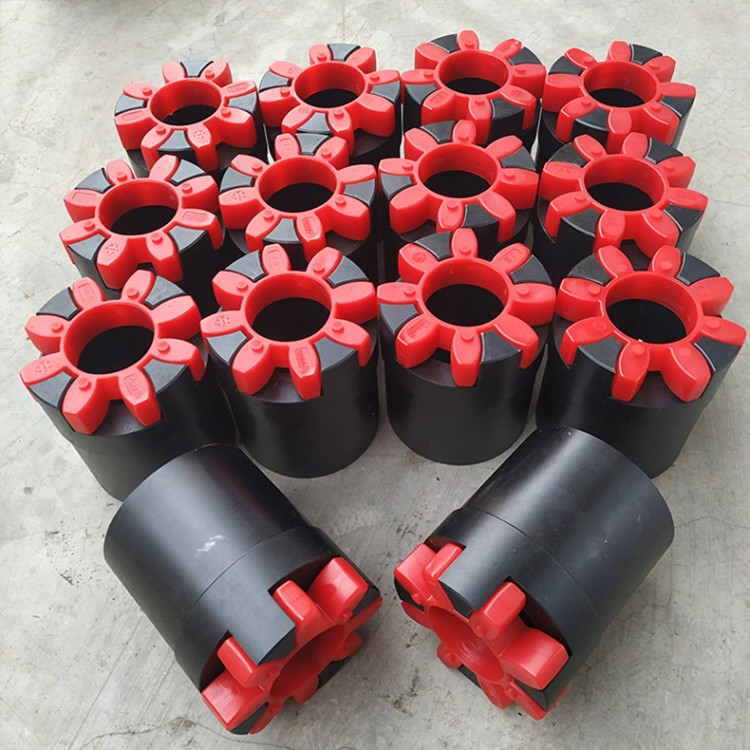
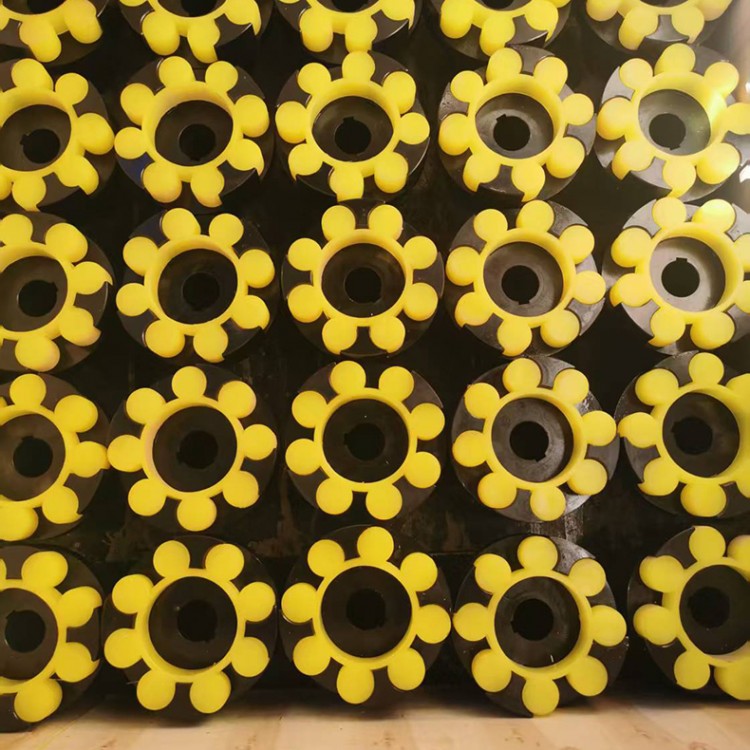
Bushing sets are susceptible to damage; they may deform plastically or crack when the coupling is overloaded or exceeds permissible offset. Additionally, excessive angular offset can also overload the coupling, leading to the damage of the bushing, necessitating a replacement of the bushing set. The replacement of the coupling's bushing can only be completed after loosening the central bolt and moving either the driving or driven end. Before replacement, a thorough inspection of all parts of the coupling should be conducted, and upon confirming they are undamaged, a new bushing set should be installed and adjusted according to the instructions provided.
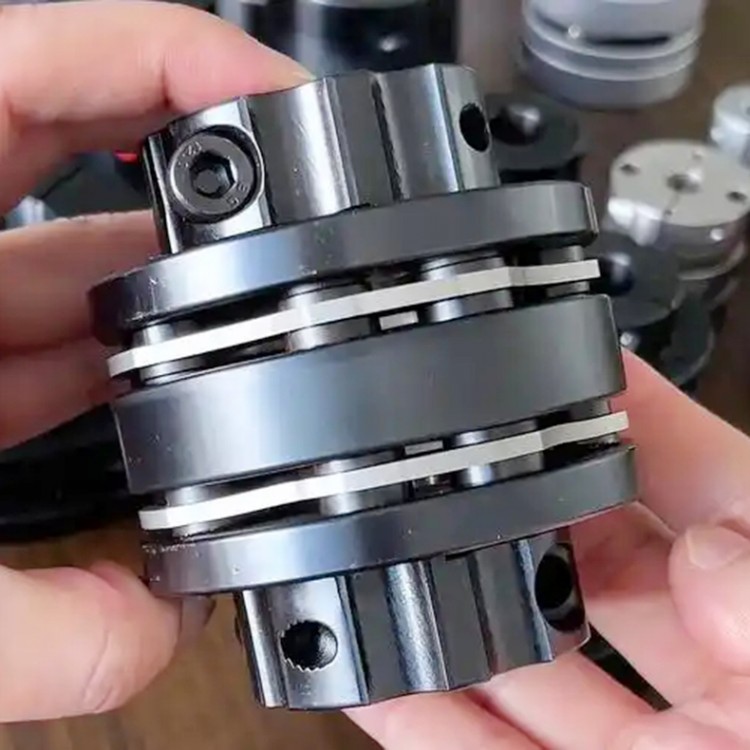
After the coupling is installed, it is required to conduct a trial operation in accordance with the actual working requirements, which should last for no less than ten hours. During the trial operation, it is essential to observe continuously. If abnormal noises or vibrations occur, the operation should be stopped immediately to identify the cause of the problem, and the fault should be resolved before resuming operation. The time should be recalculated, and the coupling's condition should be rechecked after the trial operation is completed. This manual should be carefully read before installation. The coupling should be equipped with a safety guard. The JM series diaphragm couplings are made of steel and are suitable for left-hand, right-hand, and alternating movements. To extend the service life of the coupling, the concentricity error between the two shafts should be minimized during installation, as specified by the mechanical values. The locking nut should be replaced after each disassembly.
To prevent damage to the coupling flange, remove the packaging at the assembly site. Check that the parts are undamaged, clean them, and then install. For transition or interference fits, ensure the axial has a locating surface and secure it with set screws. For interference fits, heat the installation hole, then install onto the shaft until it is pressed against the shoulder. Next, install the diaphragm assembly and intermediate sleeve, and tighten the screws to the specified torque.
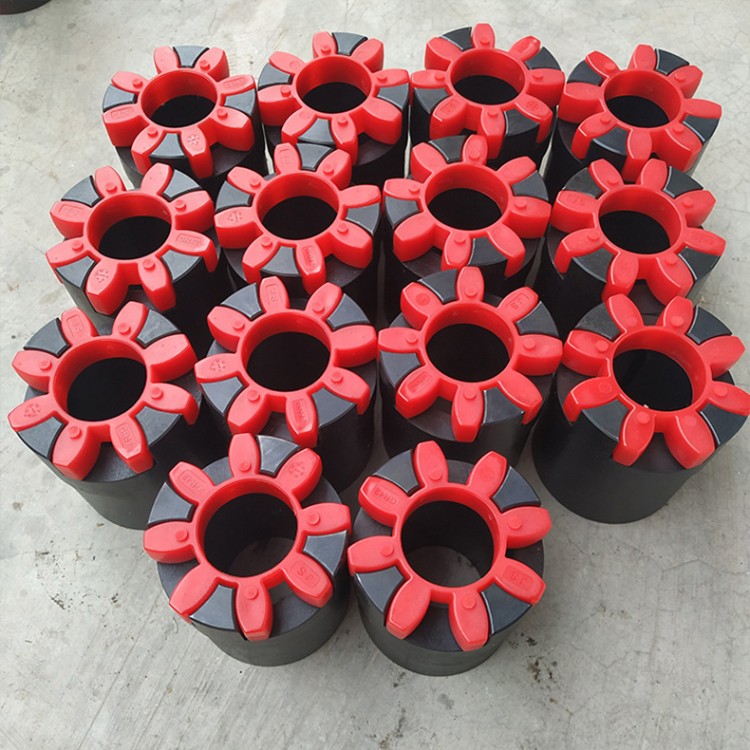
How to Choose a Coupling Diaphragm?


b2b.china9.net © Zhongshang 114 Hebei Network Technology Co., Ltd.Address: Room 6009, Oriental New World Center, No.118 East Zhongshan Road, Qiaoxi District, Shijiazhuang City, Hebei ProvincePlatform Service Hotline: 4006299930