High-voltage partial discharge test equipment, lightning ...

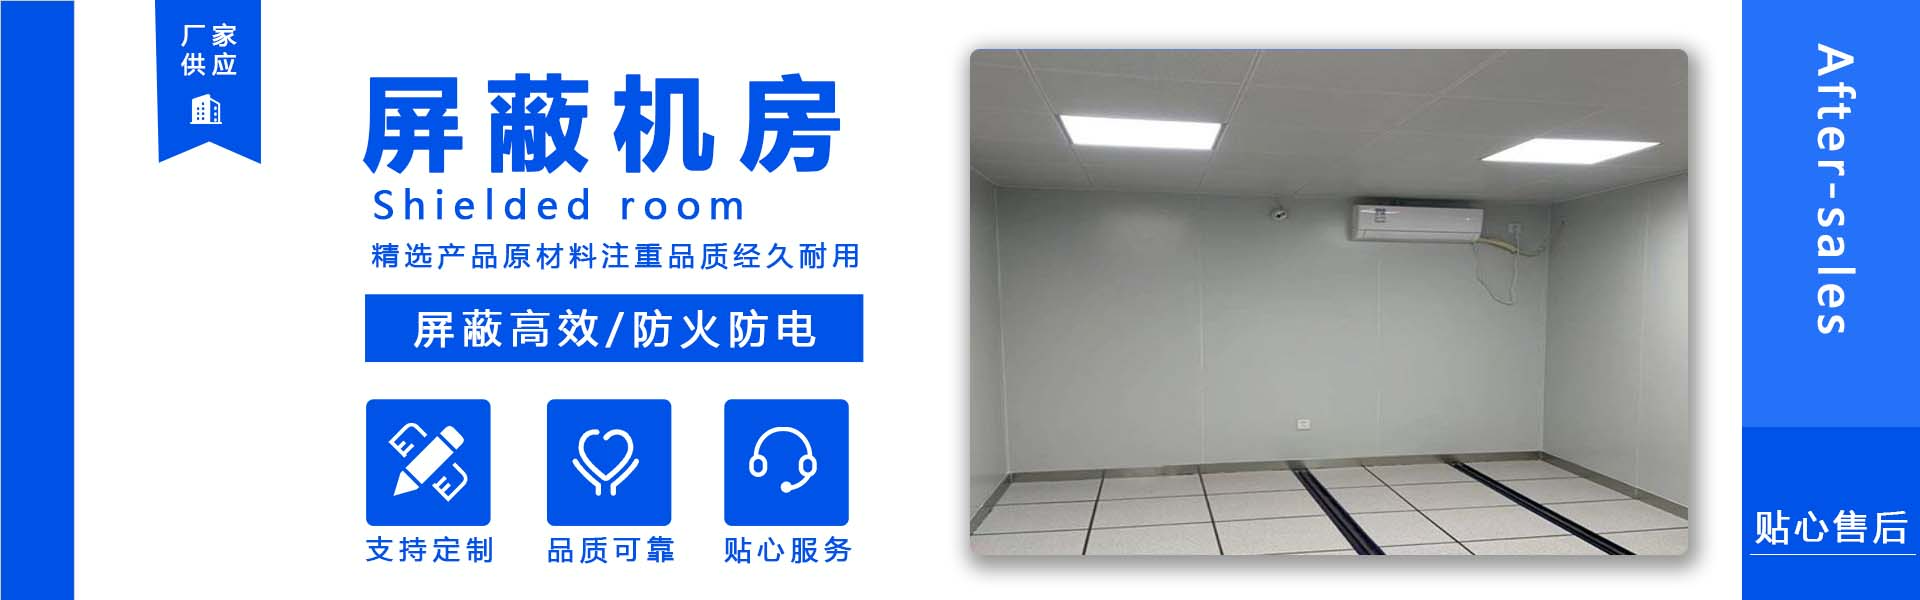
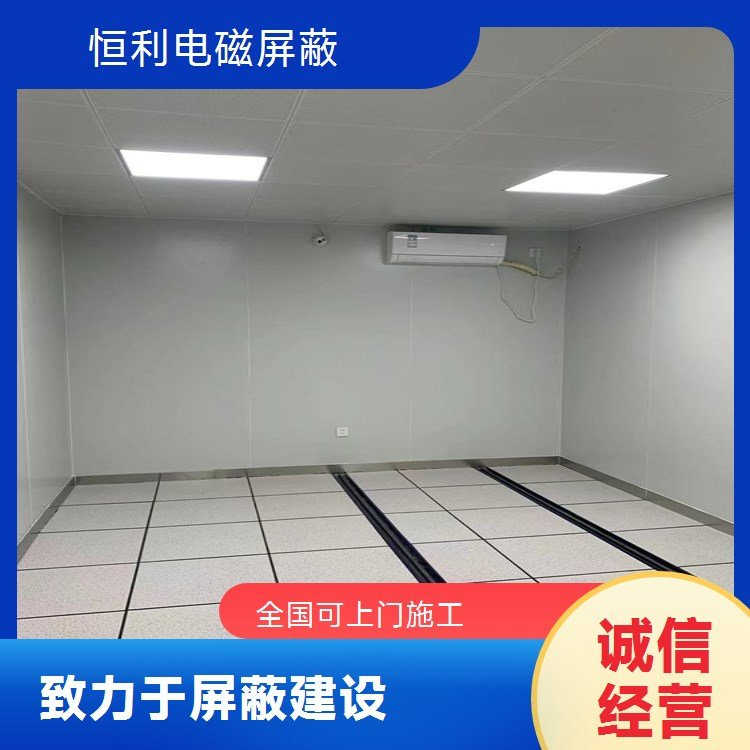
The base plate is situated on the base frame. The base frame is constructed from 40×60×2.5 square tubes welded into a grid-like structure, with a spacing of 600×600. This spacing ensures that the anti-static floor supports are vertically mounted, preventing floor movement and steel noise. The base frame must be insulated from the original construction ground, so 100×100×10 thick insulating blocks are evenly laid beneath, with a spacing of 600×600. The insulating blocks are securely bonded to the original construction ground. The floor joists are connected and fixed to the building ground using pre-designed prefabricated components with insulation treatment. Horizontal and vertical lines are marked on the construction ground according to the design drawings. The insulating blocks are then accurately positioned. Subsequently, rectangular hollow steel sections, pre-processed in the factory, are arranged according to the drawings and subsequently welded. Construction waste is cleared, and relevant personnel are organized to inspect and measure the insulation resistance.
The top is connected to the building's roof with pre-designed hanging components that meet insulation requirements (as needed).
Upon completion of the framework construction, the structure will undergo quality inspection and then receive anti-corrosion treatment.
During the installation of the welding shield bottom plate, align all plates according to the diagram on the base stand, abut one side against the stand, align the seams, and clamp them with a clamp. Then, perform spot welding for positioning. Next, fully weld the steel plate modules, with spot welds spaced approximately 400mm apart and each weld approximately 6mm long. Start by spot welding the midpoint of each edge, gradually extending towards the corners, ensuring the bottom plate is tightly abutted against the beam. After the bottom plate spot welding is complete, proceed with full welding. Once the welding is finished, measure the dimensions against the drawings.
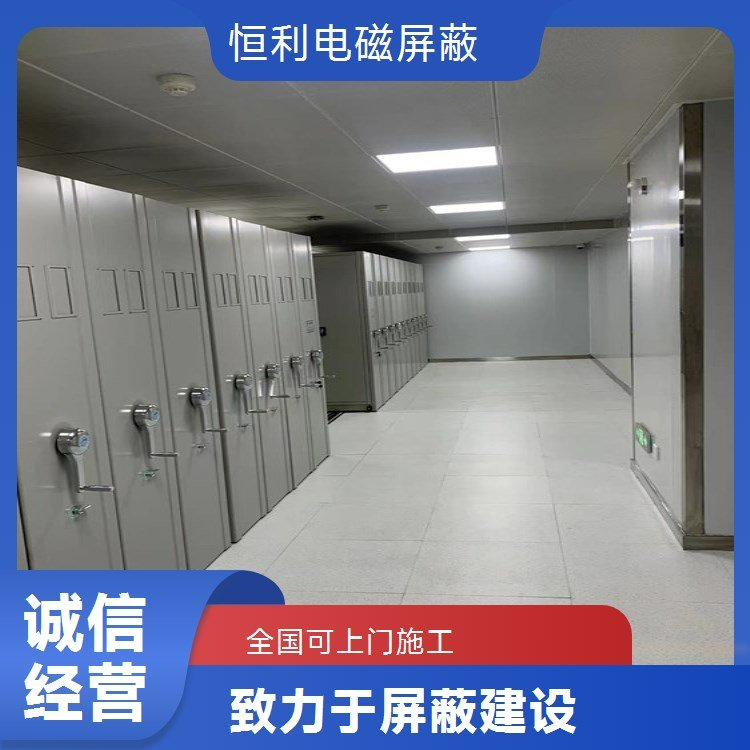
The panels are first assembled one by one or in pairs from a corner, and the wall panels for the door are assembled after the door is installed. For wall panels with ventilation waveguide windows, the windows should be welded first before assembly. Each panel should be aligned with the bottom plate and adjacent side panels. Perform segmental spot welding first (as per the above requirements) before proceeding with full welding.
Prior to the top plate installation, the several boards of one span should be welded together, ensuring each span has a 4‰ arch. During assembly, first lift one end and hook it onto the wall panel, then lift the other end and position it correctly. After aligning all sides, clamp them together, perform spot welding, and then complete the full welding. For spans with ventilation waveguide windows, install the ventilation waveguide window first before placing the top plate.
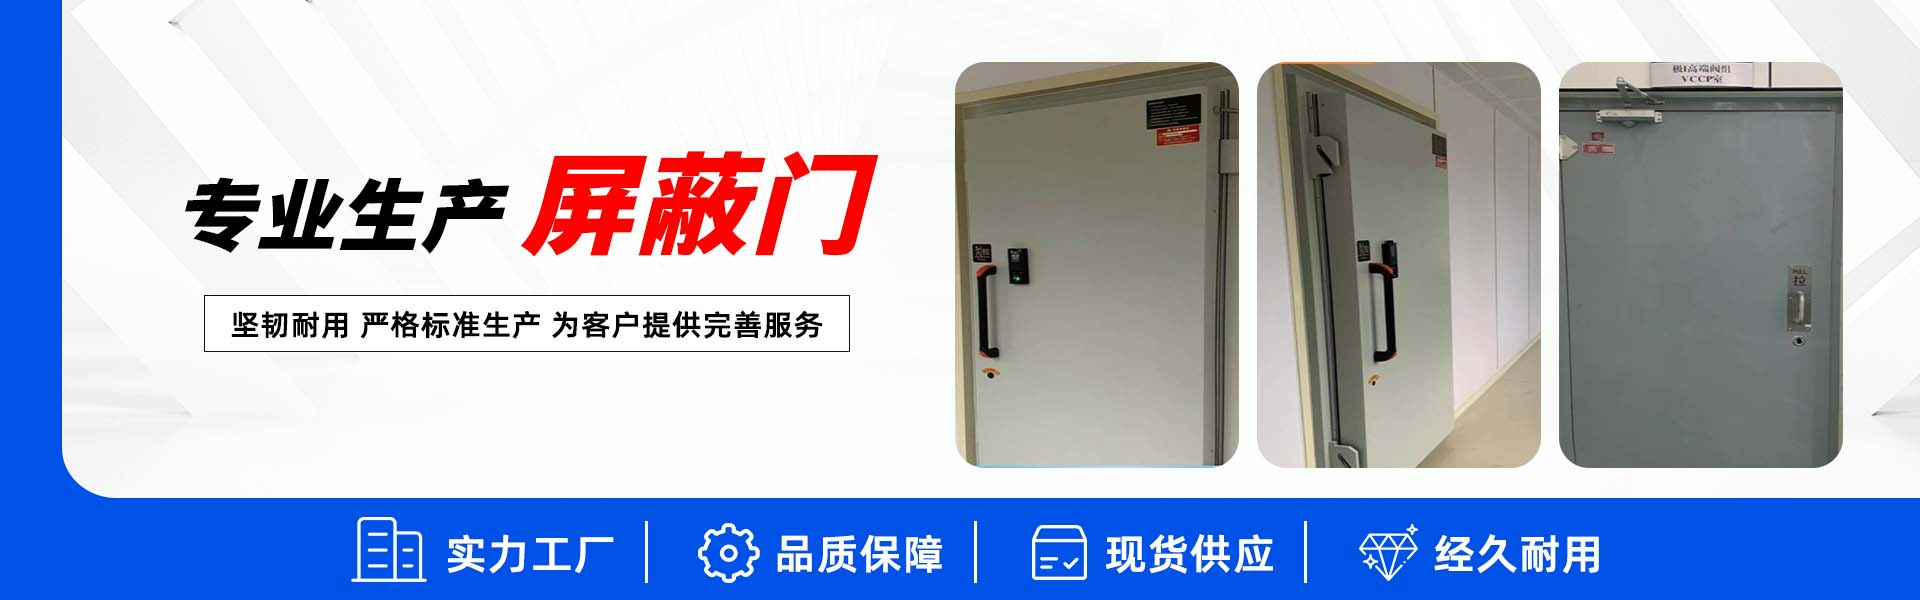
Installation of barrier doors
The door is installed with the pivot axis of the upper and lower hinge shaft as the reference point. The vertical deviation at 2 points should not exceed 2mm, and the perpendicularity requirements of both the door frame and the door leaf must be considered. First, separate the door frame and door leaf to facilitate the fixing operation. Stand the door frame up and place it in the corresponding position, then clamp the door frame to the wall panel using a clamp. Adjust the perpendicularity until it reaches the correct position, and then spot-weld the door frame and wall panel. After spot-welding, remove the clamp, measure the perpendicularity. If it meets the requirements, install the door leaf. If not, grind off the spot-weld points, reposition, and re-weld.
Install the door panel onto the door frame and adjust its verticality. Once installed, the door panel should open and close freely with smooth rotation; it should stop rotating at any designated position without further movement; the slot for the insert knife should have a flat surface with a deviation less than 2mm; the upper and lower locking devices on the door panel should make contact simultaneously upon closing; and upon completion of installation, manual operation should not require excessive effort to open.
The shield door enters without deformation or surface scratches; the installation process results in deformation within the allowable range, with no visible scratches on the surface. After the shield door is installed, it is tested for shielding effectiveness using a leak detector. Once the leak detector test is completed and passes, two coats of anti-rust paint are applied.


b2b.china9.net © Zhongshang 114 Hebei Network Technology Co., Ltd.Address: Room 6009, Oriental New World Center, No.118 East Zhongshan Road, Qiaoxi District, Shijiazhuang City, Hebei ProvincePlatform Service Hotline: 4006299930