Environmental equipment, instruments and meters, robots, ...

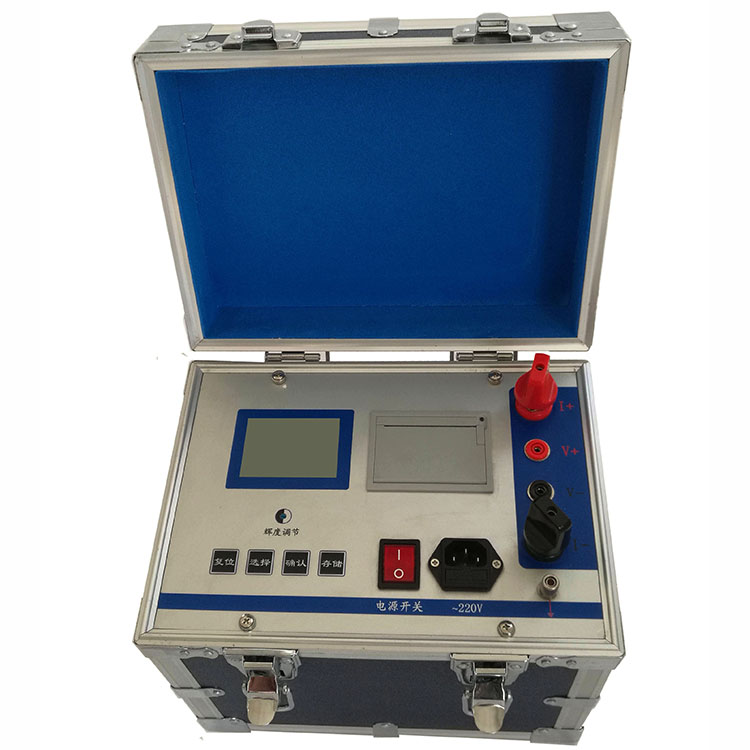
1. Using the four-wire measurement method, connect the test item to the instrument panel with a dedicated test lead, ensuring that the voltage measurement lead is connected inside the current output lead.
2. Established ConnectionAC220VPower SupplyPlease note.The third wire of the power input, which is the protective ground, must be connected to the earth. Press the power switch, at this point the ammeter...、Resistance gauge indicates“000”(No decimal allowed with a single-digit fluctuation).
3. Testing Resistance Calculation Methods
(1) ZHL-100The Measurement Process: First, turn on the power switch, then press“Measurement”Turn the current output adjustment knob (clockwise) until the ammeter gauge displays.100.0At that time, read the numbers on the resistance table header.Please provide the Chinese content that needs to be translated into American English.Actual resistance of the sample.
(2) ZHL-200The Measurement Calculation: First, turn on the power switch, then press...“Measurement”Turn the current output adjustment knob (clockwise) until the ammeter gauge displays.200.0At that time, read the numbers on the resistance table header.Please provide the Chinese content to be translated.Actual resistance of the tested item.
(3) ZHL-300The Measurement Calculation: First, turn on the power switch, then press“Measurement”Turn the current output adjustment knob (clockwise) until the current gauge reads.300.0At that time, read the numbers on the resistance table header.Please provide the Chinese content that needs to be translated into American English.Actual resistance value of the tested sample.
(4) ZHL-600The measurement calculation process: First, turn on the power switch, then press...“Measurement”Turn the current output adjustment knob (clockwise) until the ammeter needle displays.600.0At that time, read the digits on the resistance table header.Please provide the Chinese content to be translated.Actual resistance of the tested sample.
During the measurement process, if the ammeter shows“1”Or resistance meter displays“1”At this point, it indicates that the measured circuit has exceeded its range.
During the measurement process, even if the ammeter does not reach the target current, it is still possible to calculate the actual resistance value of the tested item. :Resistance value readingsModel Corresponds to Current/ The ammeter head reading. The greater the measured current, the more accurate the measurement, hence it is recommended to use the standard measurement method above.
4.The test is complete. Turn the current output adjustment knob (counterclockwise) to the low position, reset the measurement switch, and then turn off the power switch.
5.To repeat the test, simply reset the measurement switch, re-clamp the test clamp, and then press the measurement switch again.


b2b.china9.net © Zhongshang 114 Hebei Network Technology Co., Ltd.Address: Room 6009, Oriental New World Center, No.118 East Zhongshan Road, Qiaoxi District, Shijiazhuang City, Hebei ProvincePlatform Service Hotline: 4006299930