


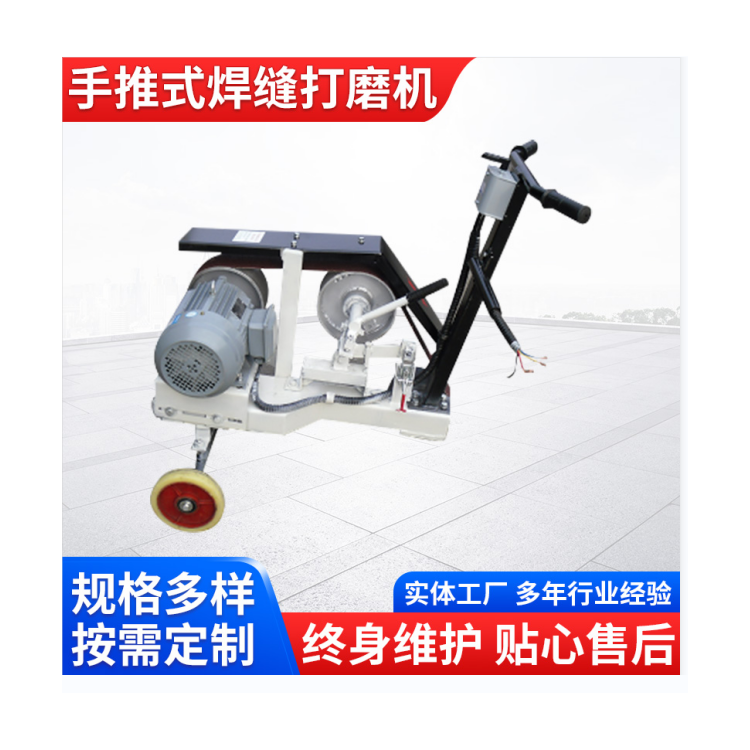
Wall Cutting Machine, Concrete Reinforcement Cutting Wall Machine, Door and Window Opening Grooving Machine
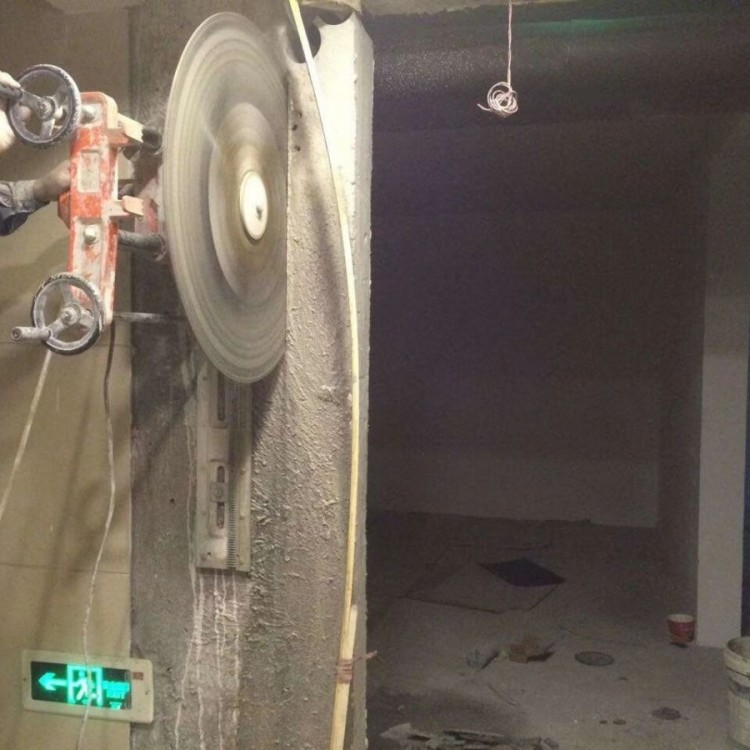
Wall cutting machines are primarily used for building renovations, reinforcement, and design changes, capable of cutting through large areas of walls such as door openings, windows, and elevator shafts. They feature manual feeding and cutting. The structure is damage-free and forms in one go, not only avoiding the structural damage caused by traditional hammering construction methods but also saving time and resources on drilling circular排孔 holes, as well as reducing the time and costs for adjustments.
Main Technical Parameters:
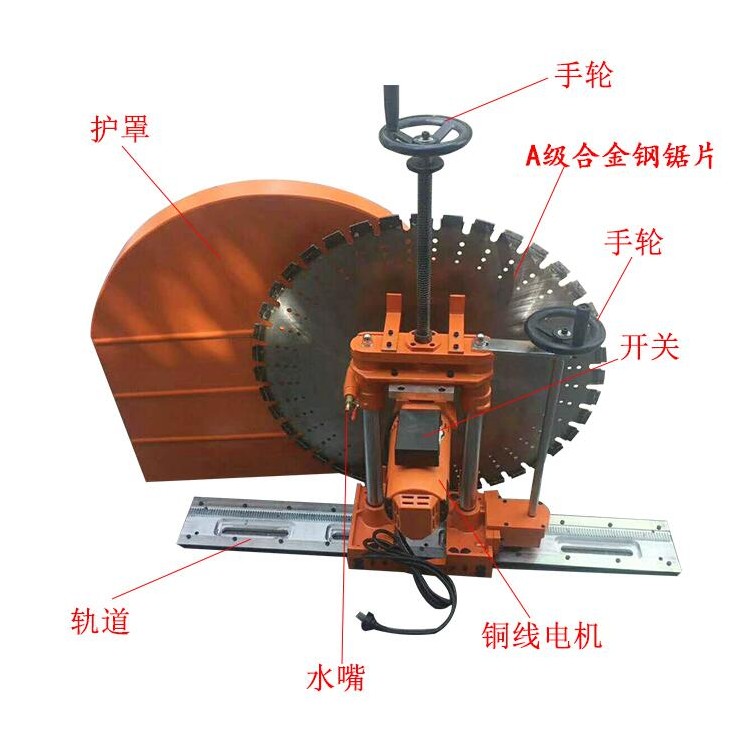
Saw blade:800mm Cut Depth: 32cm
Power Voltage:220V, Power: 6200W
Dimensions:100*100*80cm
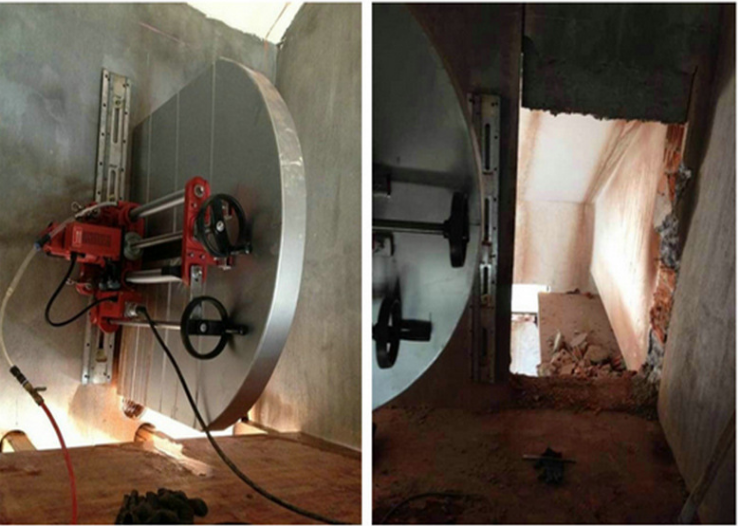
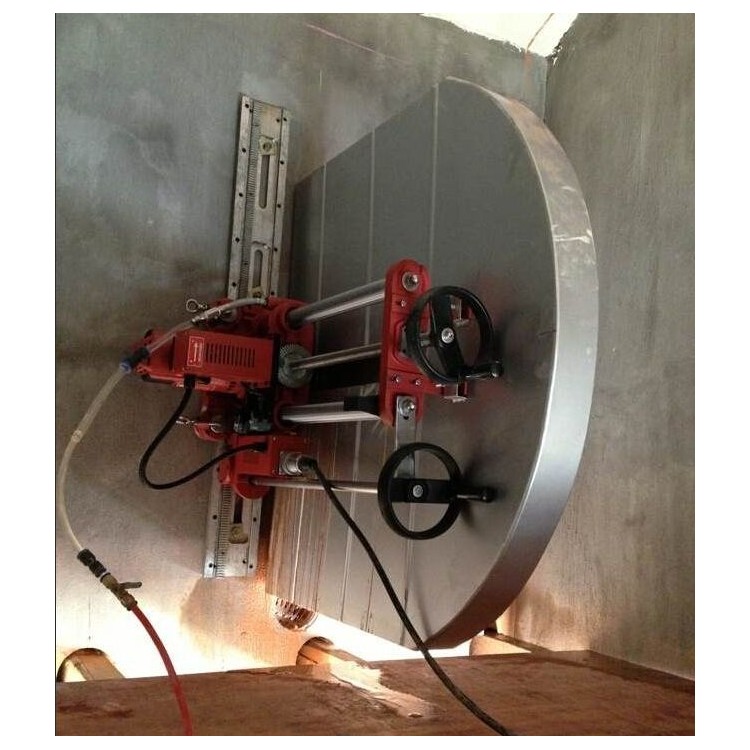
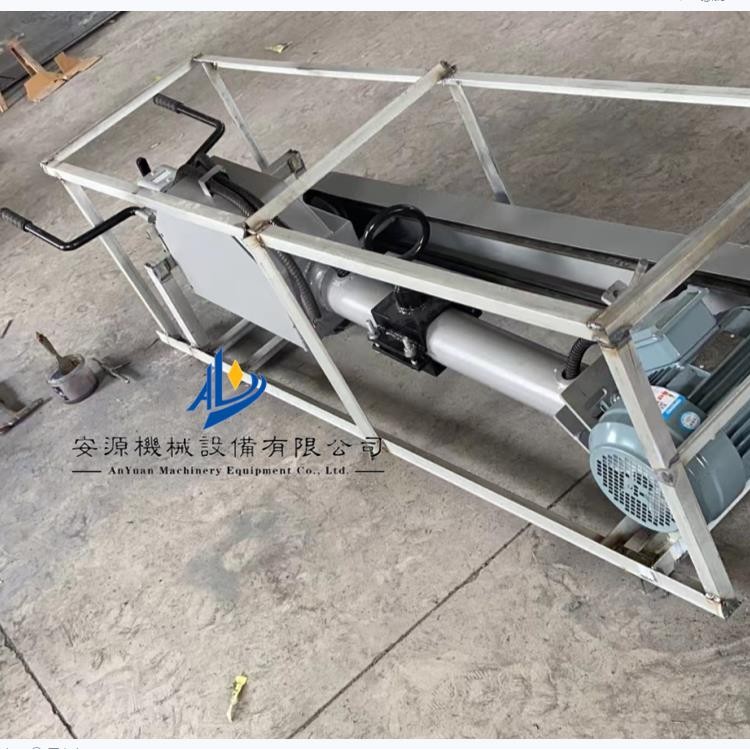
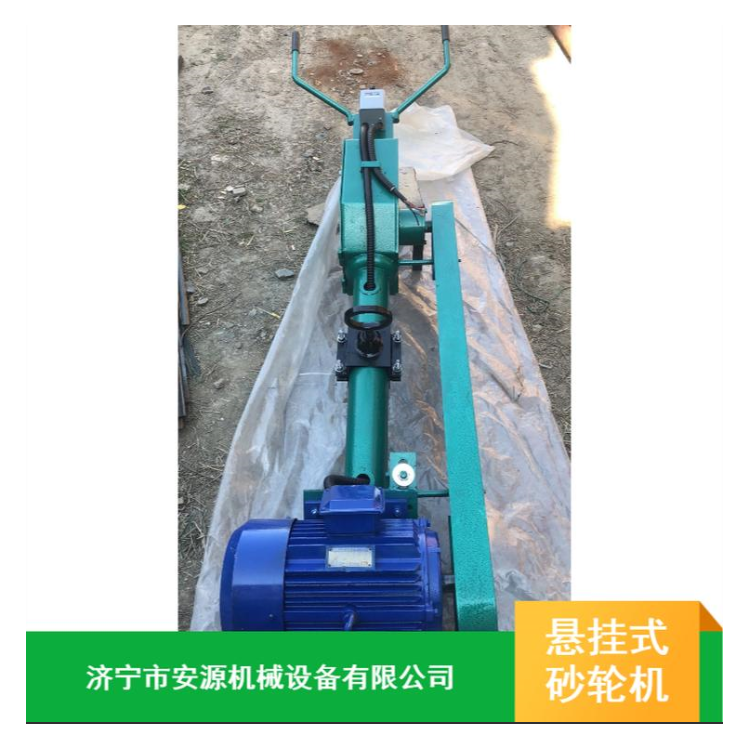
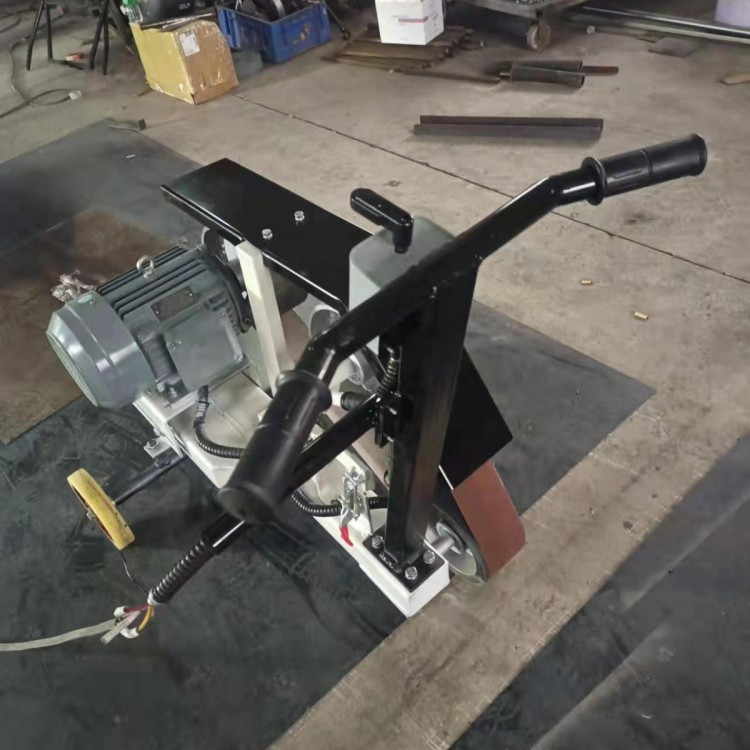
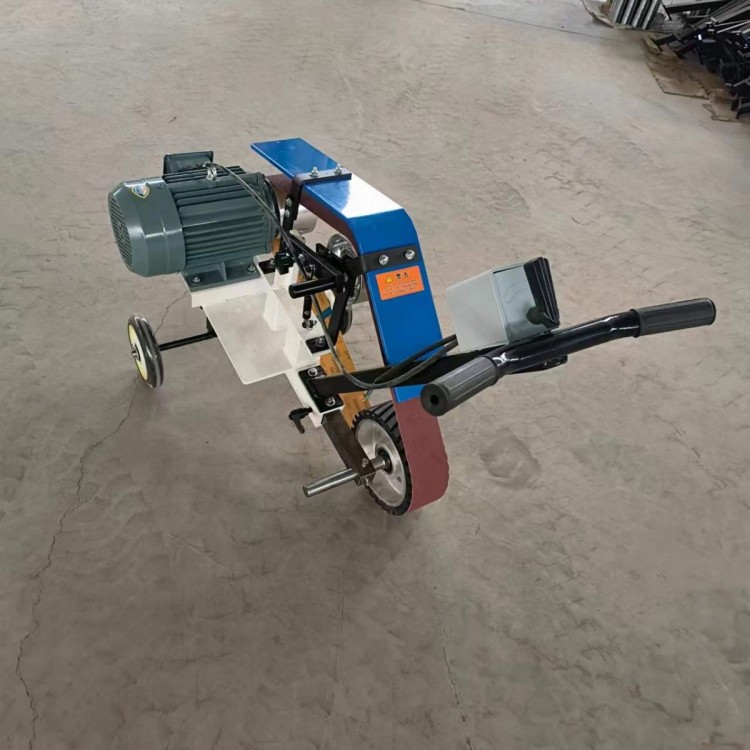
Product Real Photos Display
Wall cutting machine operation instructions:
Secure the track with expansion bolts, place the machine on the track (the track has teeth and the machine has gears, preventing it from slipping; movement is by handwheels only), install the blade and guard, then power on and water up. Use the two handwheels: the middle one for blade up/down control, the right one for machine movement along the track.
Our wall cutting machines are equipped with heavy-duty dual-insulated high-power motors and reducers, featuring low failure rates, long service life, and cost savings on maintenance. Mechanical clutch protector, effectively preventing damage to the machine and personnel due to incorrect operation. Equipped with manual or automatic cutting control devices, it not only improves construction quality but also accelerates the construction speed, while significantly reducing the labor intensity for the operator.
Machine Installation
First, install the track, then place the machine on the track.To facilitate horizontal cutting of walls, the correct installation of the track is: the motor should face up and the blade should face down. During cutting, the rotation direction of the blade should be as opposite to the motor's running direction as possible. This not only reduces the cutting time but also improves the cutting efficiency.
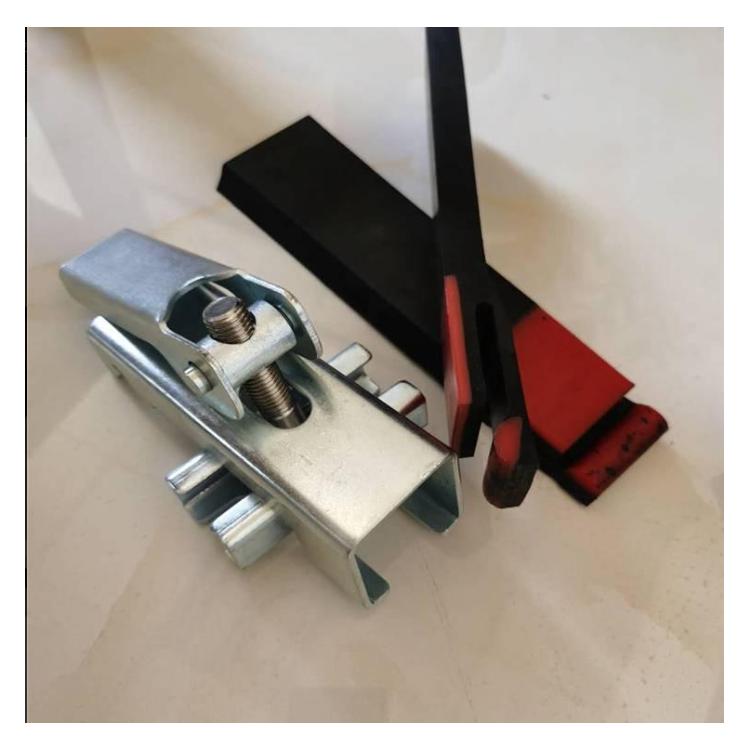
1. First, drill a hole for a 16.3-16.5mm diameter, 55mm deep expansion bolt at approximately 165mm from the self-cutting point using an impact drill. This hole is designed to fit only one M12 expansion bolt included with the machine. The track can be installed and used in any direction around the hole.
2. Clean out any small debris from the holes using a blow gun.
3. Insert the M12 expansion screw provided with the machine, then use a mallet to tap it into the expansion screw hole, and hammer it to secure the expansion screw. Ensure that the expansion bolts are securely fastened in the holes; otherwise, the machine may move or fall off during operation. Use the expansion bolts and screws, etc., provided with this machine, and the fixed guide rail, to determine the number of expansion bolts based on the softness of the cutting surface. Track Secure firmly.
4. When installing the main unit, align it with the forward indicator on the unit. Connect the speed controller and the plug in sequence, then turn the handwheel counterclockwise to move the main unit along the track.
5. Insert the saw blade; the inner hole of the main unit is 35mm. The six-sided screws for securing the saw blade Open-end wrench Tighten.
6. Align the blade with the cutting line and guide the track Securely fasten, then use a hex wrench to vertically adjust the six hex head level adjustment screws on the travel track, to align horizontally; this prevents the travel rail from derailing at the junction.