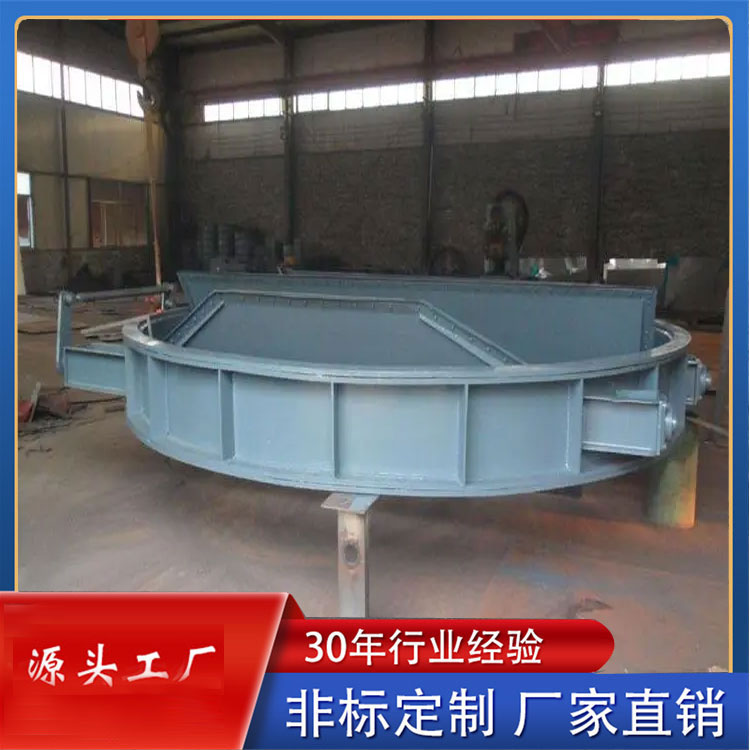


Installation and maintenance tips for electric sliding door panels:
1. Hoisting and Transportation
1) The shutter door should only be hoisted using the lifting lugs, and care should be taken to prevent the door from bending and deforming.
2) When lifting the gate of the large outer frame, special attention should be paid to the issue of force distribution to prevent deformation of the external dimensions and affect the operation of the equipment.
3) When raising the shutter door, adjust the hoist rope length and always ensure even load distribution.
4) Stainless steel seals require special protection during installation and pre-assembled joint welding to prevent damage.
5) Just like the transportation and assembly of the gate panel, during single-section transportation, all accessories (such as drive units, limit switches, interlock devices, etc.) should be protected to prevent damage.
2. Gate panel storage
1) The shutter door must be stored on a dry, level surface, supported by wooden blocks on a flat ground, with support points on the frame around the shutter door. The distance between supports must be adequate to prevent the shutter door from tilting. There must be sufficient space between the shutter door and the floor to avoid interference and contamination from accessories such as the shutter door arm.
2) Surrounding the bulkhead door, adequate protective measures should be in place to prevent collision damage, etc.
3) Panels doors with stainless steel components (seals, metal-lined panels, etc.) must be protected to prevent damage.
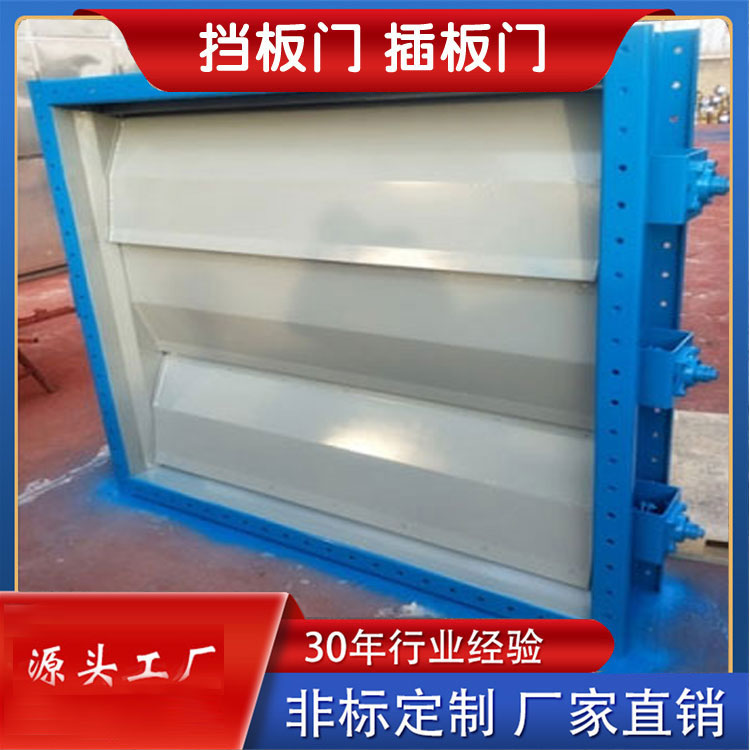
3. Baffle door installation
Keep the baffle door closed during installation. To ensure the sealing and service life of the bypass baffle door, heating air must be passed through when closed. Prior to installing, adjusting, maintaining, or inspecting the baffle door, ensure the personal safety of the installation and maintenance personnel. The area where the flue connects to the baffle door blades is a hazardous zone. Stop the flow of smoke in the flue before installation, adjustment, and maintenance, and ensure the actuator is de-energized to prevent any unintended operation.
Baffle door installation
Prior to installation, first check if the damper door bracket on the flue is secure and reliable, and if the dimensions meet the requirements. Also, verify that the flue connection size matches the damper door, with the requirement that the cross-section of the flue connection is perpendicular.
1) Installation of the barrier door main body
Adjust all shutter door units flat and ensure they are closed. During hoisting, maintain stability to avoid collisions.
Note: When lifting from the ground, please be extra cautious not to pull directly upwards. Prepare two lifting devices for a middle lifting method. Gradually slow down the stretching speed of the second lifting device, ensuring the damper door is finally in a vertical position. When connecting to the chimney, make sure the damper door is securely and vertically supported. Adjust the size and position properly, then proceed with welding according to the drawing.
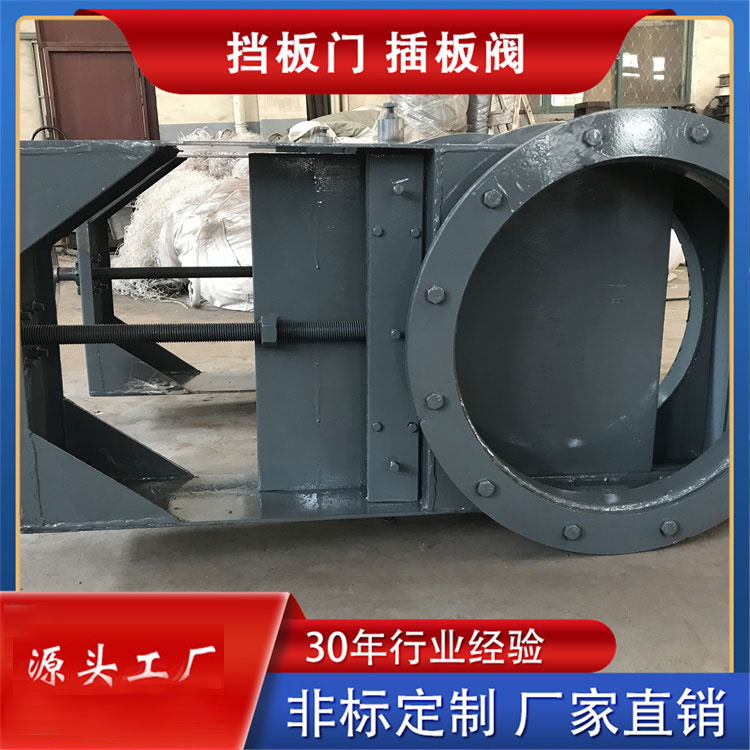
2) Installation of auxiliary components
The baffle door and reverse flange are first connected with bolts, followed by sealed welding. Assemble auxiliary equipment for the baffle door, such as: sealing air valves, linkage mechanisms, etc. Inspect for any damage to the baffle door, particularly the sealing sheet, and repair or replace if necessary. Check the condition of the paint damage and repaint as required. Corrosion prevention at the connection between the flue and the baffle door is carried out according to the baffle door installation diagram.