


For many years, the company has consistently adhered to its service tenet and embraced a win-win business philosophy, earning the trust and support of a vast customer base.
Waterproofing and leak repair require designs with grouting holes and the ability to distribute them.
Based on the actual conditions and requirements of waterproofing and leakage repair projects, there are two types of borehole arrangements: saddle and inclined tile. Borehole design: The position of the boreholes should intersect with leakage cracks, and the principle of placement is to choose areas with significant leakage. The position and quantity of the boreholes need to be reasonably arranged based on different leakage conditions. To allow for water leakage, the holes are placed on solid leakage points. Large cracks and water channels have larger spacing between boreholes, while small gaps have smaller spacing.
Waterproofing and leak repair technique:
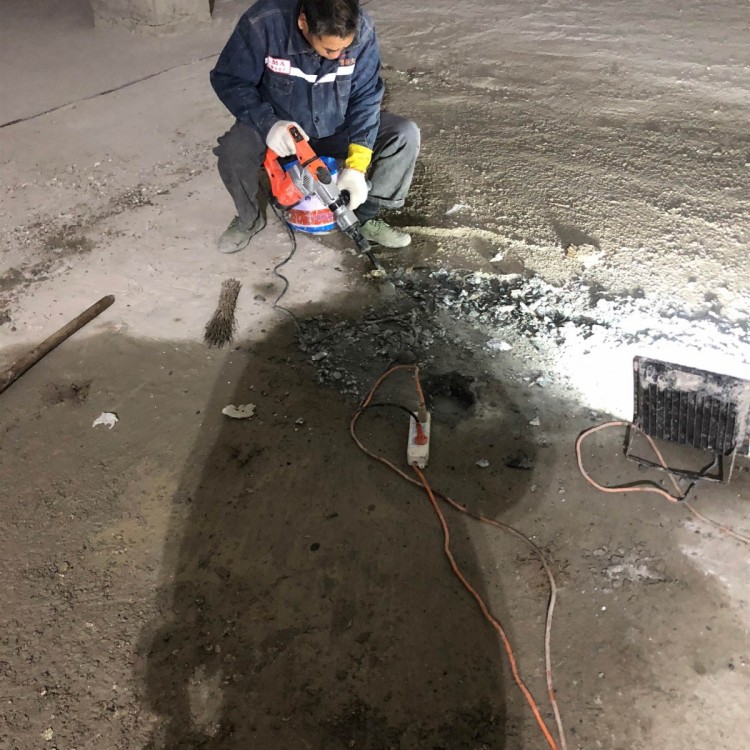
1. Drilling缝 according to the engineering quantity required by Party A.
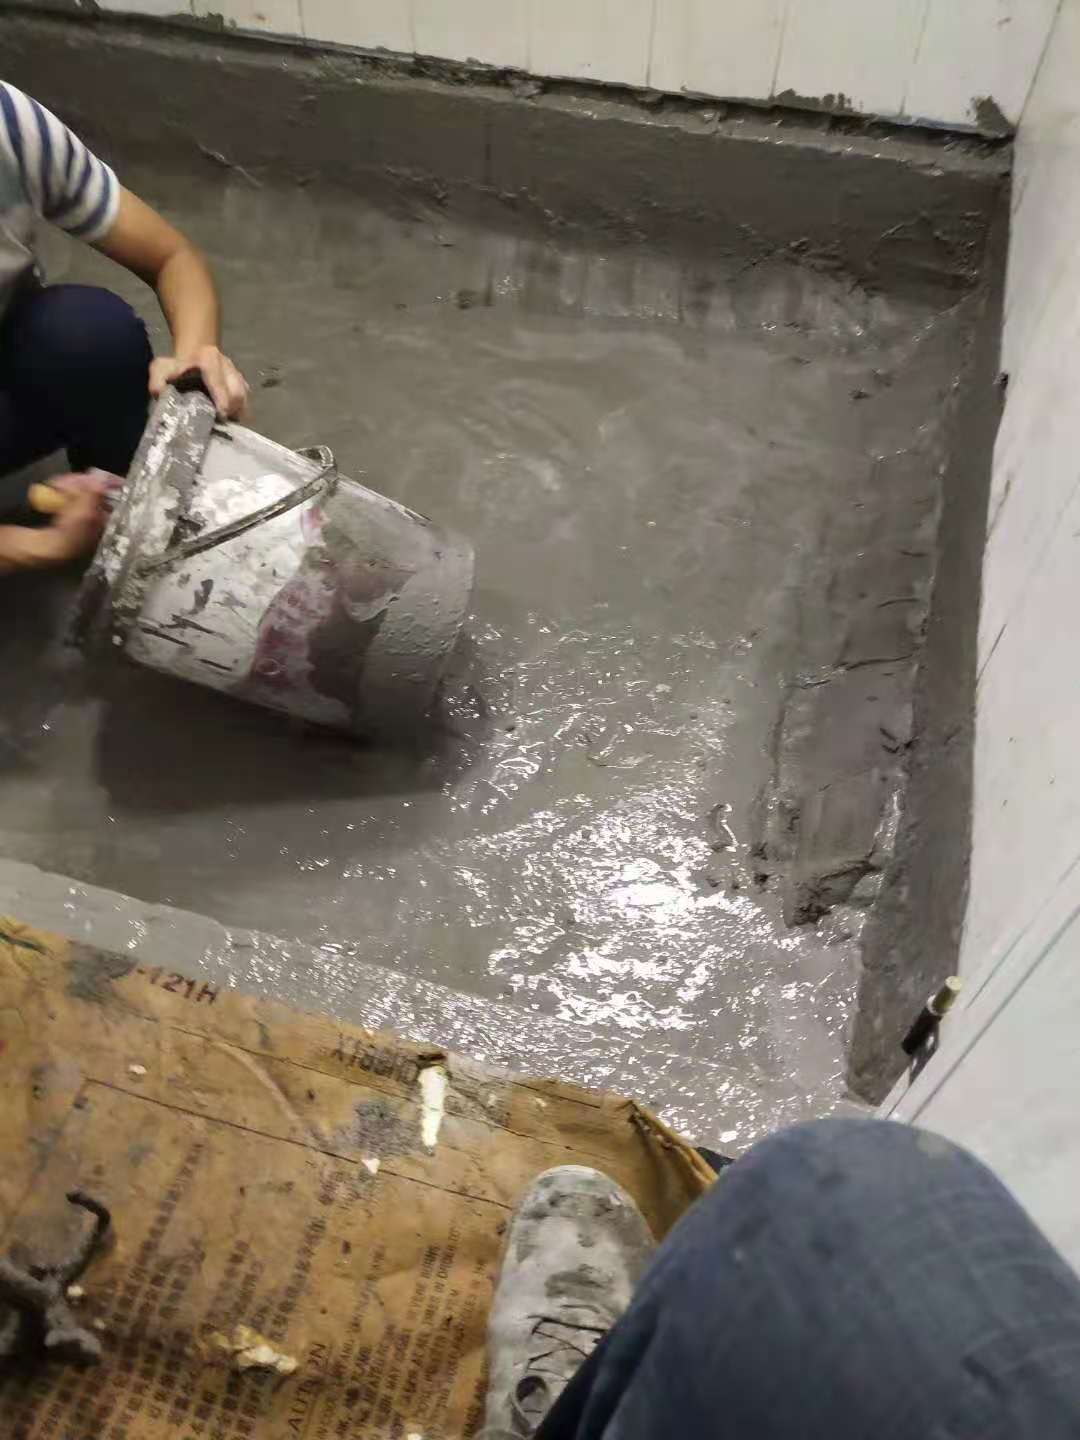
2. Clear the leaky areas and chisel the leaky cracks into U-shaped openings.
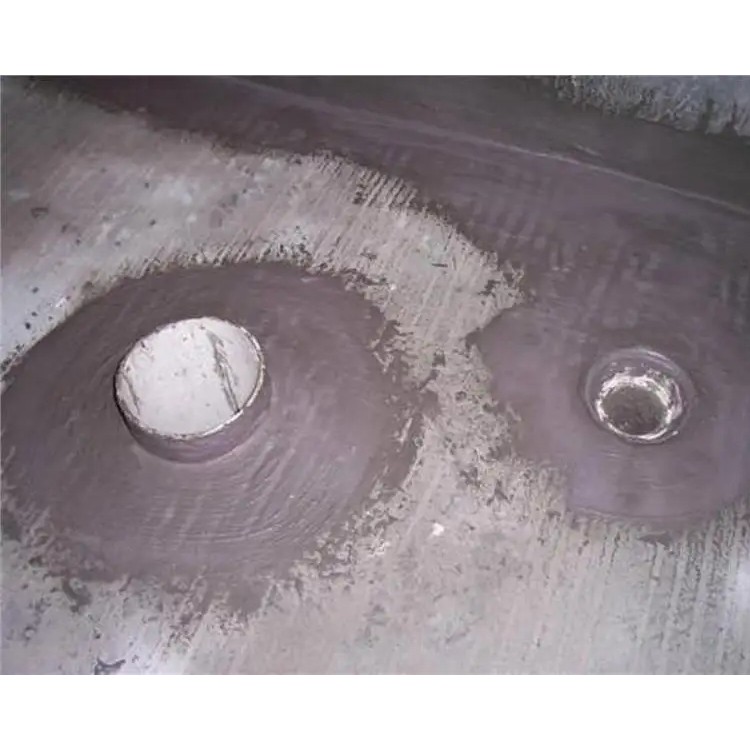
3. Mill leaky seam openings, pre-bury bamboo joints, clean leaky seam openings, fill with sealing material, install drainage pipes and bamboo joints (grout nozzle).
4. Divert flow, reduce pressure, decrease water flow volume, control leakage points, convert large water flow to small water flow, and allow the small water flow to exit through the installed diversion tubes.
5. Ingredients: Mix several reagents into two groups of mixed slurry. Determine the solidification time of the ingredients based on the size of the leakage.
6. Reverse Pressure Grouting: The pressure of the grouting must be greater than the pressure of the leakage to push the water back and infiltrate into the capillary cracks of the leaking rock. Upon contact with water, it expands and sets quickly, achieving long-term deep-seated waterstop effect.
7. Excavate bamboo joints (optional), then fill with blocking material directly.
8. Surface treatment: After self-inspection with no leakage found, the surface paste is scraped flat.
Waterproofing and leak repair construction procedures:
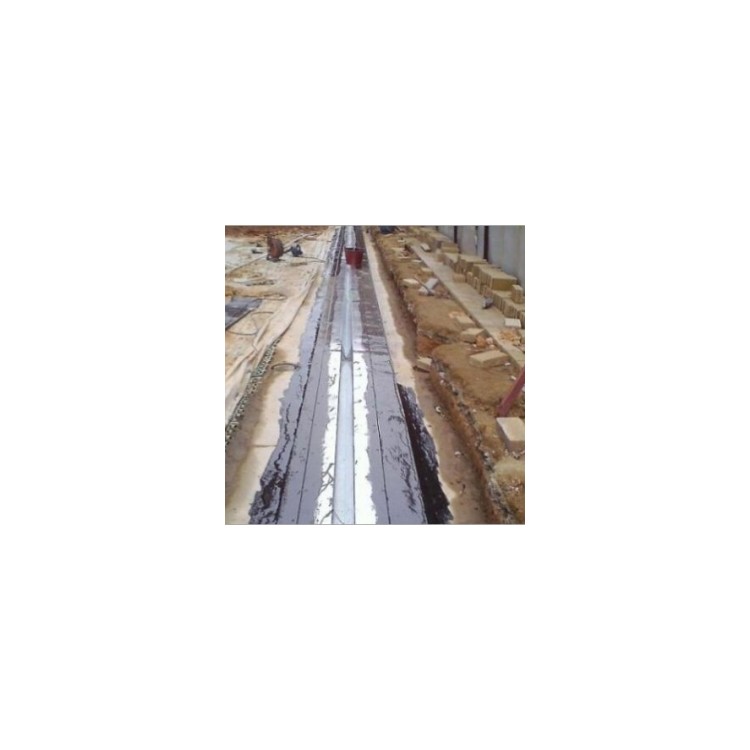
1. After the preliminary cleaning is completed, the key areas such as the阴阳 corners, expansion joints, and construction joints should be treated first. Especially for hard-to-paint areas like drainage holes, a reinforced treatment is required, applying 2-3 coats of waterproof base paint.
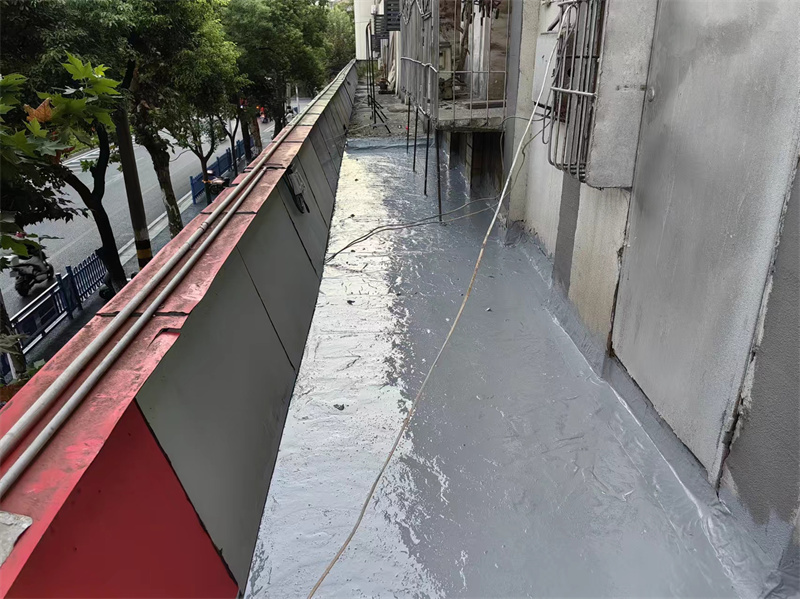
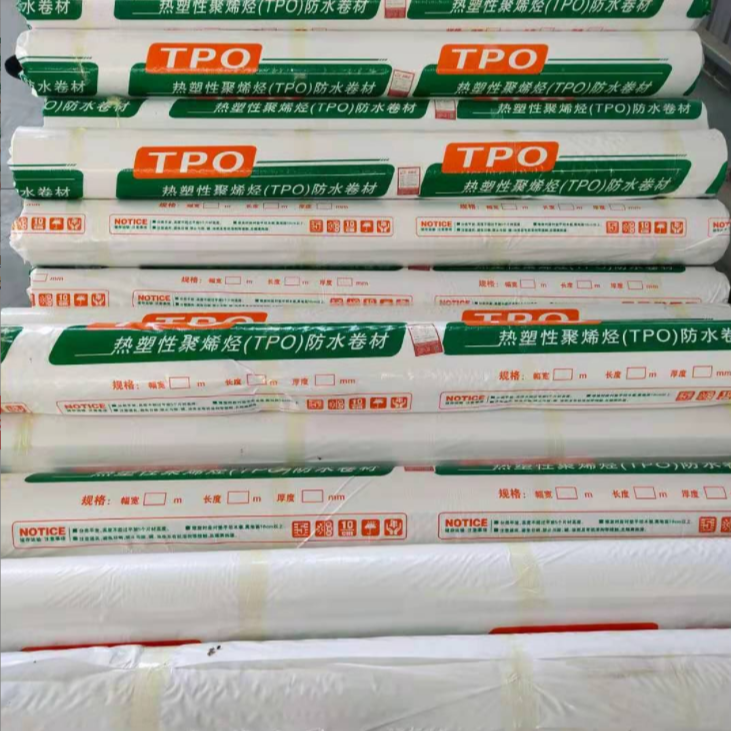
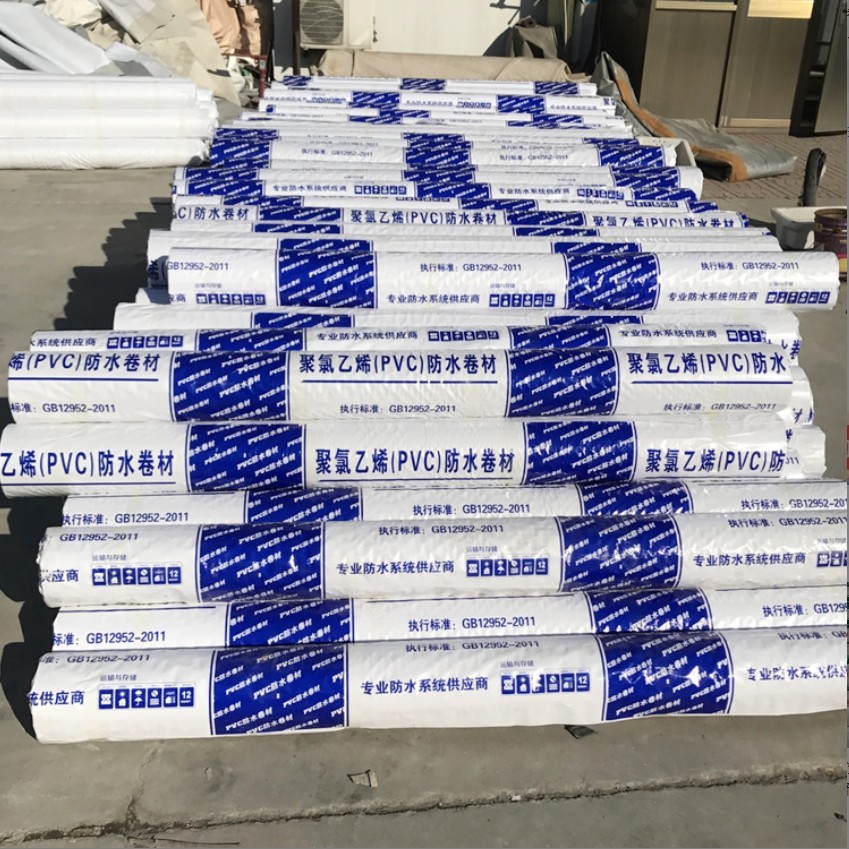
2. Ensure the separation of waterproof membranes, waterproof coatings, base coatings, and adhesive membranes. Apply the base coating. To enhance the bonding between the waterproof membranes and the base, apply the base coating repeatedly, ensuring even coverage and full penetration into the concrete base to increase bonding and shear strength.
3. Waterproof paint must be mixed according to the product's instructions, in a ratio of A:B = 2:1, and the mixing amount should match the actual usage on site.
4. Ensure the waterproof coating is well-mixed for approximately 3-5 minutes, stirring until the mixed liquid of components A and B is uniformly blended.
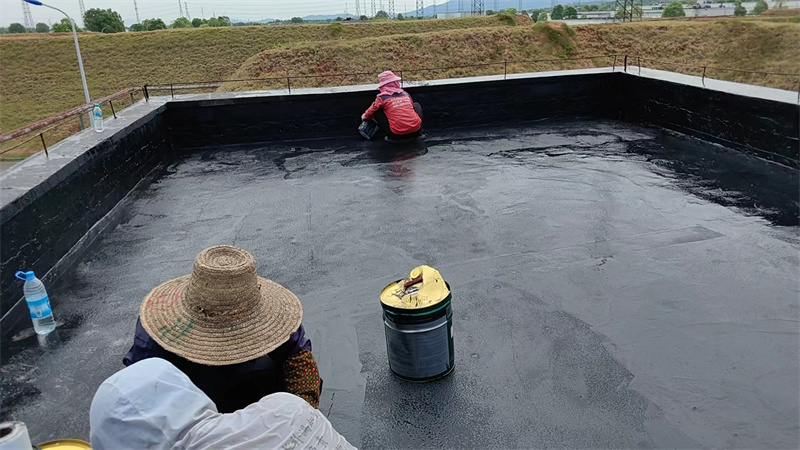
5. Apply the well-mixed waterproof coating to the designated area for painting, ensuring the base coat is larger than the area to be covered with the membrane. The application time from mixing to finishing should not exceed 30 minutes.
6. After the base coating is finished, wait approximately 4-8 hours before applying the second and third coats of base coating. The thickness for each coat should be around 0.5, with the second and third coats also being approximately 0.5. It is mandatory to wait until the coating is completely cured before applying the second coat.
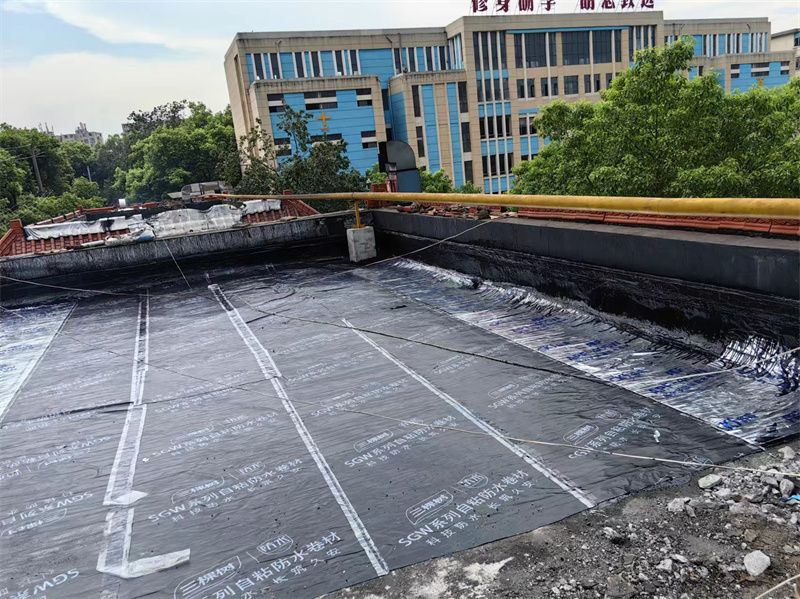
7. Wait for the secondary coating to fully cure before bonding the sheets. (The waterproof coating layer can be applied multiple times or sprayed according to the actual situation and thickness requirements on the construction site, but remember to complete it in one coat.)
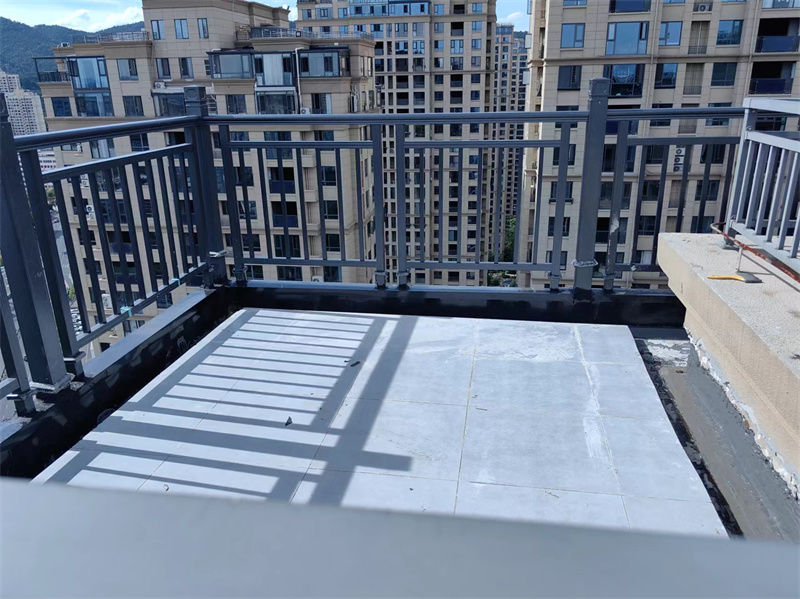
Waterproofing construction technique base requirements:
1. The base surface should be compacted and level. When using cement mortar leveling layer, it must be well-cured without any loose, sandy, or peeling issues, and should meet the design requirements.
2. The new and old surfaces must be thoroughly cleaned, free of debris and dust, to prevent any impact on bonding strength.
3. The moisture content on the concrete surface should not exceed 10%.
4. The base should be dry when applying waterproof coating. Generally, it can be determined by experience, visual inspection, or by covering it with a 1m square plastic cloth and using sunlight for 1-3 hours.
(Alternatively, use a hairdryer to heat), observe if bubbles appear; if no bubbles, it can be considered dry and ready for application.