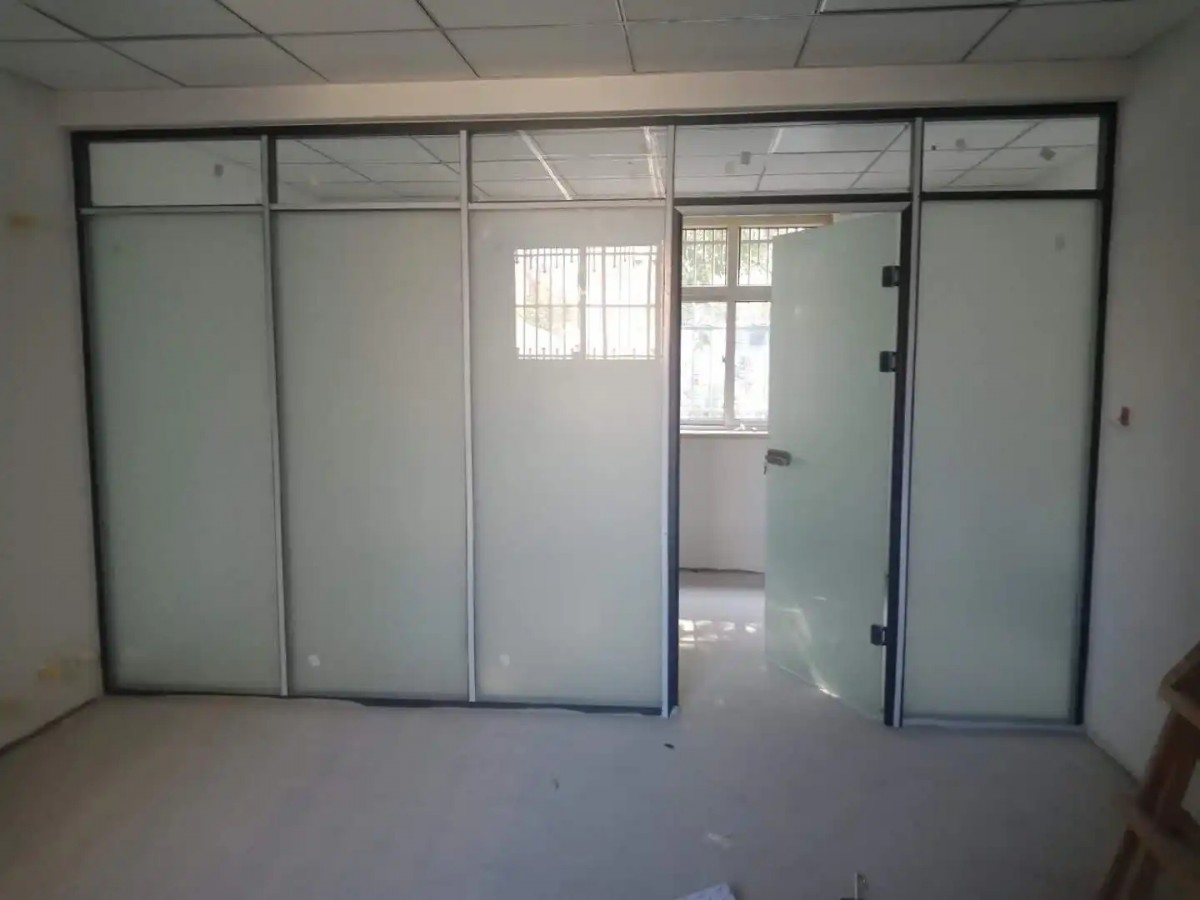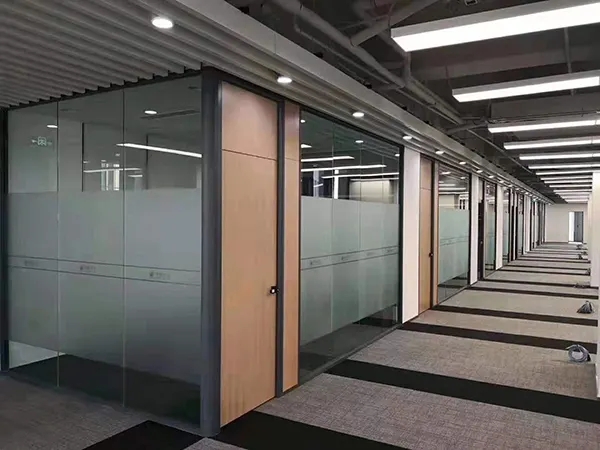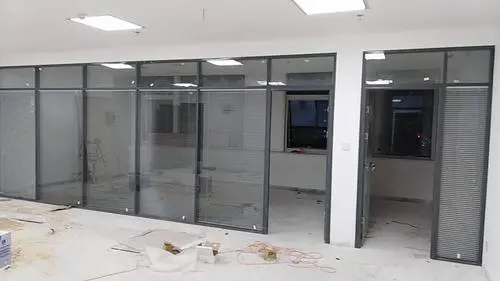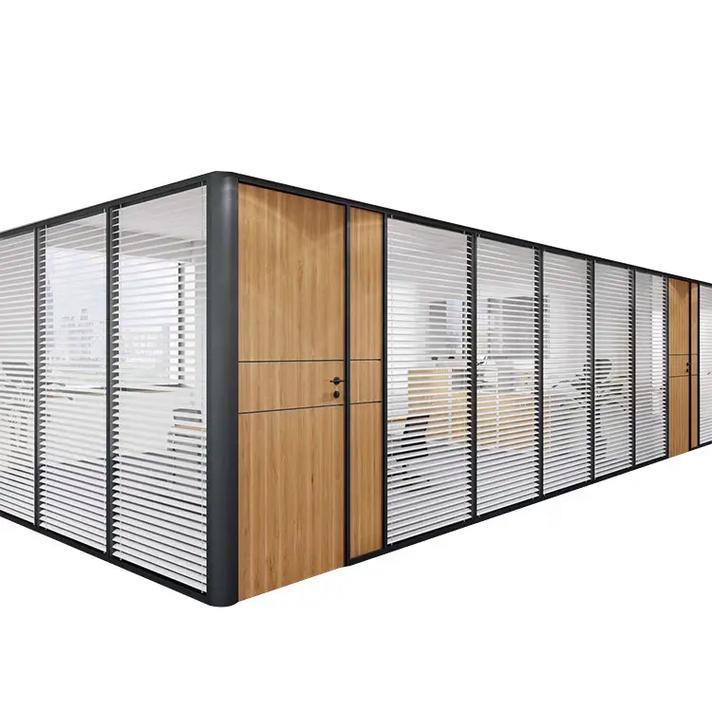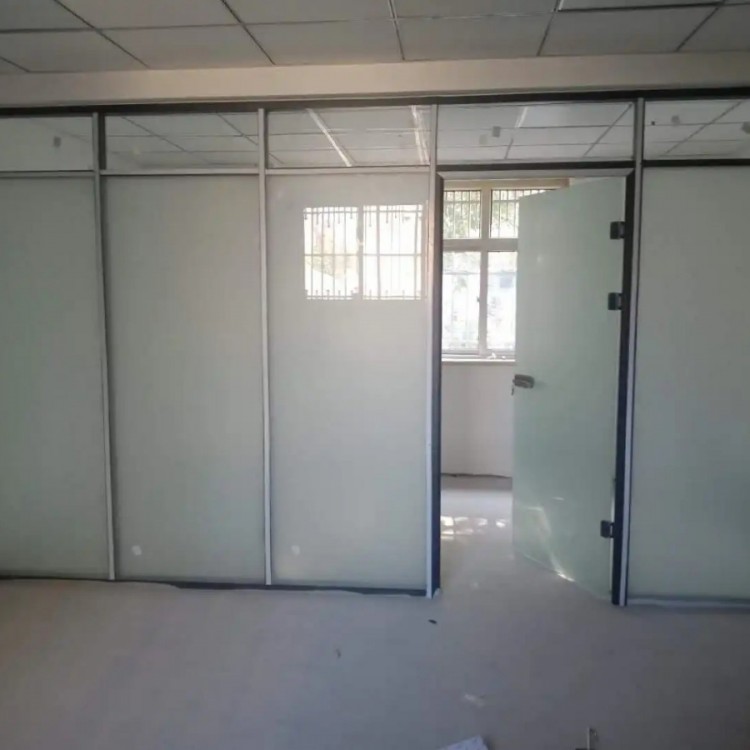

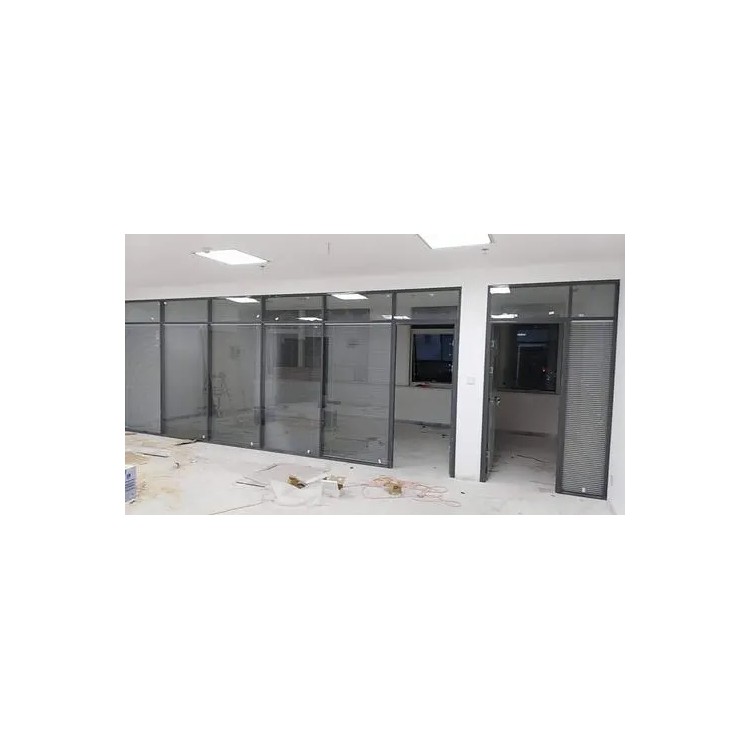


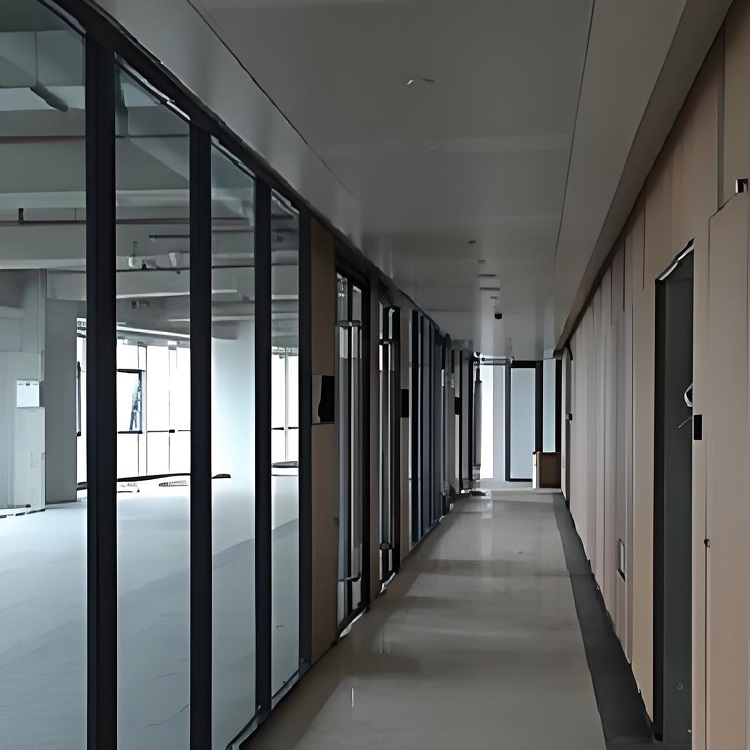


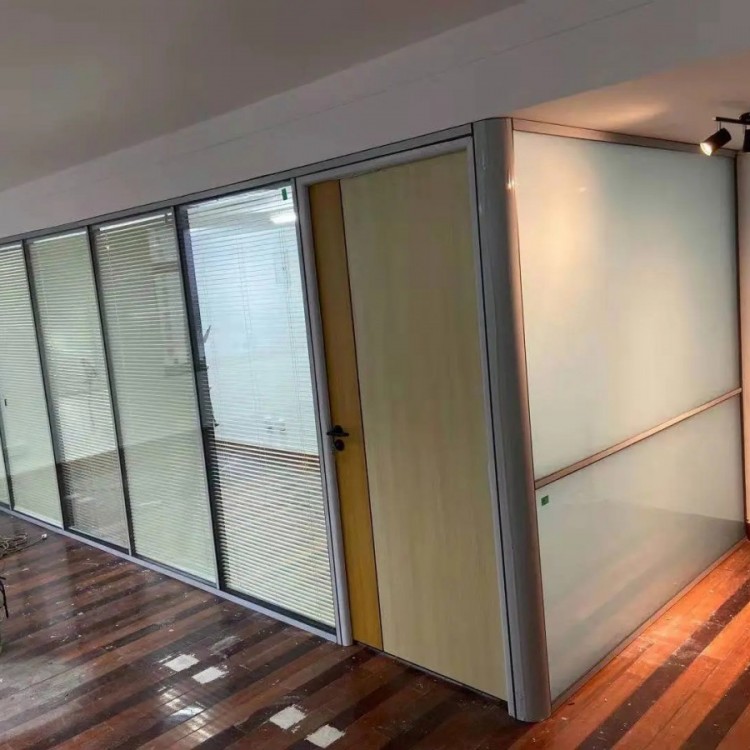
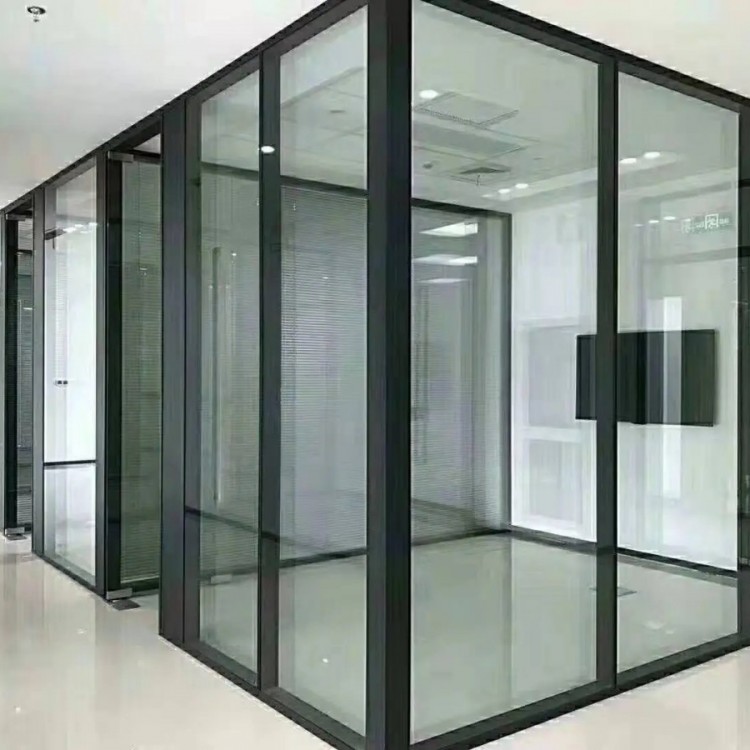


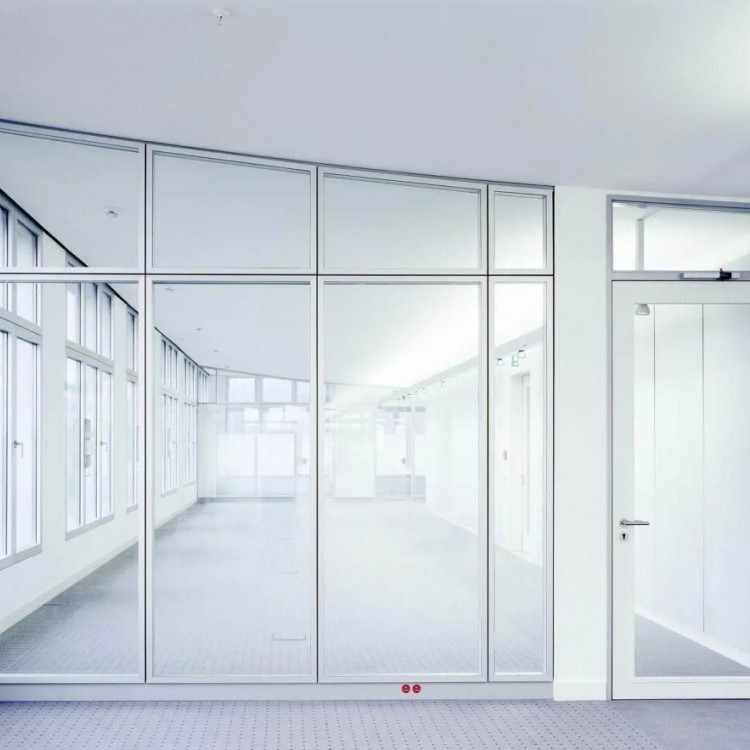
When selecting glass partition walls for installation, we must consider both the material's durability and its environmental friendliness. For instance, using tape instead of silicone or H-section materials for glass bonding is not only eco-friendly but also offers quick, attractive, and long-lasting adhesion. Today, let's explore the advantages of using tape to bond glass partitions.
Advantages of using tape to bond glass partitions:
1. Accurate, quick, and tidy bonding process: Avoids manual errors that can occur with liquid adhesives, saves curing time, and leaves no residue.
Durability and Reliability: Meets the requirements of ETAG003, the European Technical Assessment Guideline for Partition Systems, with a lifespan of several decades.
3. Visual Appearance: The adhesive area is thin yet highly transparent, without affecting the clear visual effect of office glass partition walls.
Step-by-Step Instructions for Office Glass Partition Wall - Tape Bonding:
1. Clean the sides and edges of the partition wall. Spray cleaning solution at the edges of the office glass partition wall, wipe with a cloth, and clean the edges and sides thoroughly.
2. Apply the tape to the top edge of the partition wall. Begin from the upper edge of the partition wall and manually apply the Andes 7058 tape, extending beyond the length of the Andes application tool.
3. Apply tape using the ANDER tape applicator. Nest the ANDER tape applicator against the side of the partition wall, apply even pressure, and slide it down vertically to complete the application of the remaining side tape. Once at the bottom, use scissors to trim off any excess tape.
4. Utilize a roller to tightly secure the tape. Roll the tape firmly 2-3 times to ensure a tight bond and prevent air bubbles.
5. Peel off approximately 5 cm of release paper at both ends. Use a wallpaper scraper to gently peel off about 5 cm of release paper at both ends of the tape, then fold the release paper outward for easy removal later.
6. Slide the other partition wall and align it vertically. Move the partition wall that needs to be adhered along the groove towards the wall with the adhesive tape already applied, adjust the gap between them, and ensure a perfect vertical alignment.
7. Adjacent to partition wall. Move the office glass partition close to the wall so that they nearly touch, leaving a gap of about 0.5 cm for easy removal of the release paper.
8. Peel off the release paper. Gently and carefully pull the release paper at a 90° perpendicular angle, avoiding excessive force that might pull the tape away from the side edges of the adhered partition wall.
9. Install partition walls. Carefully adjust and ensure accurate positioning; then, firmly press both partition walls together.
When installing office glass partitions, there are many details to pay attention to. Therefore, if you want to install partitions that suit your office, you should pay close attention to these aspects.