


How to do roof waterproofing?
1Process the exterior
Before roof waterproofing, it's crucial to level the roof surface with cement mortar first, then start the waterproofing process. This effectively prevents leaks caused by uneven surface thickness. Next, clean the roof surface of dust, debris, and other contaminants, then apply three layers of polyurethane waterproofing coating. This enhances the roof's waterproofing performance and reduces the risk of future leaks.
2Apply primer for surface treatment
Next, add some gasoline to the chloroprene asphalt adhesive for dilution, and thoroughly mix it to prepare the base coat treatment agent. Then, apply the base coat treatment agent evenly on the roof surface using a large roller brush, and wait...4Hour. Passed.4After a few hours, you can begin laying the waterproof membrane on the roof surface.
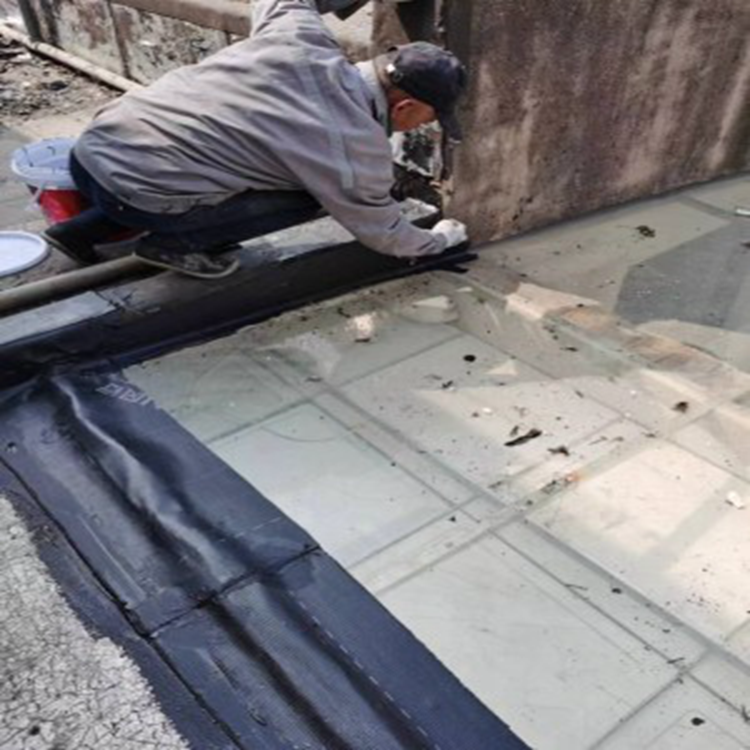
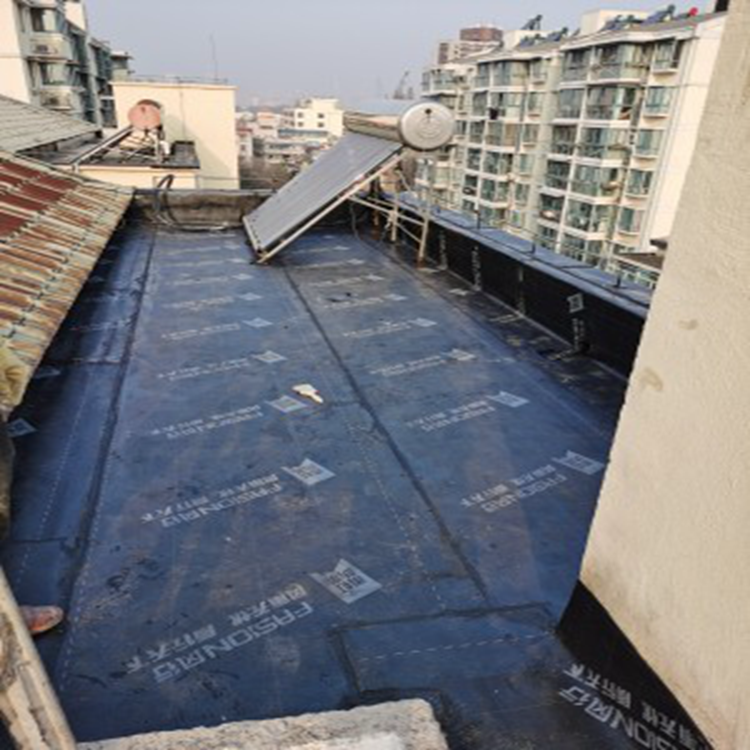
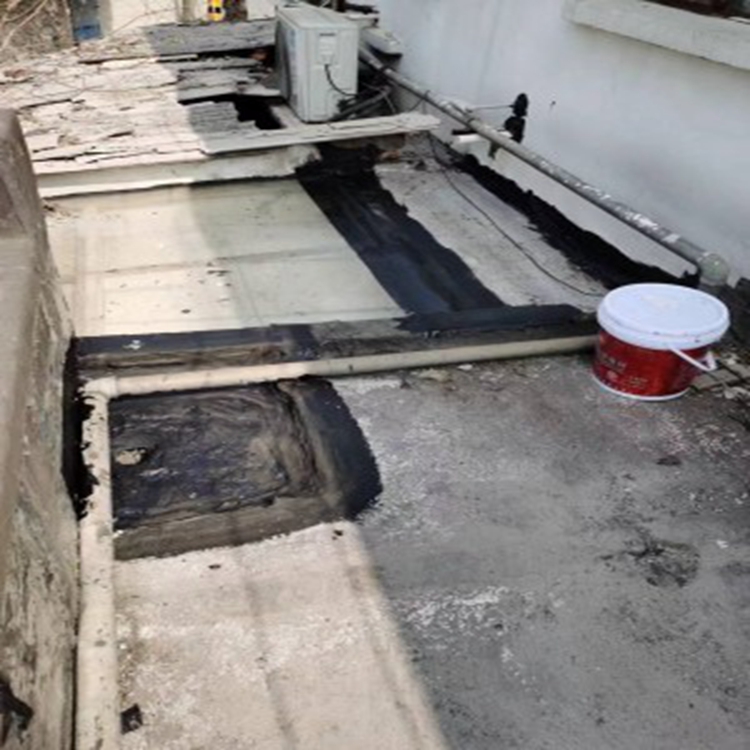
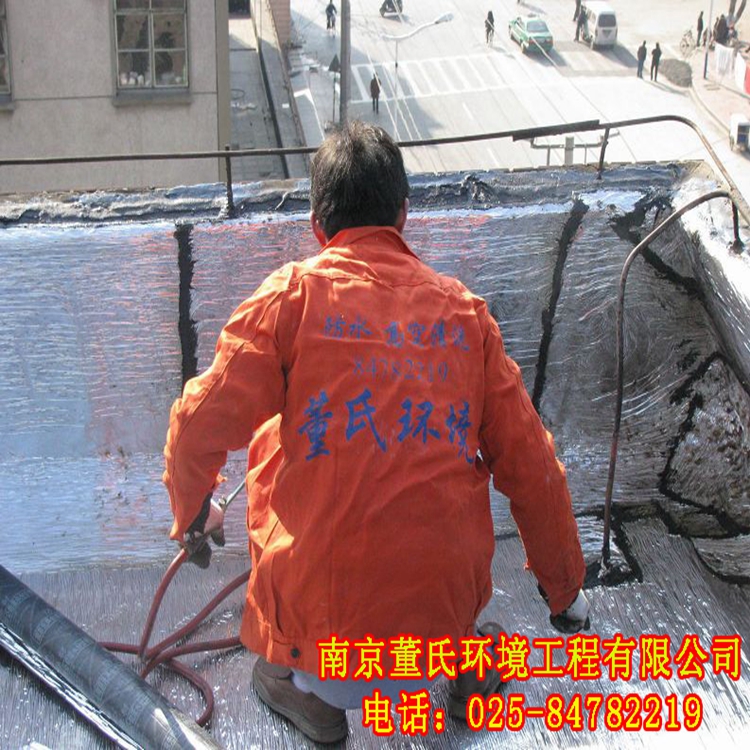
3Sheet goods for laying
When laying down sheet materials, the number of layers and thickness must be in accordance with the design requirements and construction specifications. If additional layers are needed, the joints must be staggered. When laying the sheet materials, the modified asphalt waterproofing sheets should be cut to the appropriate size for installation. During installation, one should lay down the sheets while the other should use a flame gun to heat the base of the roof to allow the sheets to bond with the base.
4Hot Melt Edge Sealing
After the rolled materials are laid, they should be heated at the joint areas with a flame gun to ensure a secure bond. Additionally, sealant should be applied at the end positions to make them tighter.
5Water Layer Storage Test
After the waterproofing work on the roof is completed, a water filling test should be conducted on the roof, with the water level higher than the highest point of the roof.24Approximately 5 cm, then wait for about 24 hours, and then observe if there is any leakage in the roof waterproofing. If there is, it needs to be repaired promptly.