


Usage:
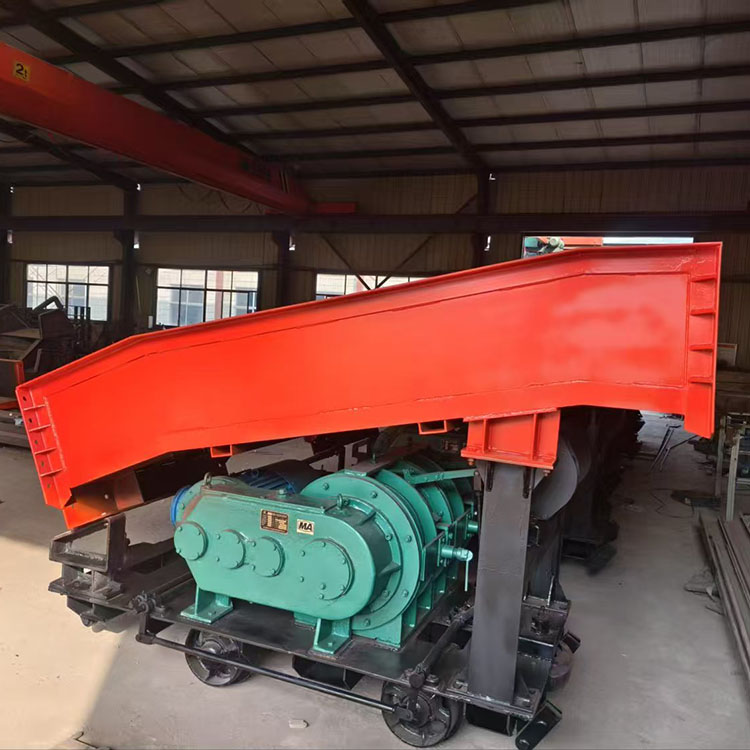
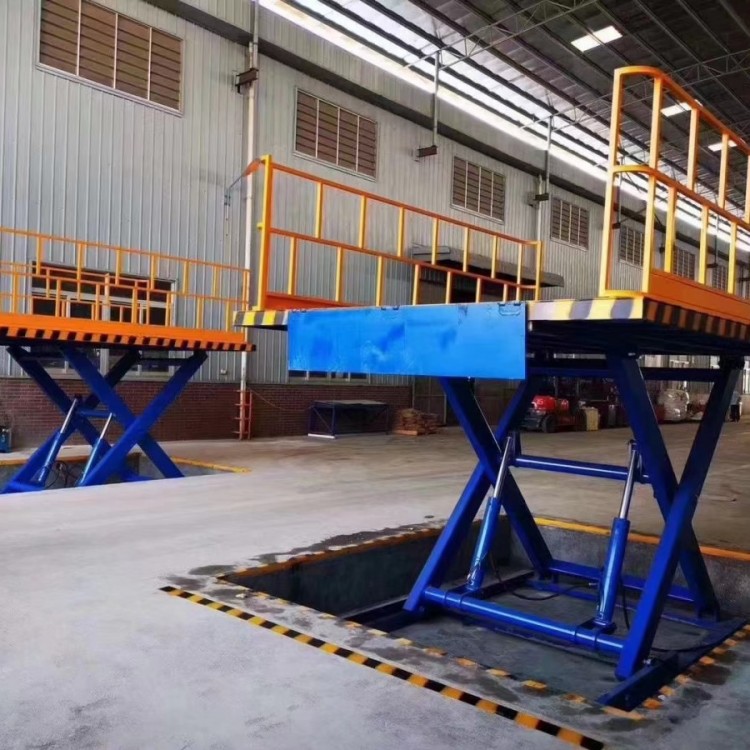
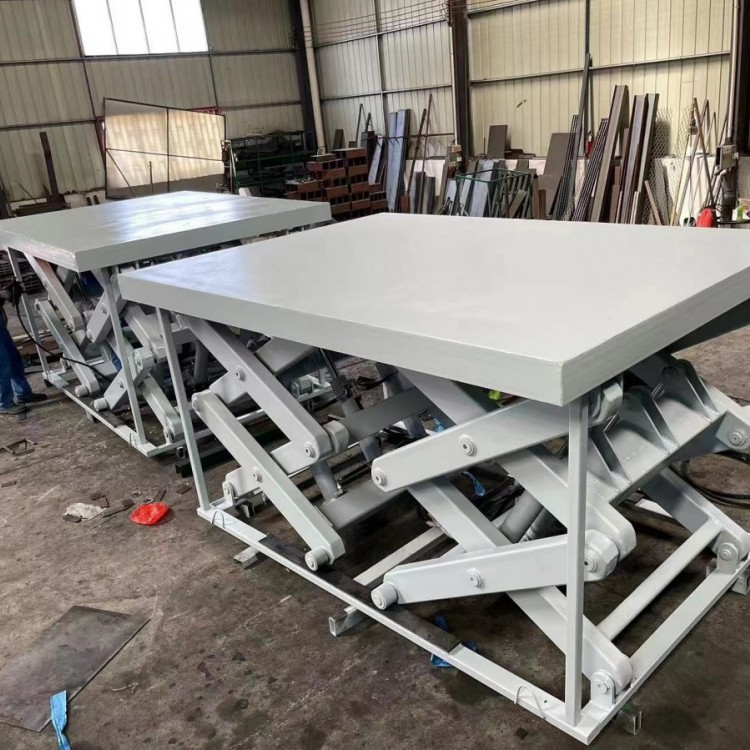
Suited for airportsTerminal BuildingAircraft maintenance and repairStation、DockMalls,Sports VenueHigh-altitude continuous operations in large areas such as residential property complexes, factory workshops, etc. Some products feature automatic walking capabilities, allowing for quick and slow movement in different working states. With just one person in the air, the machine can continuously perform actions such as ascending, descending, moving forward, reversing, and turning. When the machine is in a stationary state, the wheels are always braked, and they can reliably brake on a 6-degree slope. The large-diameter, extra-wide rubber wheels provide effective ground protection for the user while enhancing braking efficiency.Friction

Installation Matters
Editor Broadcast
Pay close attention to the following key points during the installation of the elevator:
Ready
1. Carefully draft the special construction plan for installation and construction, and provide safety technical briefings to the installation personnel.
2. Establish a solid foundation according to the basic plan, ensuring accurate positioning, leveling, and alignment to guarantee the foundation's levelness and meet all usage requirements.
3. Ensure the access road to the exterior construction lifting machinery is clear and there is ample space for parking equipment. When auxiliary installation requires the use of a crane, carefully consider whether the site environment meets the operational requirements of the crane.
4. Ensure an excellent power supply at the installation site, install a separate distribution box, and the leakage protector in the distribution box must meet the requirements for construction hoists. If the installed construction hoist is variable-frequency controlled, the leakage protector should be compatible with the variable-frequency inverter when selecting it.
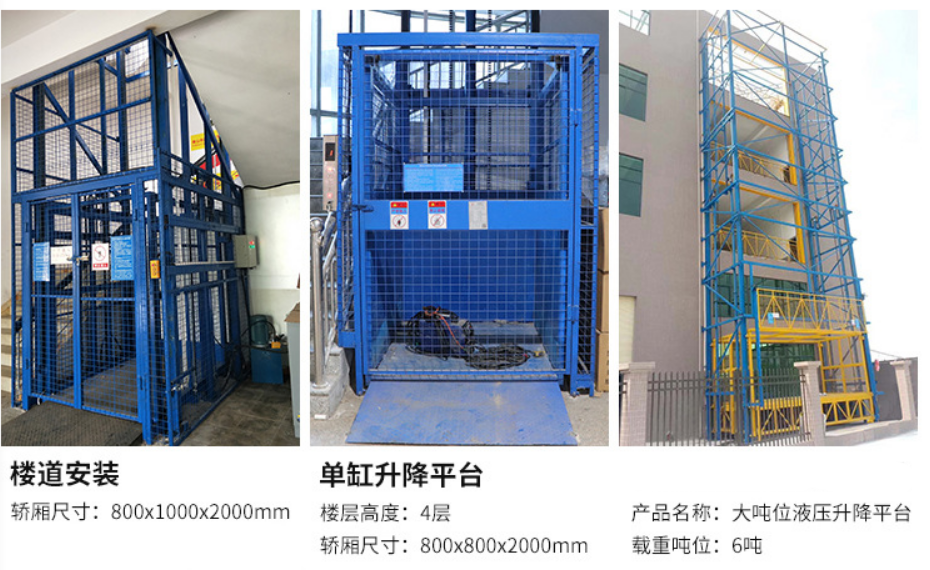
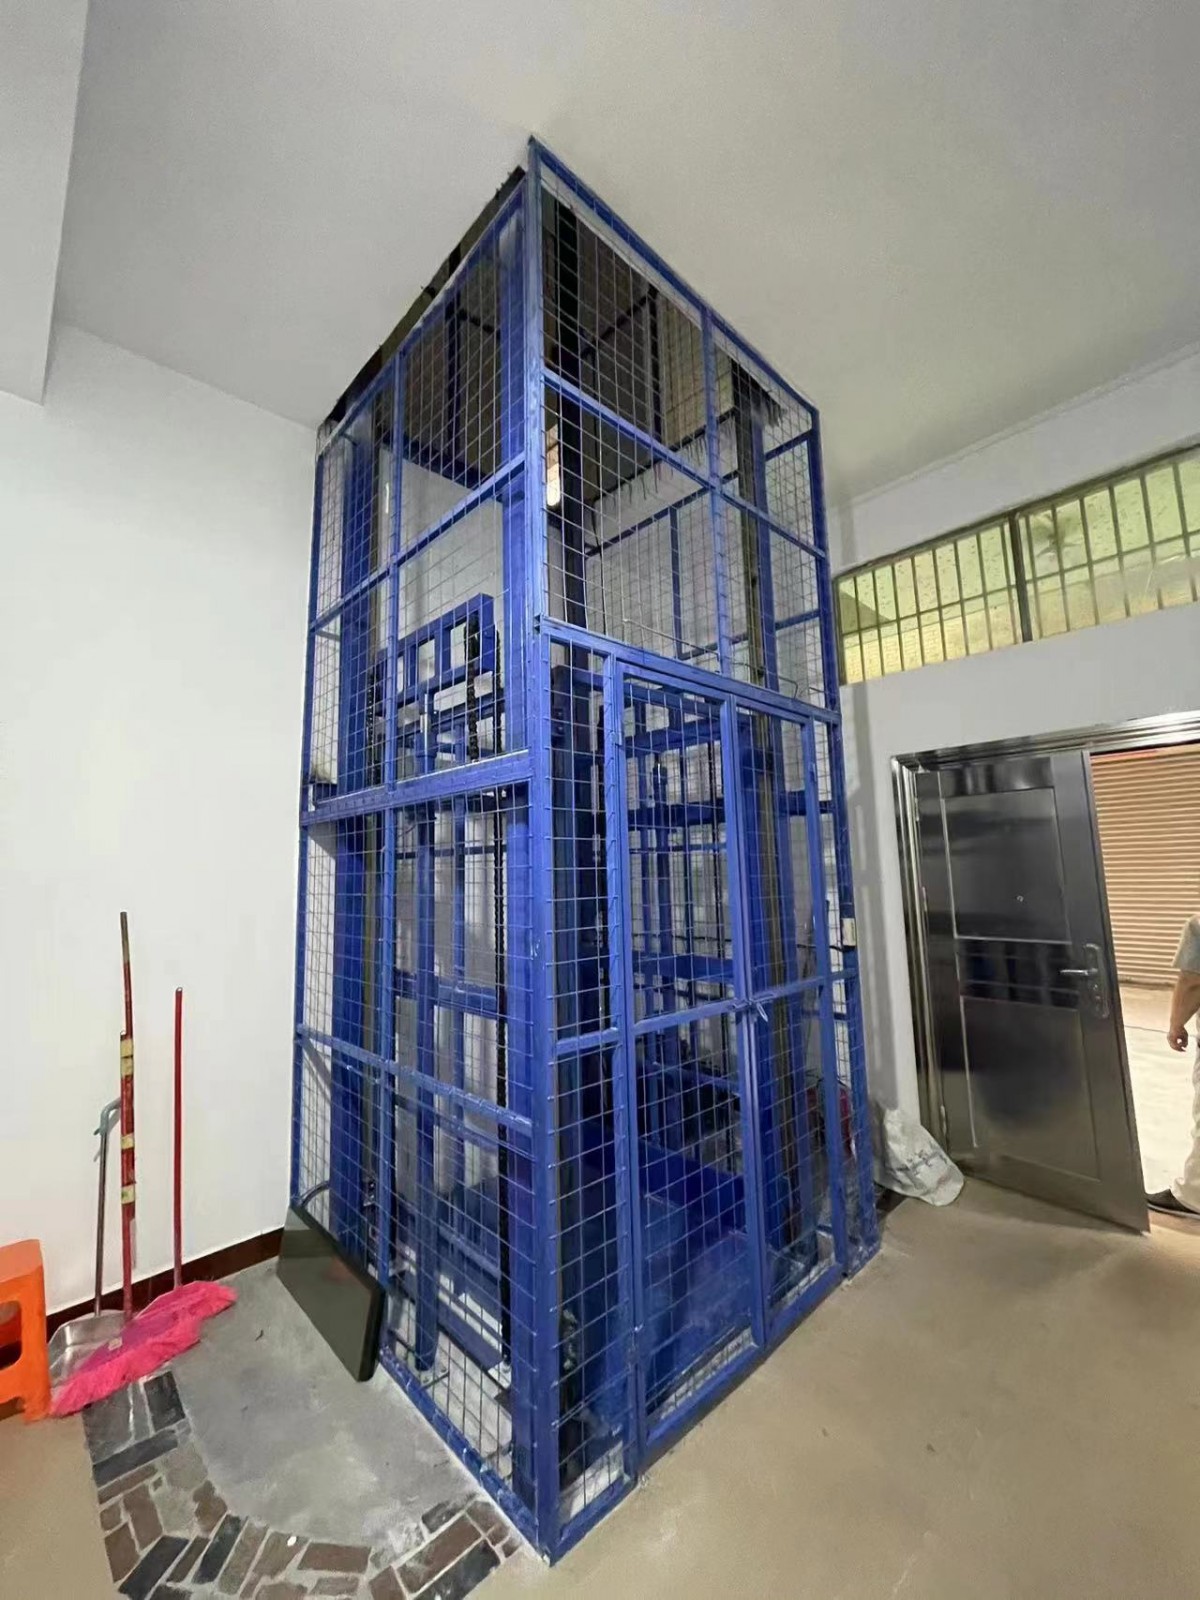
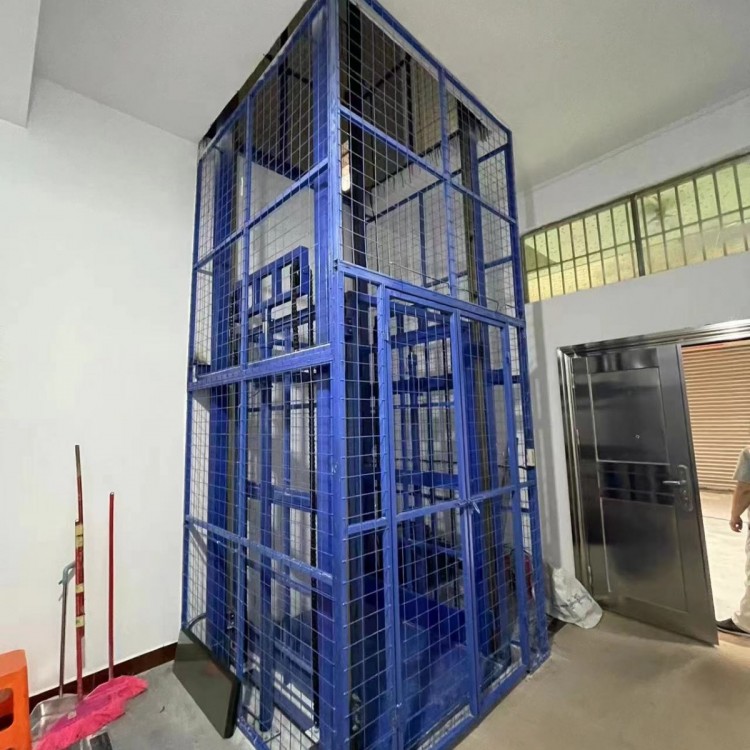
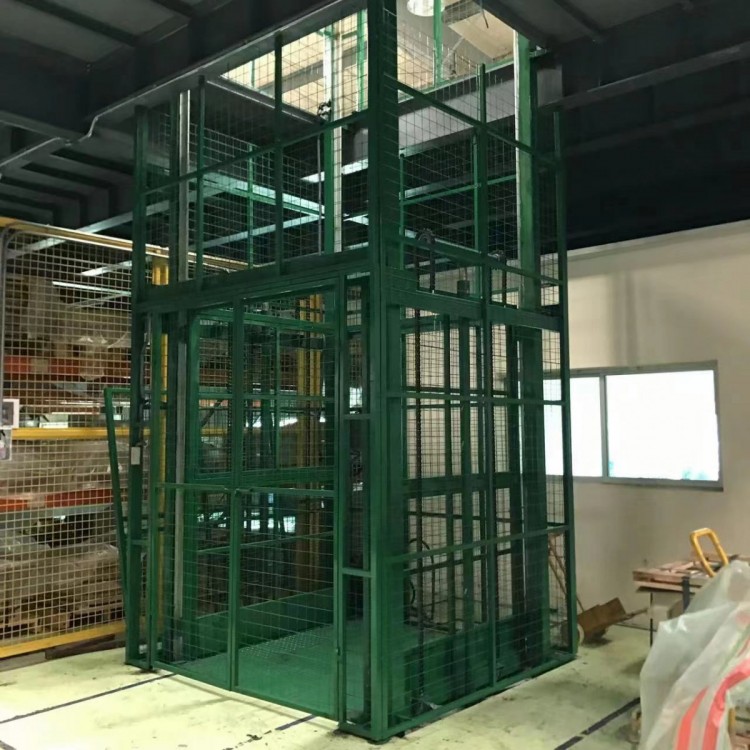
Fence hoist cage
1. Clean the base surface thoroughly, securely install the base bolts. If the construction hoist is installed on a basement floor, an iron washer must be placed beneath the base screws to increase the contact area between the nut and the floor, reducing friction on the floor.
2. Insert steel shims of varying thickness between the undercarriage and foundation at the foot bolt location to adjust the verticality of the guide frame.
3. Install three standard sections and use a theodolite to measure the verticality of the guide rail frame, ensuring the verticality of each main pipe in both directions is 1/1000.
4. After adjusting the guide frame vertically, tighten the 4 anchor bolts.
5. Adjust the verticality of the fence door frame as above, and tighten the remaining anchor bolts.
6. Install shock absorber springs.
7. Bolt the other half of the fence to the first half.
8. Adjust the verticality as above, loosen the foot bolt for the clamp. Release the brake on the motor inside the hoist cage. (For SC200/200 models, install the hoist cage first, followed by the transmission plate.)
9. Hoist the cage with a crane and position it accurately above the standard section. Fit both cages onto the guide rail frames and gently place them on the buffer springs. Prepare the drive frames for the two cages, adjusting each back wheel and roller to the wide gap position for ease of frame installation. Use the crane to install another standard section onto the basic part of the elevator, and tighten the connecting bolts. With the crane, install both sets of drive frames onto their respective cages and fit the connecting pivot shafts, then securely install the cage top guardrails.
10. Reset the brake.
11. Installation and Maintenance Section. The maintenance section is typically installed in the fourth section.
12. Install two more standard sections. Use a theodolite to check and adjust the verticality of the guide frame, ensuring the error in both mutually perpendicular directions meets the specifications in Table 1.
Table 1: Verticality Requirements for Guideway Frame