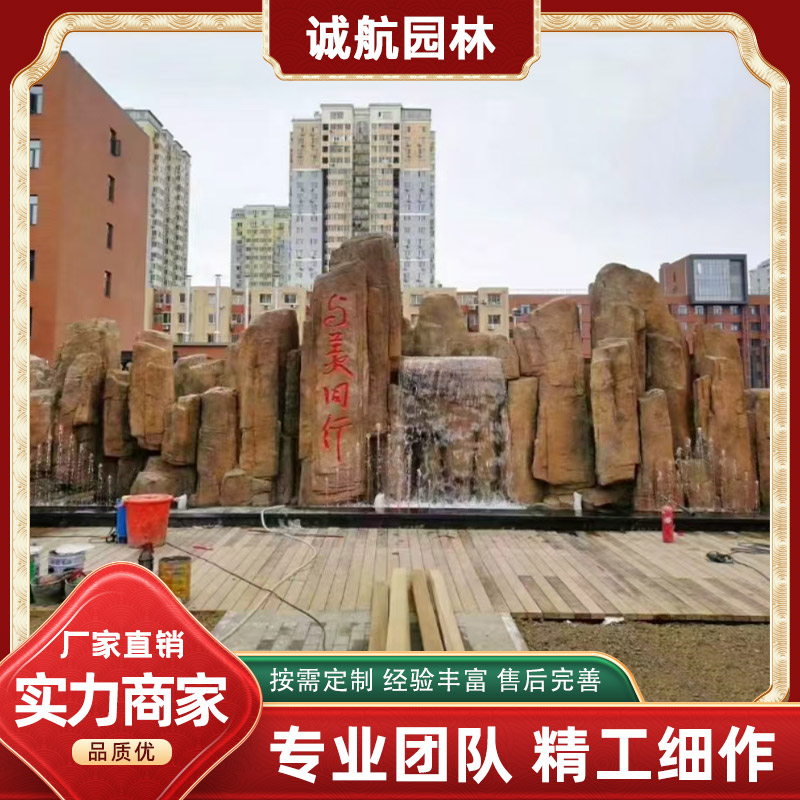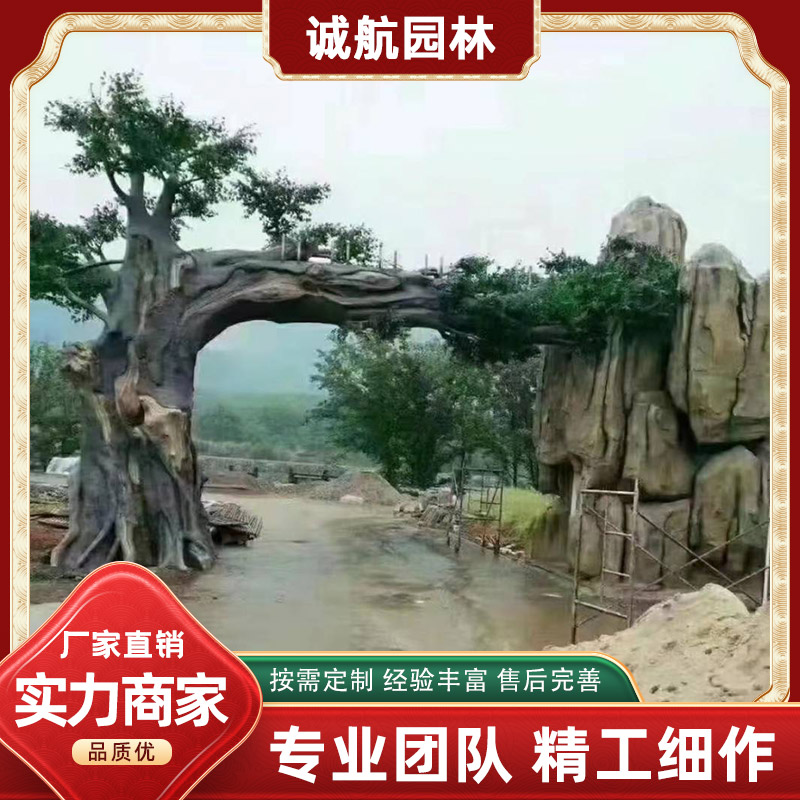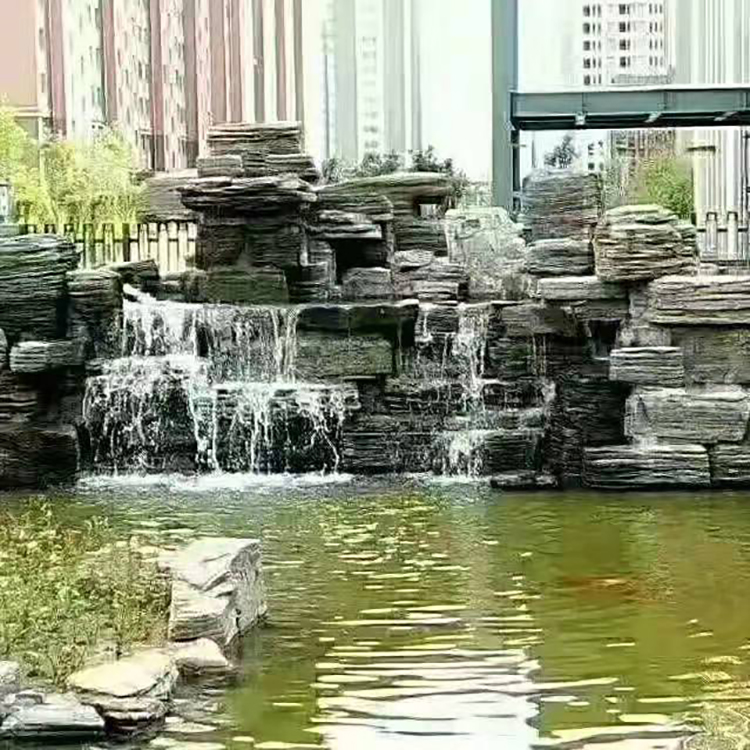


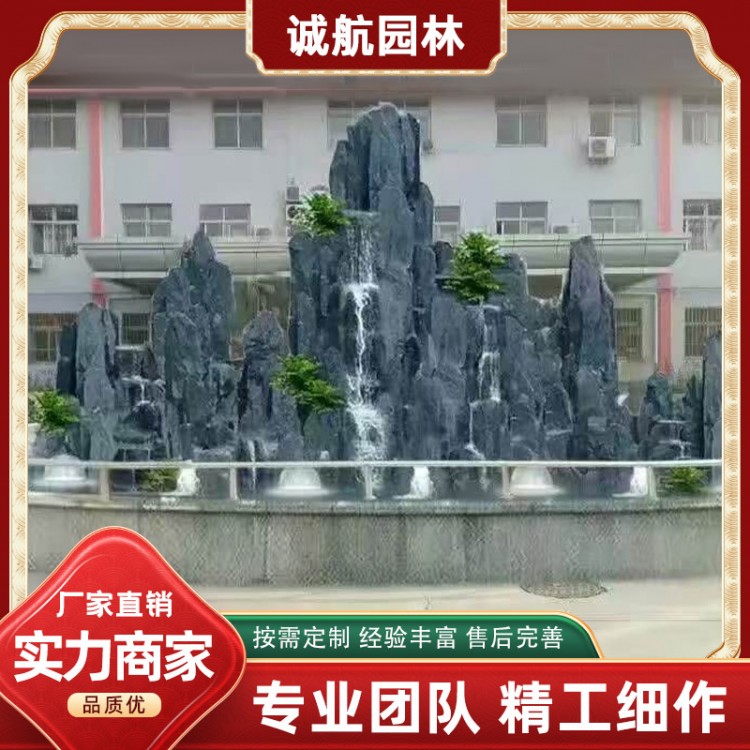

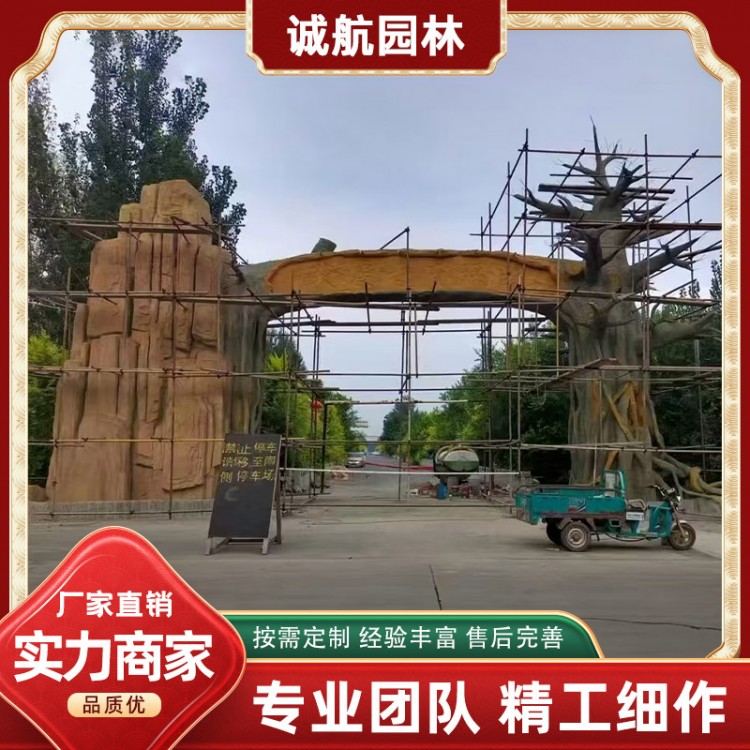


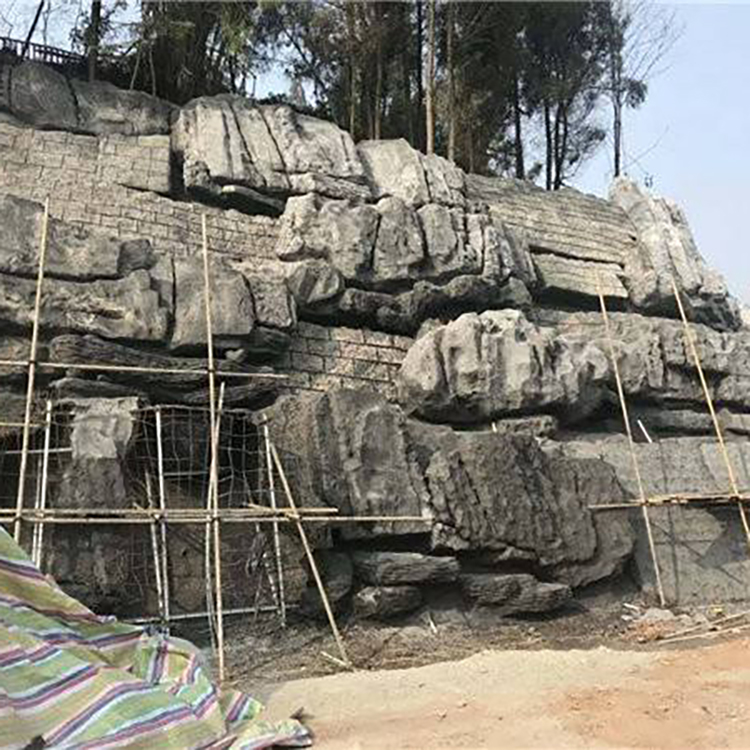

1. Construct the skeletal structure. This includes brick structures, steel frame structures, and mixed structures of both. Brick structures are simple and cost-effective; for areas with significant mountainous variations, steel frame overhangs are required. Waterproofing measures must be taken for the skeletal structure where waterfalls, springs, and reserved greenery caves are located.
2. Muddy Bottom Molding. Using cement, yellow clay, and river sand to create a pliable mortar, shape it over the already constructed framework. Repeat the process to achieve a finish that closely matches the model in terms of form, texture, plasticity, and surface etching.
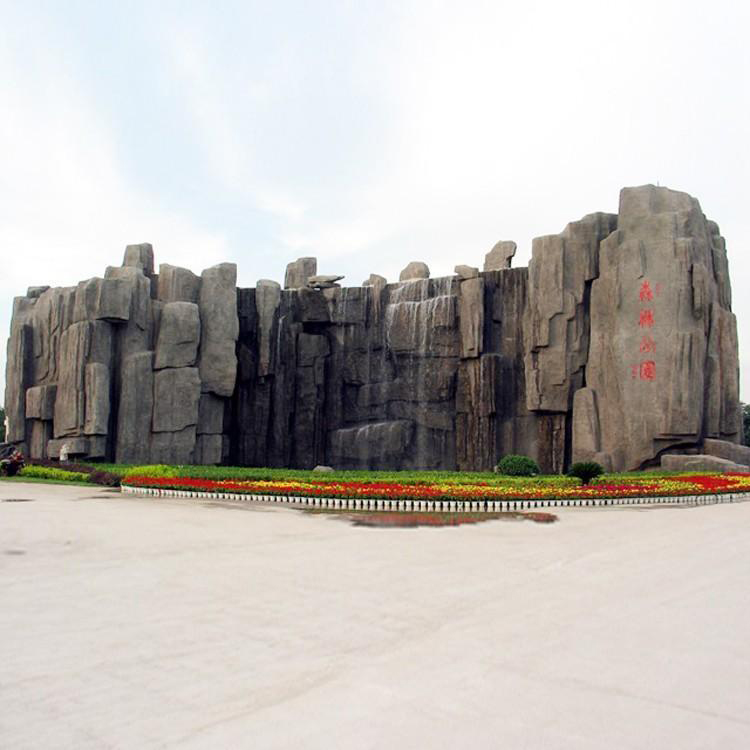
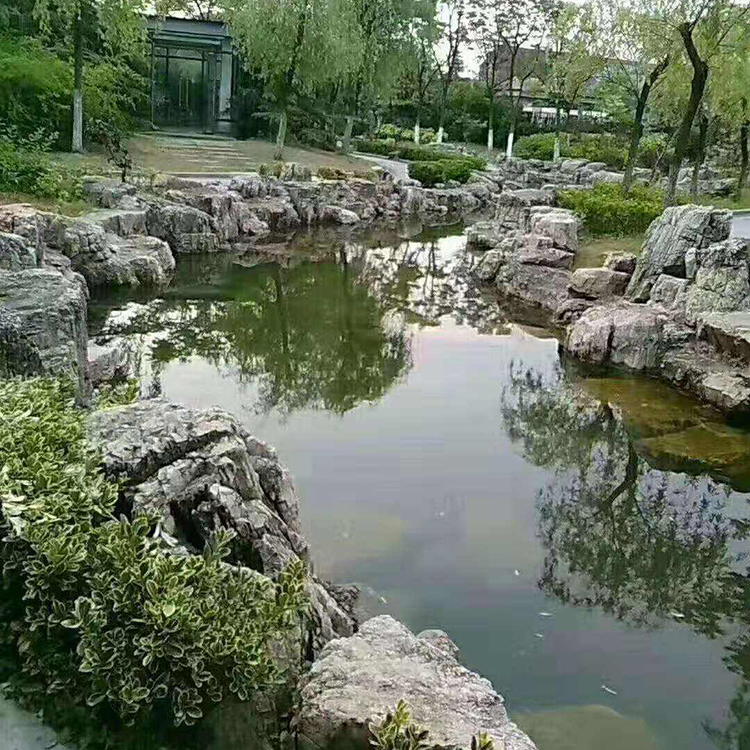
3. Sculpted Surface. Delicately carve the texture, color, patterns, and surface features of stone on the塑体 surface. The texture and color are mixed according to design requirements, using stone powder and color powder in appropriate proportions with white cement or ordinary watercolor to form mortar, and then treated with techniques such as roughness, smoothness, and hairline textures. For the creation of patterns, straight lines are generally used as the main feature with cross lines as the secondary, which best represents a majestic and upright posture. Conversely, cross lines as the main feature with straight lines as the secondary convey a casual and unrestrained image. Stones with a combination of patterns are more suitable for depicting a profound and magnificent appearance. To enhance the natural authenticity of the landscape, in addition to the pattern carving, attention should also be given to the detailed treatment of natural features like cracks, holes, hollows, fissures, faults, and displacements. Generally, the carving of patterns should be done with a "freehand" technique, being concise and summarized, while the treatment of natural features should be done with a "fine brush" technique, being meticulously crafted.
4. Coloring. Perform this step while the plastic surface is still moist. Mix pigment powder and cement with water, and apply it layer by layer. Slightly apply deeper shades in the crevices, holes, or shadowed corners. When the plastic surface dries, sprinkle a little green, black, or white in varying sizes and densities in the concave areas to enhance the sense of three-dimensionality and naturalness.