


1 feature
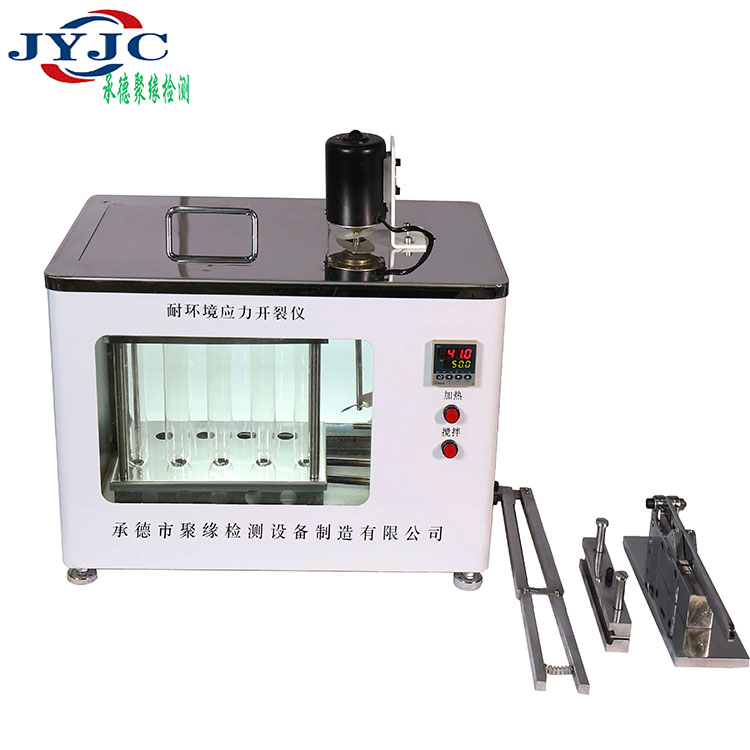
The environmental stress cracking resistance tester is based onGB1842-80Designed and manufactured according to the "Polyethylene Environmental Stress Cracking Test Method" and relevant Japanese standards. This instrument is used to determine the environmental stress cracking resistance of resins and plastics mainly composed of ethylene.
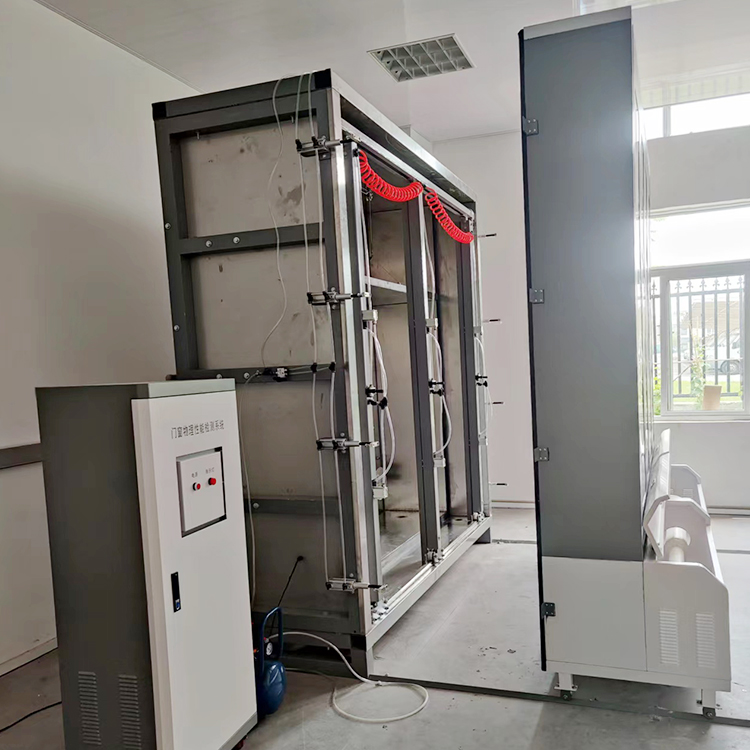
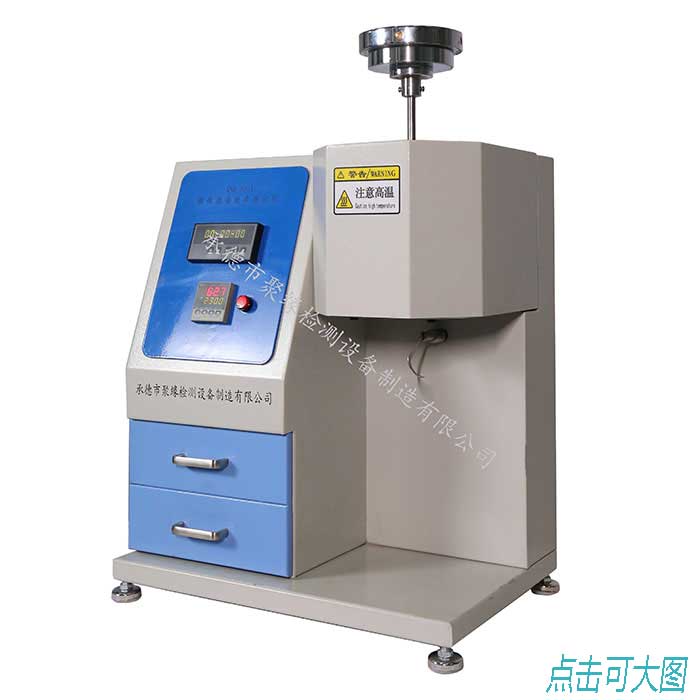
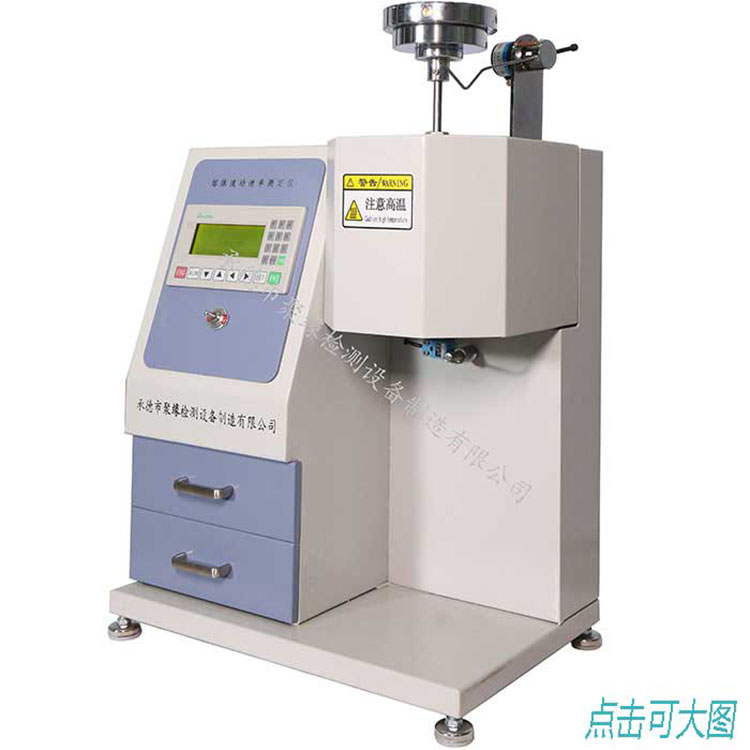
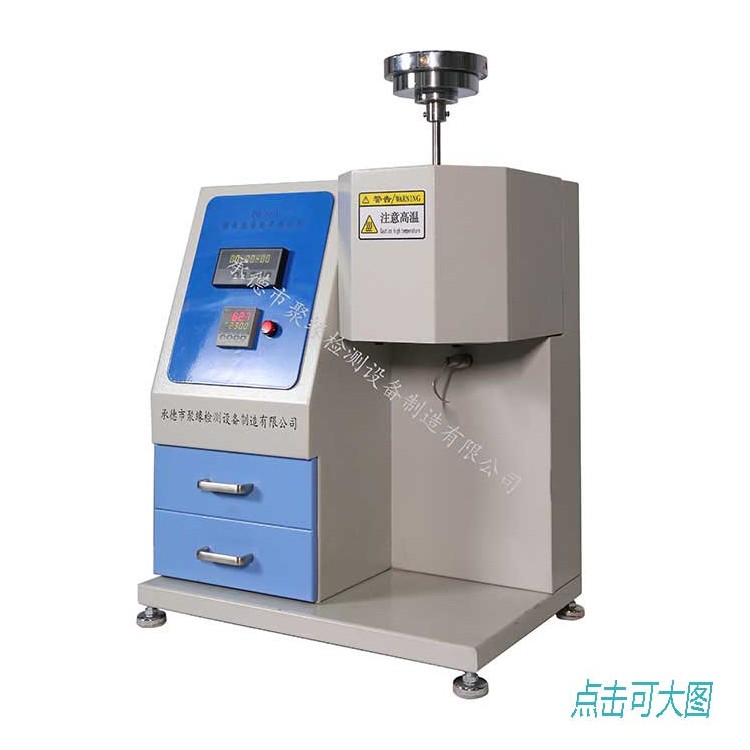
II Instrument composition
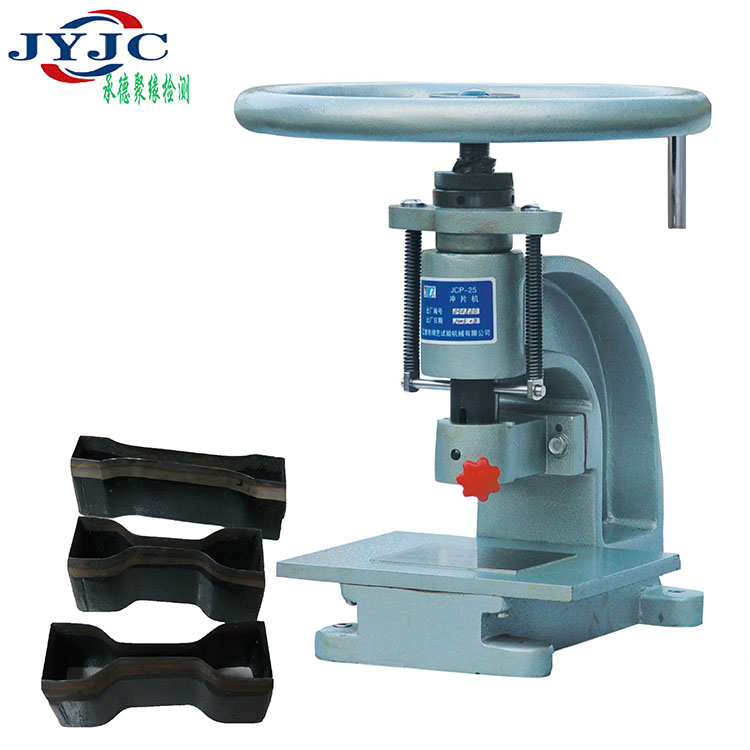
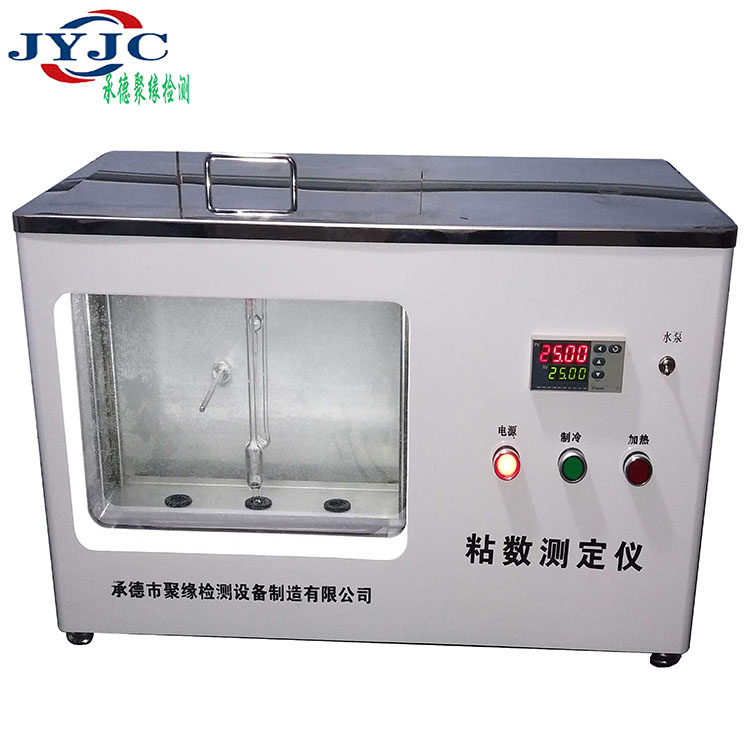
The instrument consists of a main unit and a transparent constant temperature bath. The main unit includes accessories such as scratches, bends, transfer parts, sample knives, and bending holders. The transparent constant temperature bath consists of a bath and an electrical control part, and can be used for viscosity testing and other tests for constant temperature control.
III Main technical parameters
1Sample specifications:L×W×H=38±2×13±1×(1.5~3.5)mm
2Depth of scratches:0.2~0.6 mm(Adjustable according to different requirements)
3Temperature adjustable range: from room temperature to90℃
4Control accuracy:±0.5℃
5Voltage:220V50HZ
6Power:3KW
7Net weight approximately:30Kg
8Inner container size:400×250×360mm
9External dimensions:560×300×400 mm
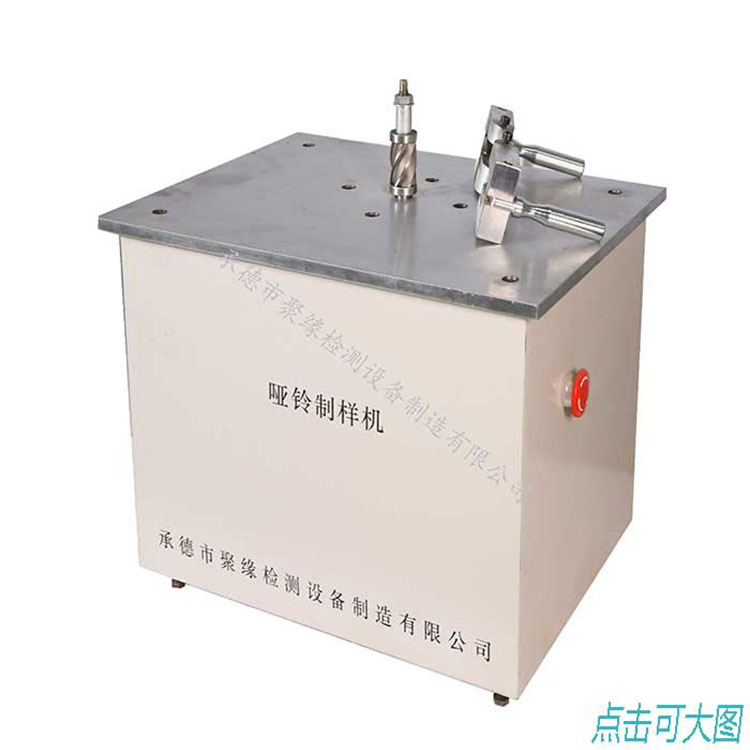
four、Supplementary instructions for using the tool for preparing sample scratch depth
Our company provides a national standard for testing purposes,GB/T1842-1999The "Test Method for Environmental Stress Cracking Resistance of Polyethylene" is provided for customer use.
The depth of the sample scratch shall refer to the table in the above national standards2According to the "Environmental Stress Cracking Test Conditions", it shall be implemented.
|
condition |
Sample thickness (mm) |
Scratch depth (mm) |
Temperature of constant temperature bath (℃) |
Reagent concentration(%v/v) |
|
A |
3.00-3.30 |
0.50-0.65 |
50 |
10 |
|
B |
1.75-2.00 |
0.30-0.40 |
50 |
10 |
|
C |
1.75-2.00 |
0.30-0.40 |
100 |
100 |
Tool usage method:
1Place the flat surface of the micrometer head on the scratch sample holder for zero adjustment, record the zero position scale, and adjust the micrometer head counterclockwise to the desired size. (e.g. scratch depth)0.2Mm, adjust the micrometer headRotate counterclockwise to20A small grid, that is0.2㎜)
2Loosen the bolts on the positioning block with an internal hexagonal wrench, and use a Phillips screwdriver to push the slider of the upper positioning blade to the left until it reaches the lower end of the cylindrical bottom plane of the micrometer head. (The slider below does not move)
3Tighten the screws and place the sample for scoring. After the pattern is engraved, conduct tests according to the operating methods in the manual or national standard requirements.