Construction Steps:
(1) Zone Selection: Each component or structural zone should have at least 10 zones. The recommended zone area is 200mm x 200mm. The zones should be selected from the side of the concrete pouring as much as possible, and the rebounding instrument should be used horizontally to rebound the components.
(2) Surface Treatment of Test Area: The testing surface should be concrete. If there is a layer of paint or tiles, etc., covering the concrete components, remove them first until the concrete surface is exposed, then grind the concrete surface smooth with an abrasive stone. The testing surface should be flat and dry, without any joints, loose plaster, or oil stains.
(3) Rebound Test: Ensure the rebound instrument remains perpendicular to the concrete testing surface during rebounding. Apply pressure, read the value, reset, and repeat the rebound process. The measurement points should be evenly distributed within the test area, with adjacent points not less than 20mm apart, and each point should have 16 rebound values.
(4) Carbonization Depth Test: Use a drilling machine to bore holes in the concrete components being inspected, with a diameter of approximately 15mm and a depth greater than the carbonization depth. Collect the debris from the hole and drop it into phenolphthalein solution. Measure using a carbonization depth gauge, ensuring at least 3 measurements per point, and calculate the average (the carbonization depth measurement points should not be less than 30% of the component's measurement area).
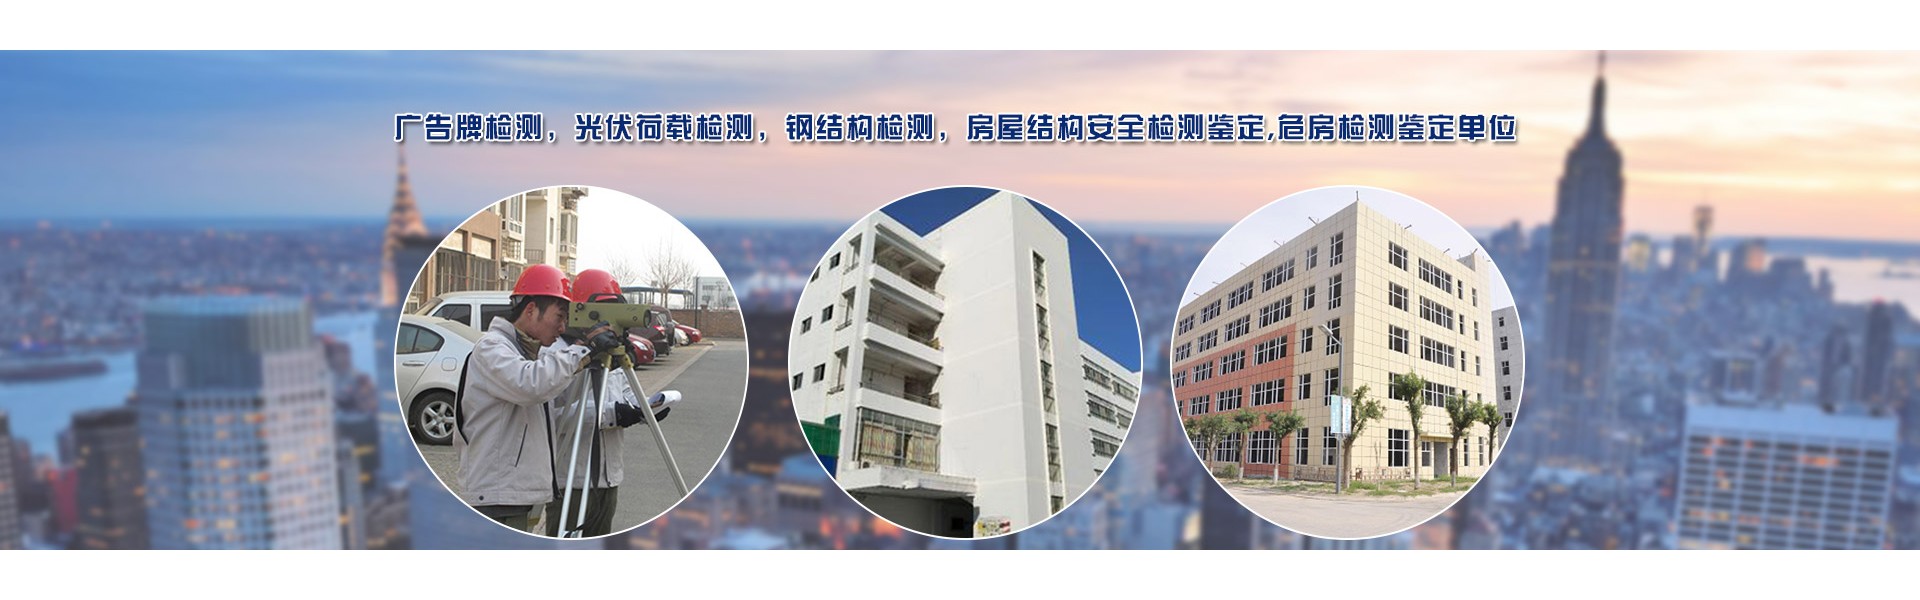
Rebound method test for concrete strength in building technical services
1. Operating Principle
Ultrasonic testing for concrete strength measurement relies on the correlation between strength and propagation parameters of ultrasonic waves in the concrete medium (such as sound velocity, attenuation coefficient, etc.), utilizing certain algorithms to determine the strength.
2. The main process flow includes: area selection - surface treatment of the area > strength test → carbonization depth test - rebound data calculation + ultrasonic detection data calculation - actual strength of concrete specimens
3. Construction Steps:
1) Area Selection: Each concrete component's measuring area should have 8 rebound collection points on both sides, with all rebound measurement points evenly distributed and the spacing between points not less than 20mm. Ultrasonic measurement points must be arranged within the same area as the rebound test, with 3 pairs of measurement points on the relative testing surface within each rebound ultrasonic measuring area.
2) Surface Treatment of Measurement Area: The rebound ultrasonic testing surface should be the surface of the concrete structural layer. If there is a coating layer or tiles, etc., covering the surface of the concrete components, it must be knocked off first until the concrete surface is exposed, and then the concrete structural layer surface should be ground smooth with an abrasive stone. The test surface of the concrete structural layer should be flat and dry, without any defects such as joints, loose mortar, and oil stains.
4. Strength Test:
1) Elastic rebound test, perform an elastic rebound test for each testing area before conducting the ultrasonic test. Ensure the rebound meter is always perpendicular to the concrete detection surface during the rebound test. Apply pressure, read the value, reset, and proceed with the rebound test sequentially. The measurement points should be evenly distributed within the testing area, with adjacent points not less than 20mm apart, and each point should have 16 rebound values.
2) Ultrasonic sound velocity measurement: the transmitter and receiver probes are aligned in a straight line. Apply a coupling agent like Vaseline between the probe and the concrete surface. Measure the concrete thickness between the transmitter and receiver probes with a ruler (ultrasonic distance L).
5. Carbonation Depth Test: Use a drilling machine to bore holes in the concrete components being tested, with a diameter of approximately 15mm and a depth greater than the carbonation depth. Collect the debris from the holes, add it to phenolphthalein solution, and measure using a carbonation depth gauge. Each measurement point should be repeated at least 3 times, with the average value taken (the carbonation depth measurement points should not be fewer than 30% of the component's test area).
6. Resilience Data Calculation:
From the data of 16 measurement points in the testing area, we exclude 3 high and 3 low values, and then calculate the average of the remaining 10.
2) Determine the strength conversion values by referring to the chart based on the detection directions, sides, surfaces, bottom surfaces, pumping, non-pumping, and carbonization depths.
3) Calculate the average strength, minimum strength, strength standard deviation, and estimated strength values based on the conversion values.
 Anshan Kindergarten Safety Inspection; Kindergarten Building Safety Assessment Plan
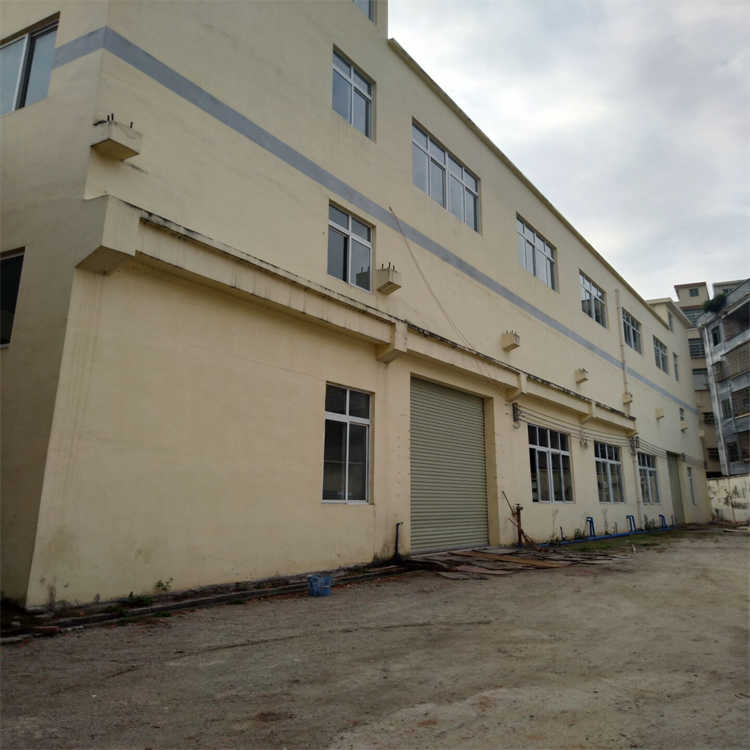
 Xuzhou Factory Quality and Safety Inspection Company, Quality Requirements for Steel Structure Factory, Integrated Solution
 Taizhou Factory Quality and Safety Inspection, Factory Warehouse Quality Inspection, On-Site Survey

 Baoding Steel Structure Inspection Company On-site Survey
 Kunming Kindergarten Safety Assessment, Kindergarten Building Safety Assessment Criteria
 Earthquake Resistance Testing for Buildings, On-Site Inspections, Fuzhou Factory Renting Safety Inspection Agency