


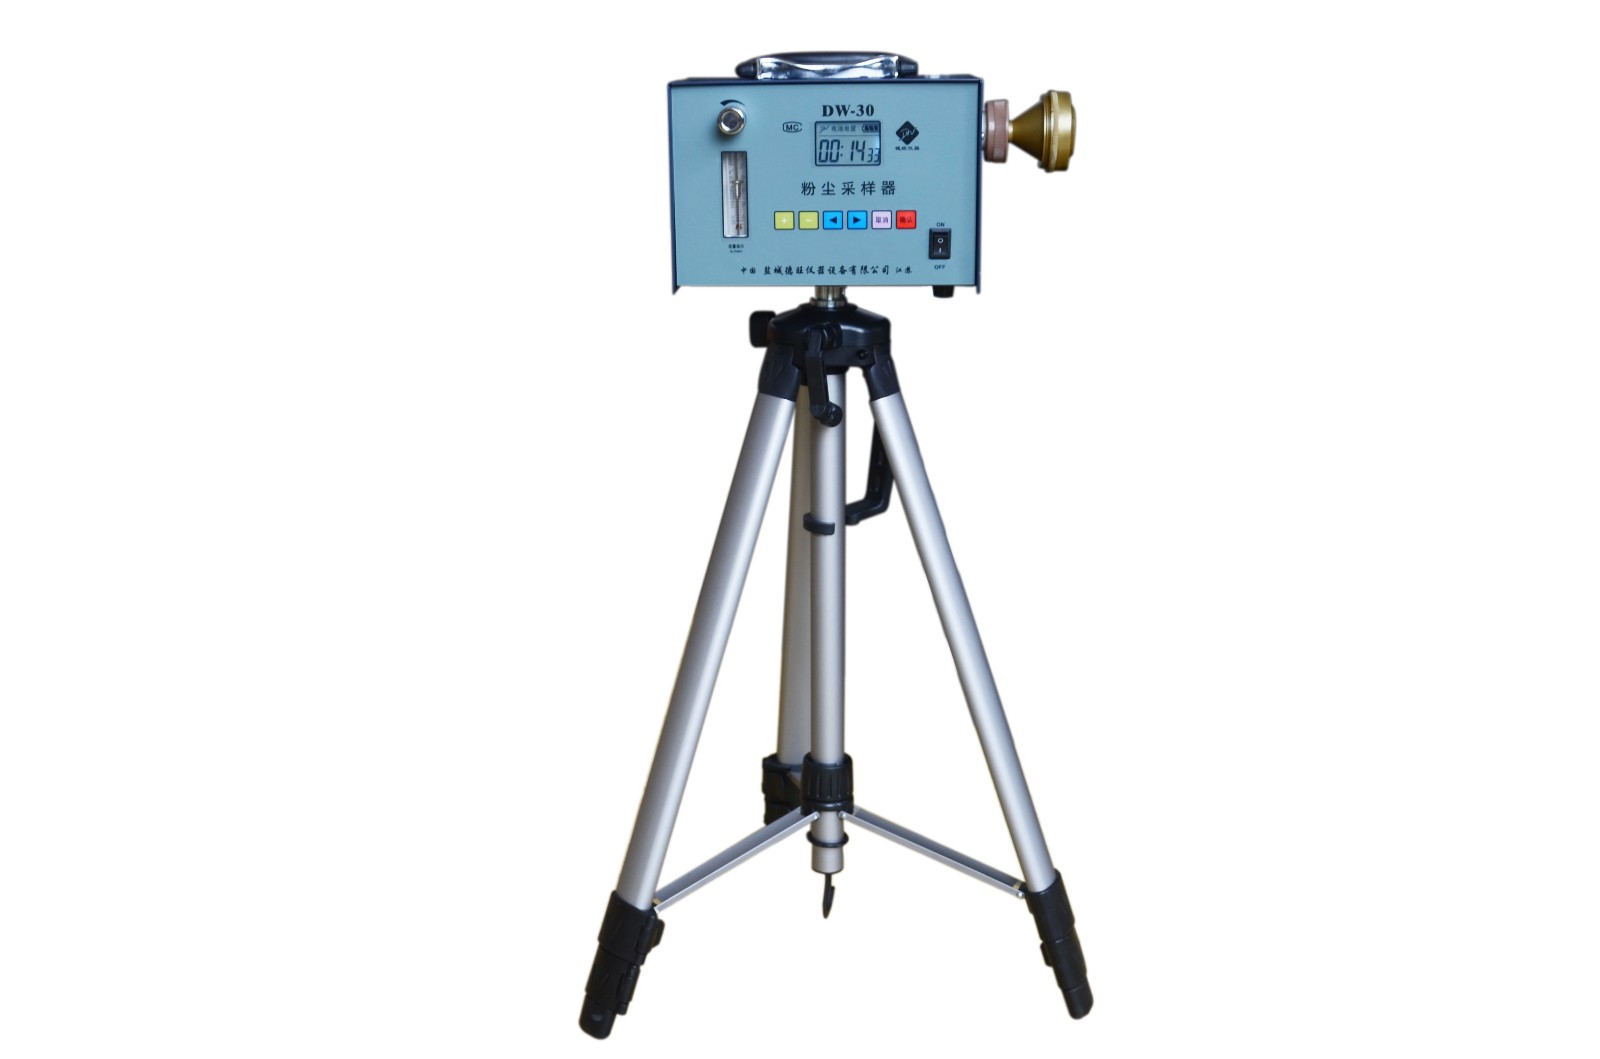
I. Product Description:
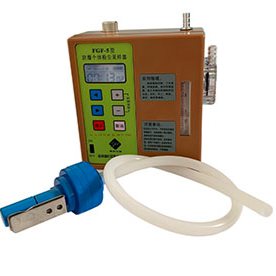
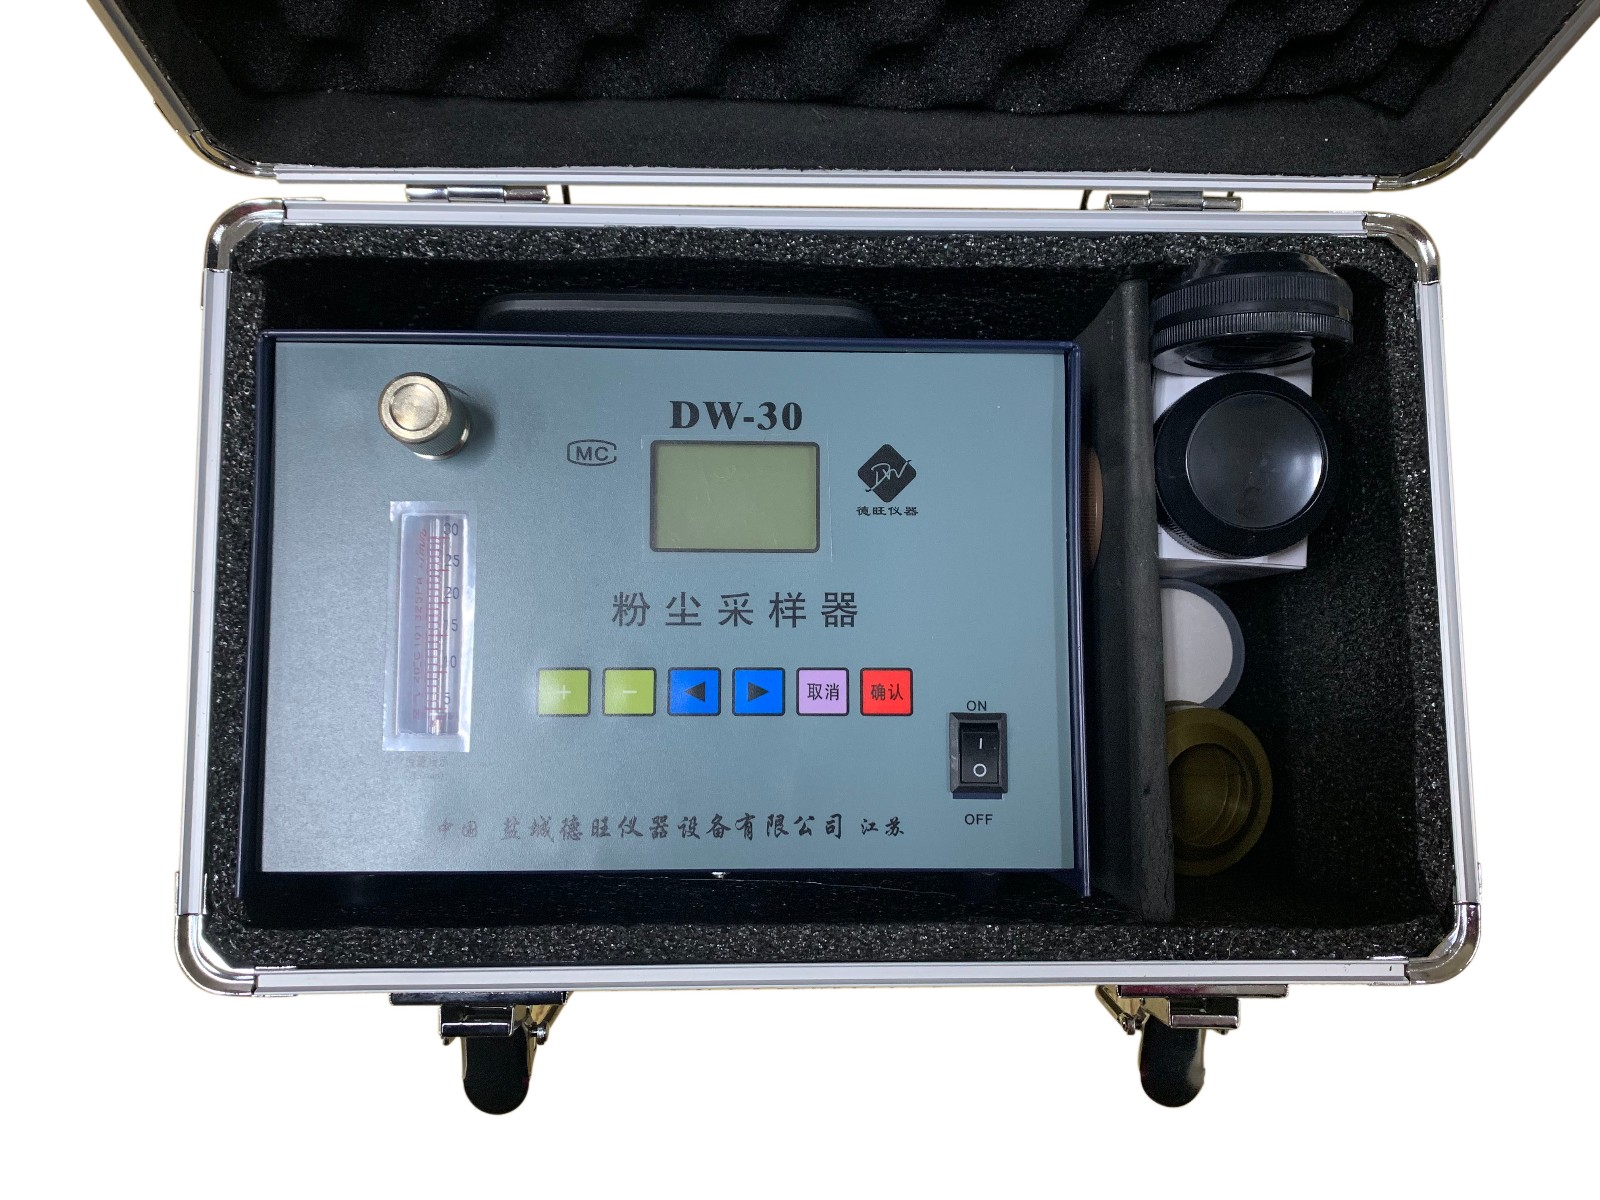
DW-30Dust SamplerThe instrument utilizes a microcontroller as the intelligent control central processing unit, enhancing its applicability. The intelligent operation platform is built on an intelligent, refined internal management system with menu settings, the ability to remember the last sampling time, continuous and intermittent sampling, intelligent power management with real-time battery display, charging indicator, and powered by a lithium battery. It features an efficient hollow cup motor drive, a large LCD display, and automatic shutdown after a period of inactivity, making it a practical dust sampler available in the market.
II. Technical Specifications:
Flow Range:5-30 L/min, 3-30 L/min, 1-10 L/min (flow rate options)
Flow Error:≤±5%
Timekeeping Error:≤±1‰
Maximum Negative Pressure:≥15000Pa
Charging Current:300MA (Standard Model)
Electricity Source:10VDC、220V50HAC
Operating Temperature: -10-40℃
Noise Sound:≤70dB
Relative Humidity:≤85%
Body Accumulation:200x160x140mm
Section 3: Usage and Maintenance:
1. Sampling: Before the instrument is powered on, attach the sampling head to the pre-weighed filter membrane. Press the "ON/OFF" button to enter the startup screen, set the sampling time (use left/right buttons to adjust the time setting position, and use +/− buttons to adjust the sampling time). Once the sampling time is set, press the "Confirm" button to begin sampling. At this point, the internal power of the sampler is supplied to the motor via the control circuit, driving the air pump to draw air at a constant flow rate. The dusty air is drawn into the installed sampling head, where the dust is trapped on the filter membrane. Simultaneously, the timer set in advance starts counting the sampling time. After the set sampling time is reached, the instrument automatically shuts down, completing the sampling. Note the sampling time, then weigh the sample. You can then calculate the on-site dust concentration using the formula.
During the sampling process, to pause sampling, pressPress the "Confirm" button. Press "Confirm" again to proceed with sampling. To reset the sampling time, hold the "Cancel" button for 3 seconds, then you can set the sampling time again. The backlight will automatically turn off after about 5 seconds of inactivity (entering power-saving mode). Once the menu settings are adjusted, simply press the "Power On" button and select the desired time, then press "Confirm" to start sampling.
2. Usage: Securely mount the sampler on a dedicated tripod stand at the selected sampling location, ensuring its height matches the local breathing zone. Remove the pre-collector and install it on the sampler, positioning the intake at the dust-laden air stream. The sampling duration should be based on the type of dust and environmental conditions on site, typically between 20 to 25 minutes. For areas with high dust concentrations, the sampling time can be set to 2 to 5 minutes.
3. Charging: The instrument's display shows the battery capacity. Simply plug the battery cable into the AC power and connect it to the sampler to initiate automatic charging.
4. Cautionary Notes:IfBattery charging is not required for more than 3 months to ensure the lifespan of high-energy lithium batteries. Ensure the safety of the gas pump and gas line.