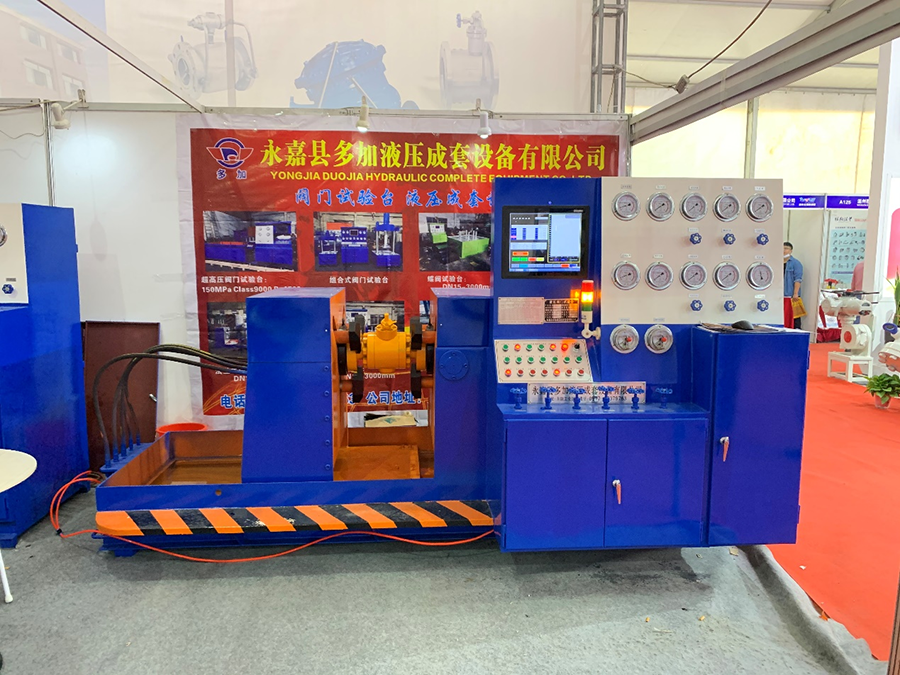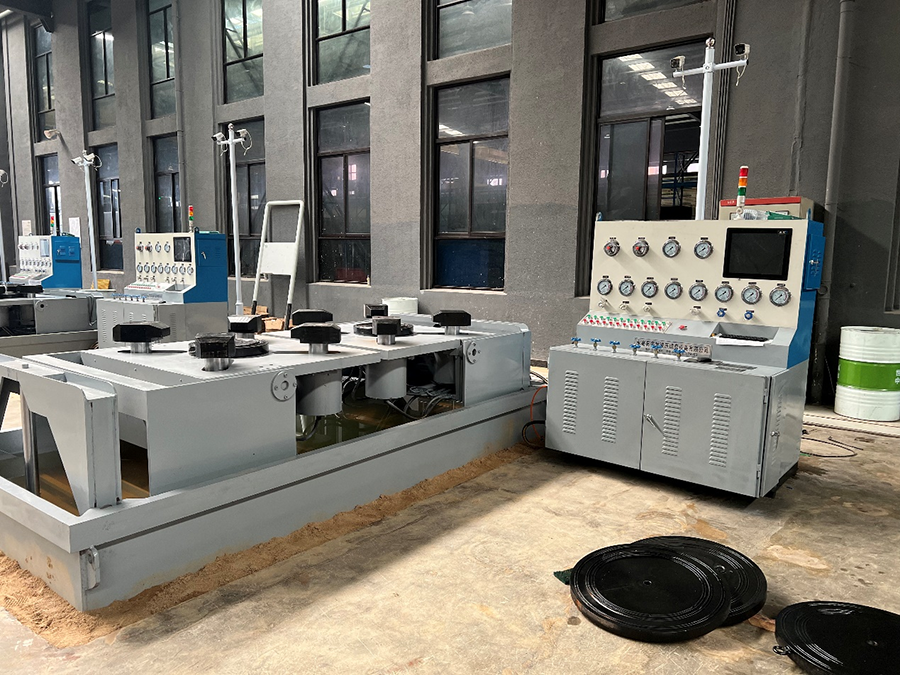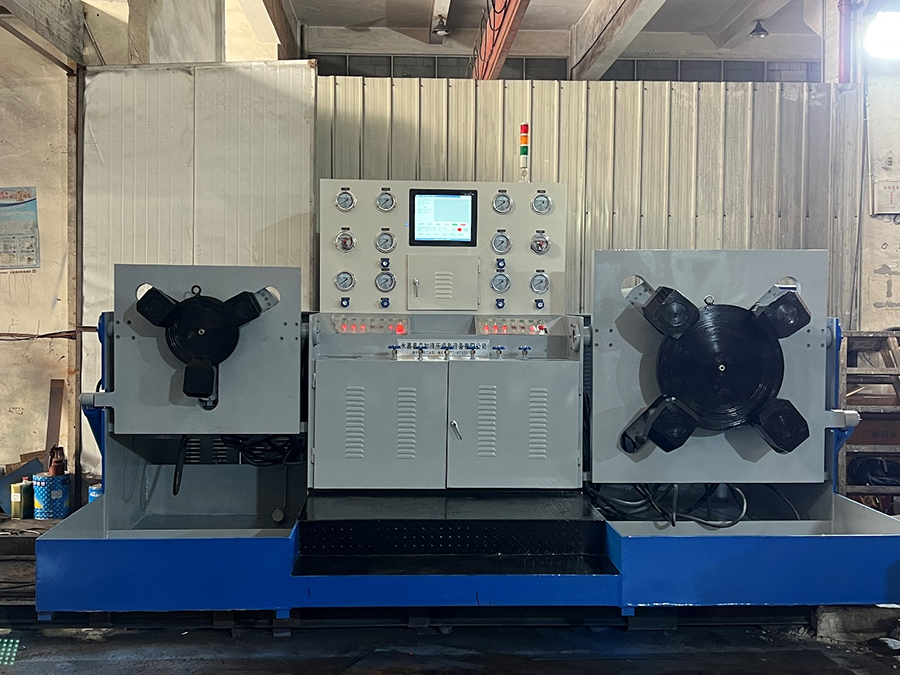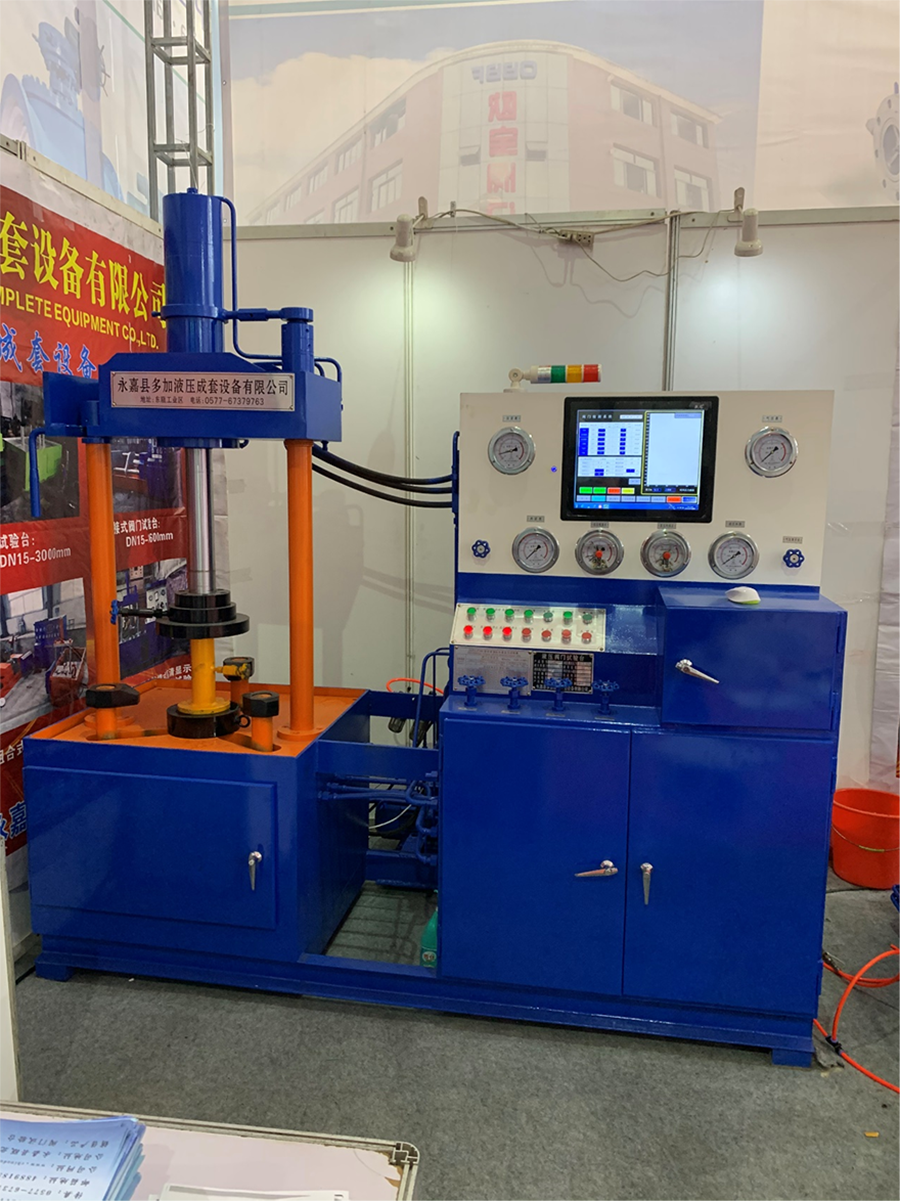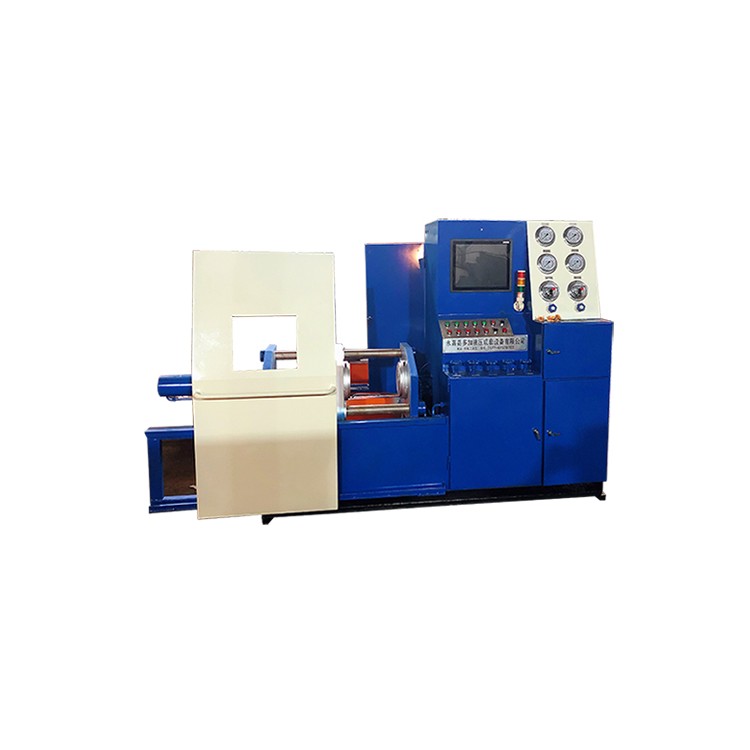


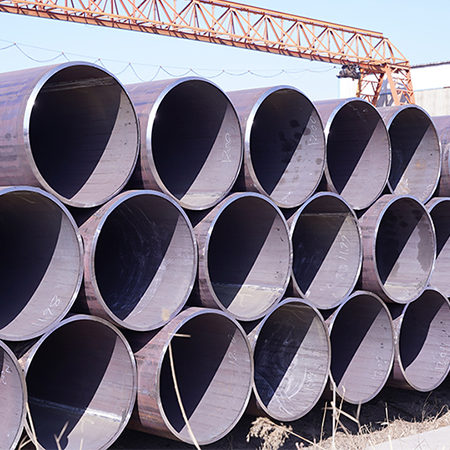


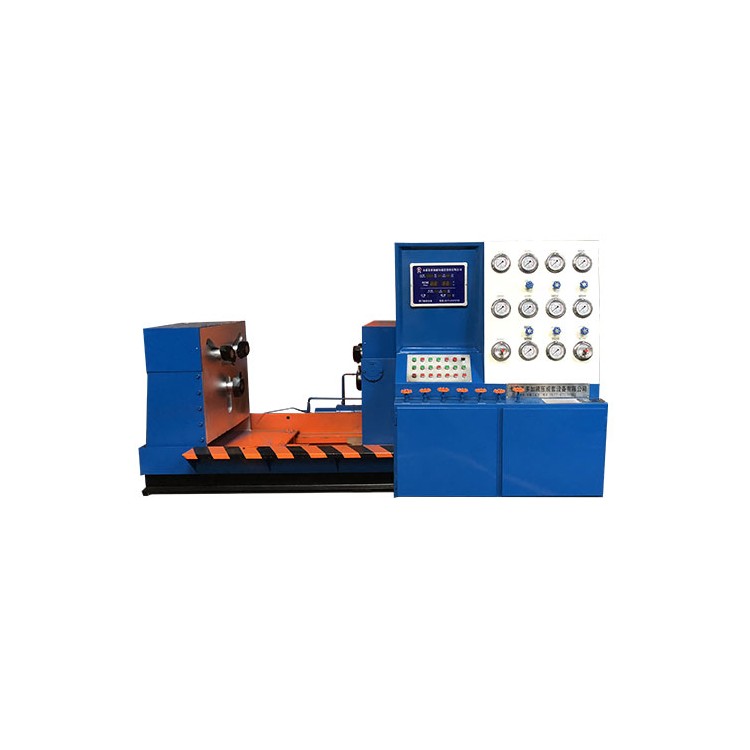
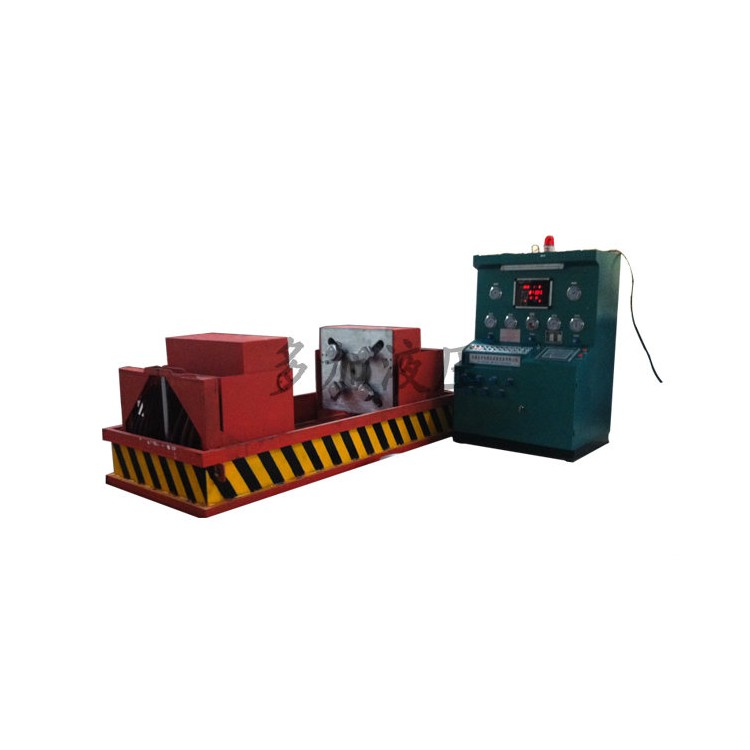
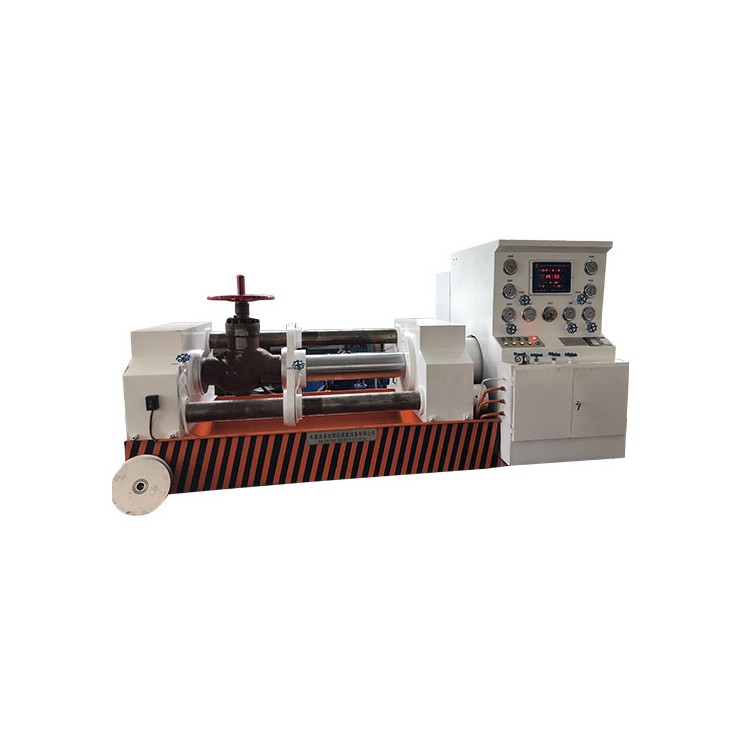
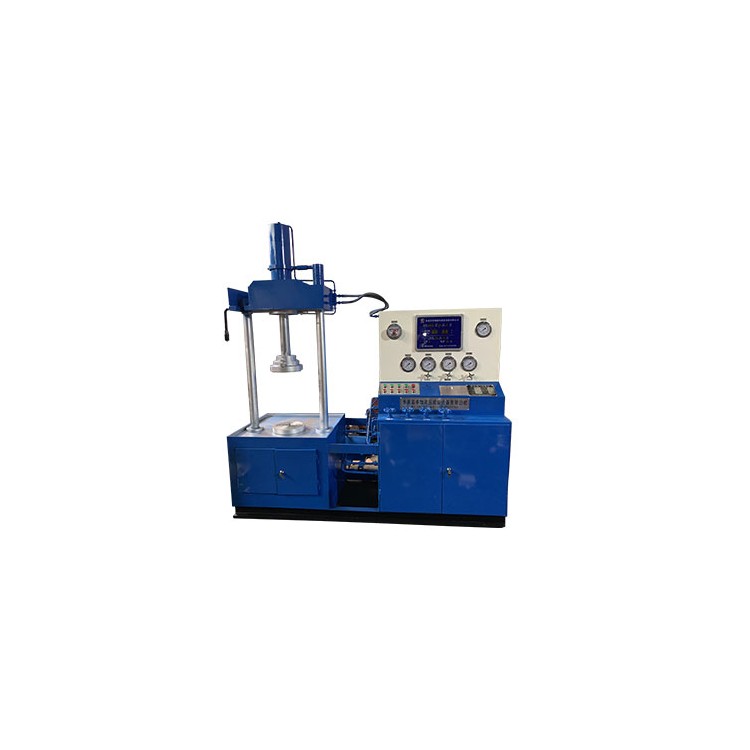
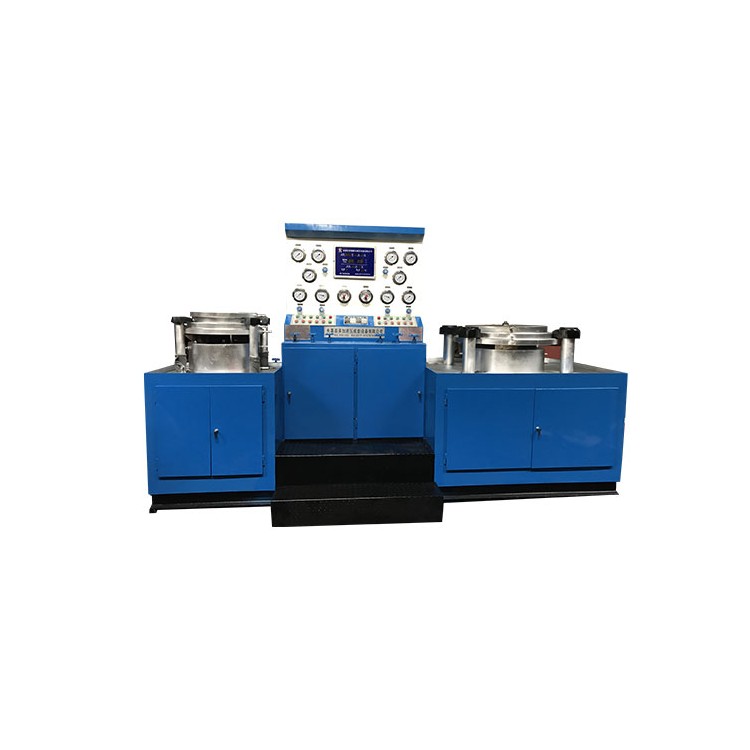
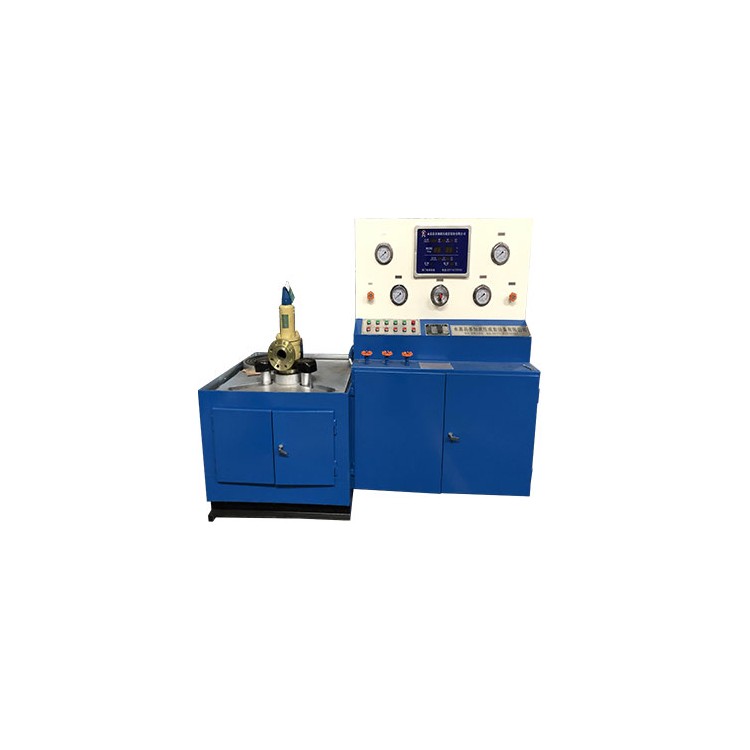
l DYFJ-ZNThe type intelligent valve test bench can be installed on any model of equipment.
l The main function interface is as follows:
IntelligentPLCData Collection Valve Test System

Configuration Software: Lekor7.2
Equipment Name:DYFJ-ZN
I. Test Homepage
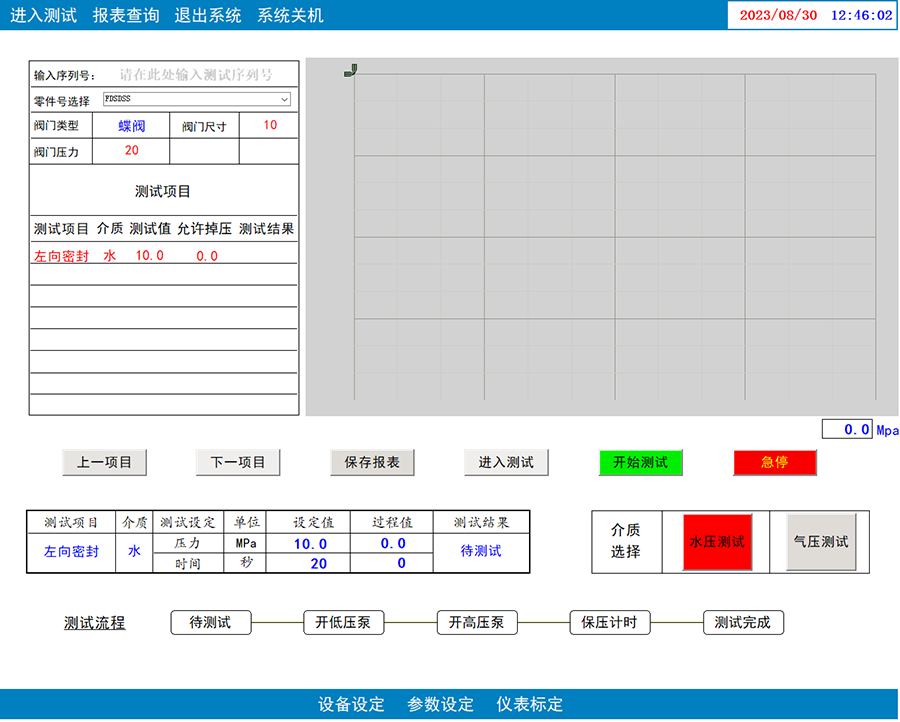
Part Number Selection: Select the part number to be tested in the part number field. Once selected, the test items section will display the relevant test data for that part number.
2. Test Procedure: Click the "Enter Test" button, the content of the current test will be marked in red at the test items section, and you can also select test content by clicking the "Previous Item" and "Next Item" buttons. After confirming that the pipeline valves on the machine are correct, select the test medium at the medium selection area, then click the "Start Test" button. The system will perform an automatic pressure boost test, and the pressure real-time change data will be displayed on the curve on the right.
3. Emergency Stop: If an anomaly in the system or an operational error is detected during testing, click the emergency stop button to halt the test immediately.
4. Data Storage: Before saving data, please enter the serial number for this compression test at the input serial number field. Click "Save Report." If a pop-up indicates "Data saved successfully," the data has been saved. If a pop-up indicates "Save failed," please check if the serial number was entered correctly.
Section II: Equipment Settings

Equipment Parameter Settings: Click the Device Settings button at the bottom of the main page. The system will pop up a Device Settings window where the operator can set the relevant equipment parameters. After setting, click the Save Parameters button to store the data into the database.
Section 3: Parameter Settings

Data Storage: Set test parameters such as test pressure, holding time, and allowable pressure drop; after entering the part number and corresponding test parameters, click the "Add" button to add a set of data to the database. On the test page, we simply select the part number, and the corresponding parameters are automatically retrieved.
2. Data Modification: Select the part number data to be modified from the dropdown box at the end, click the call button, and the system will display the test data under the part number. After modifying the data, click the modify button to confirm the changes. The system will then save the new test data.
3. Add Valve Type: Click the "Add Valve Type" button below the Part Number Setting window. The system will pop up an "Add Valve Type" window where the operator can add or delete valve types from the database.
4. Instrument Calibration
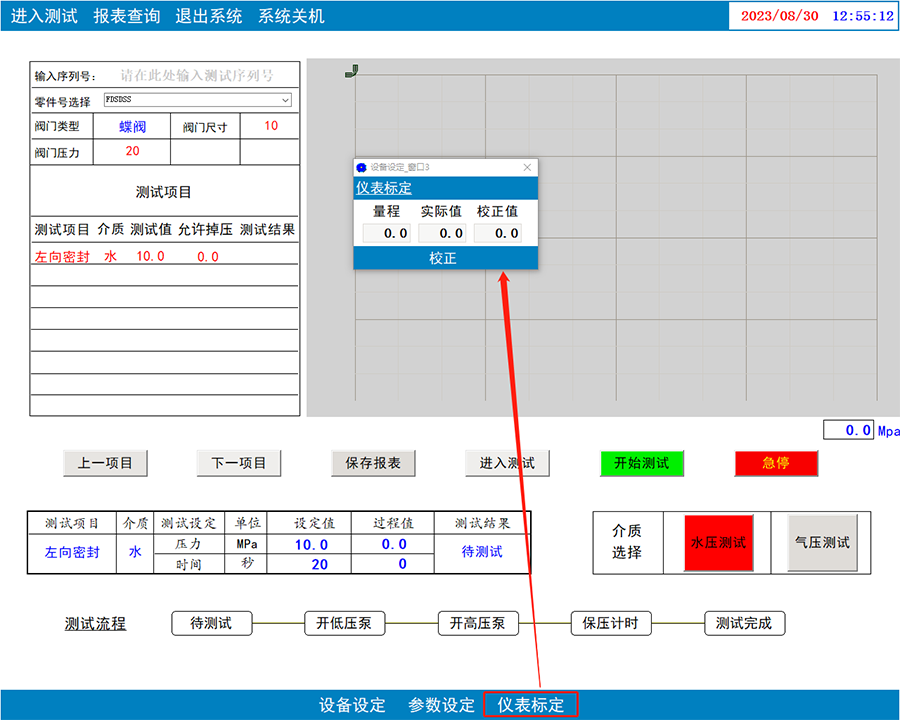
Instrument Calibration Method: By clicking the instrument calibration button, the calibration control window is accessed, where the operator can set the instrument's range. If there is a deviation between the actual pressure and the instrument's displayed pressure, the error value can be entered into the calibration value box, and then the calibration button can be clicked to perform data calibration.
V. Historical Inquiry
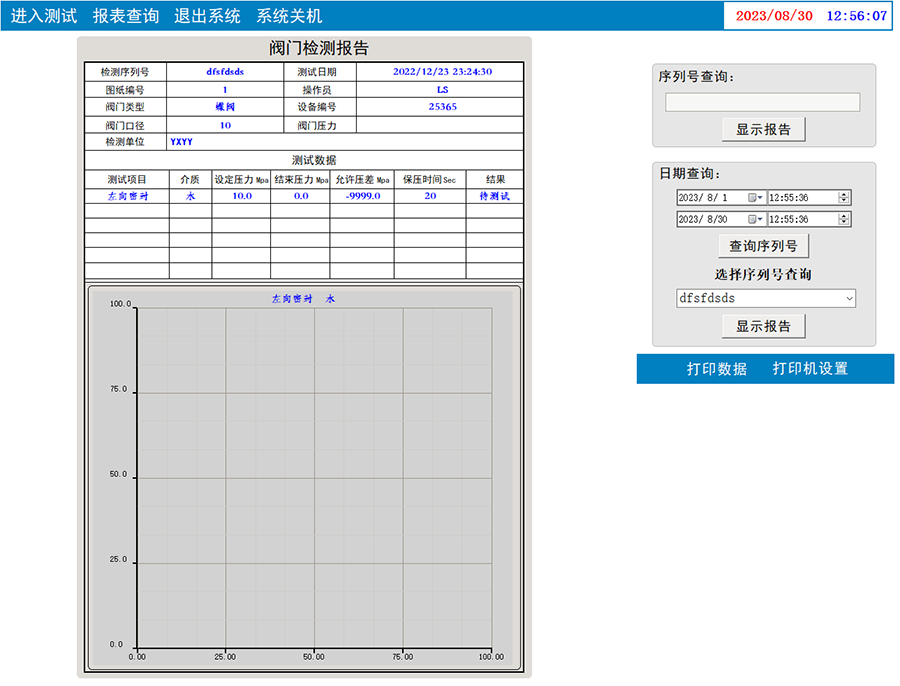
Historical data queries are available in two methods:
Search1: Based on Product Serial Number SN
Search2: Search for serial numbers by date, then select a serial number from the dropdown menu to search
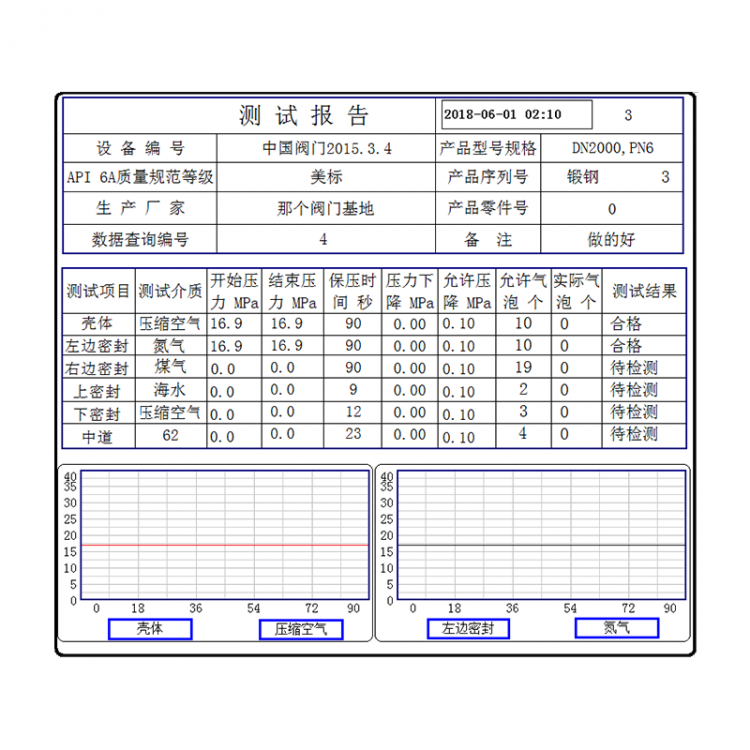
Search Results: After clicking on the report data query, the report will display the relevant information, test data, and test pressure curve for the valve under the given serial number.