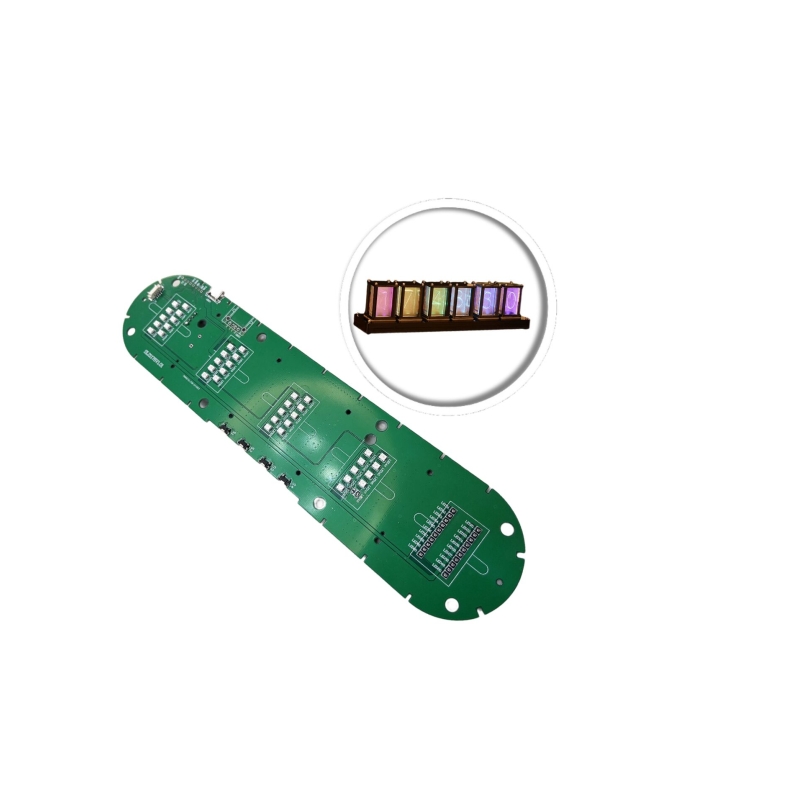


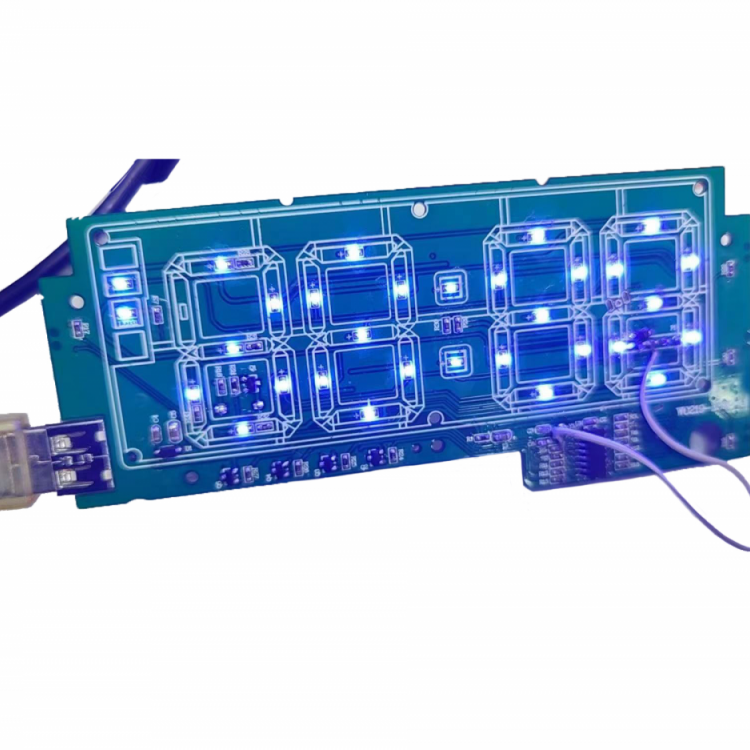

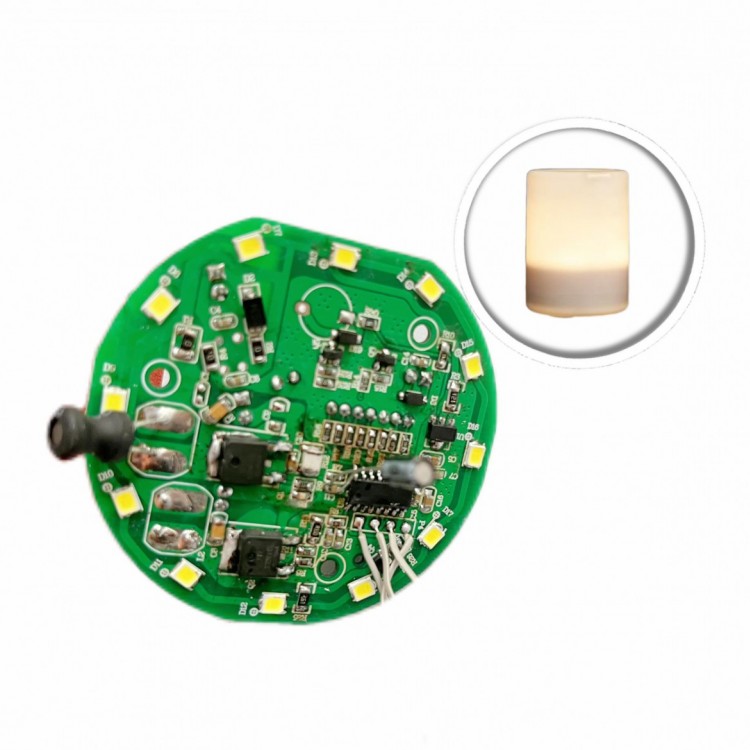
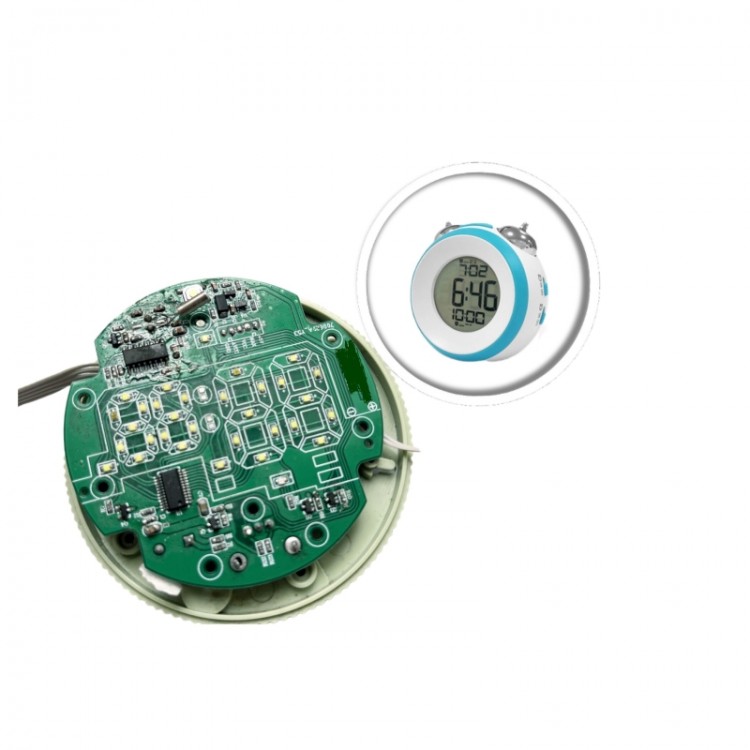
LED digital tube clock IC solution, full display upon power-on with two beeps from the buzzer.
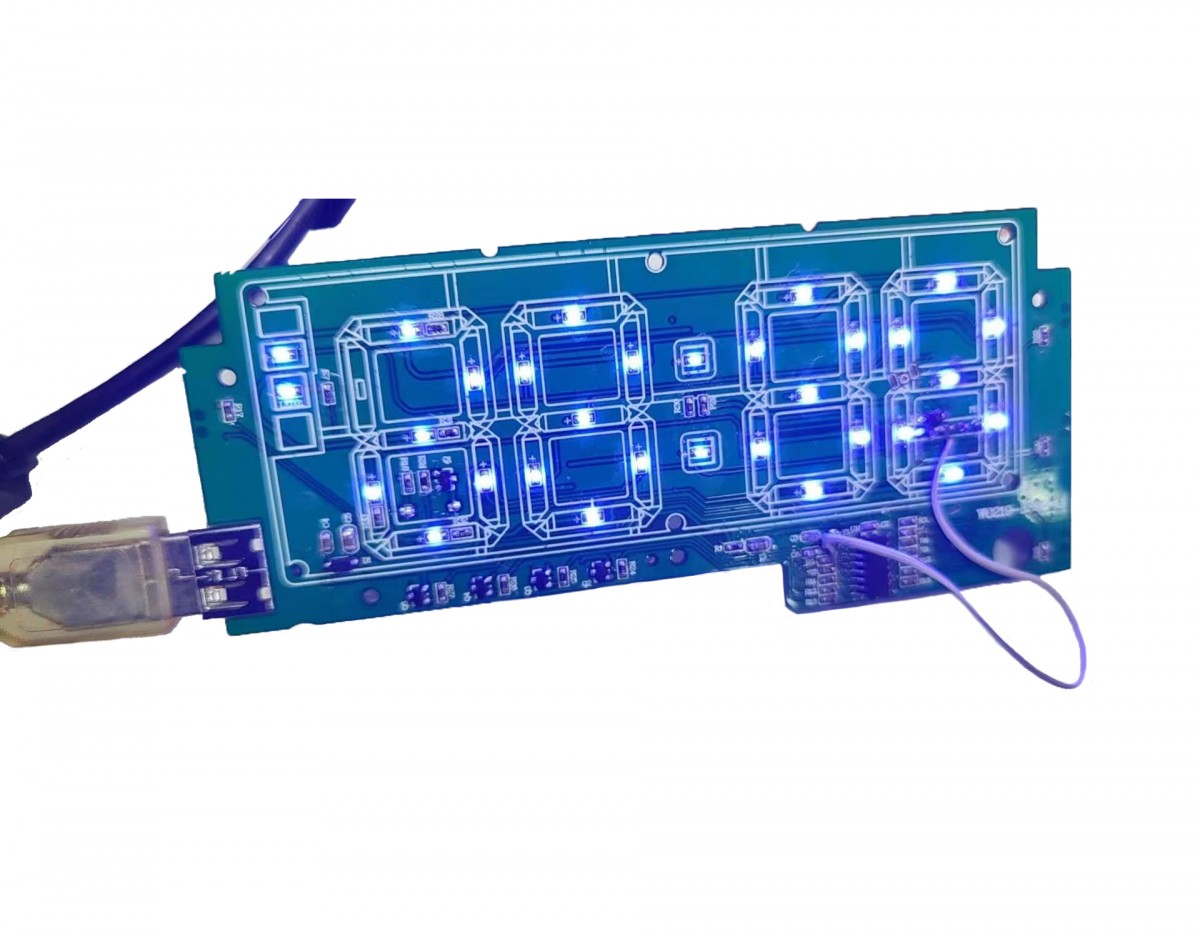
Power on with full display and two beeps from the buzzer alert
Clock Component:
3.1 Keypad Function:
4 buttons: M, +, -, snooze button.
3.1 Time Setting:
Double-click the "M" key to toggle between 12-hour and 24-hour formats; PM indicates time periods.
3.3 Clock Time Setting:
3.3.1 Briefly press the M key once to enter clock hour setting, briefly press the "+" or "-" key to adjust hour value once; hold the "+" or "-" key to continuously adjust.
3.3.2 After adjusting the minutes, briefly press the M key to enter the clock setting for minutes; press the "+/-" key once to adjust the minute value; hold down the "+/-" key for continuous adjustment.
3.3.3 Press the M key once briefly after the 3.3.3-minute setup is complete to exit.
3.4 Alarm Clock Settings:
3.4.1 Press and hold the "+" key to turn the alarm on or off, press and hold the "-" key to turn the alarm on or off; after turning on the alarm, the corresponding alarm indicator light will illuminate.
3.4.2 After turning on the alarm, hold down the M key to enter the alarm hour setting. Press the "+/-" key briefly to adjust the hour value by one; holding down the "+/-" key allows for continuous adjustment.
3.4.3 After the 3.4.3-minute setup, briefly press the M key once to enter the alarm minute setting. Press the “+/-” key once to adjust the minute value; holding down the “+/-” key allows for continuous adjustment.
3.4.4 Press the M key to finish the setup after the 4.4.4-minute setting is completed.
3.4.5 After the alarm rings, no action is taken; the alarm will automatically turn off after 3 minutes. Press any key during the alarm to enter snooze mode.
3.4.6 Snooze Mode: After 5 minutes, the alarm will ring again. The alarm indicator will be flashing during snooze. Press and hold the snooze button to cancel this alarm and snooze, or press and hold the +/- button to turn off the alarm function. Other buttons are ineffective during snooze.
3.4.7 The clock brightness can be manually adjusted in 3 levels (same as W0219): "+" and "-" buttons are used to manually adjust the brightness of the digital display screen. The default setting after plugging in is bright. Each click on "-" reduces one level of brightness, and each click on "+" increases one level of brightness; one click to turn off the clock display screen's light.
3.6 Energy-saving Feature:
3.6.1 Button cell batteries are only used for the clock memory function.
3.6.2 Disconnect external power supply; all functions are inactive. Functions resume normal operation upon power connection.
3.6.3 Static power consumption is about 22uA at 3V, and higher than 30-40uA at 4V.