


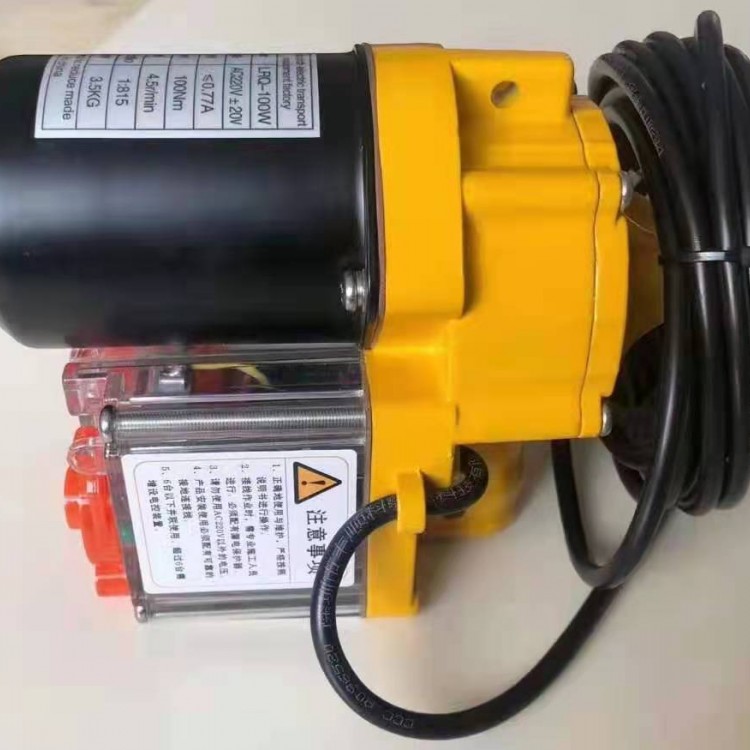
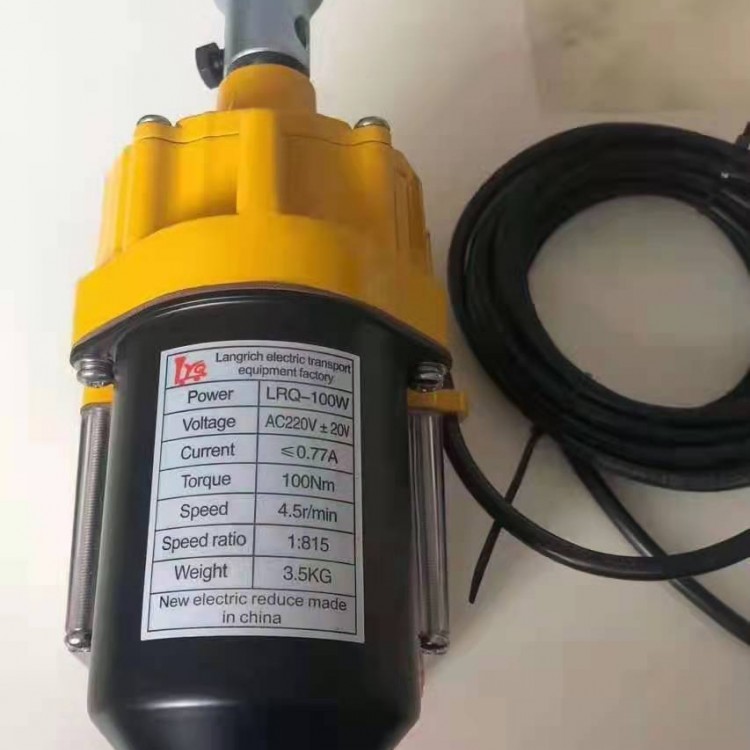
Operation Instructions for Electric Roller/Shutter Travel Adjustment
1. Loosen the locking screws on both the stroke adjustment buttons of the electric roller shutter, turn the stroke adjustment buttons, ensuring that neither of the two tooth ring bosses is pressing on the micro-switch contact points. Flip the directional switch of the power supply, and the electric roller shutter will start operating. At this point, confirm the "Rolling Direction" and "Unrolling Direction" positions of the power supply directional switch.
2. Set the power reversing switch to the "roll film direction" position, and turn any travel adjustment knob by hand until the toothed ring boss engages the microswitch contact (you will hear a click). If the electric roller shutter/roll film machine stops rotating at this point, it indicates that this adjustment knob is used to adjust the travel of the "roll film" direction. If the motor does not stop rotating, it means the other adjustment knob is for adjusting the travel of the "roll film" direction.
3. Set the power direction switch to the "Film Coiling Direction" position, then manually rotate the "Film Coiling Direction" travel adjustment knob to set the film coiling distance. After confirming the film coiling distance, gently pull up the knob. Place the power to the "Film Unwinding Direction" position, and manually rotate the "Film Unwinding Direction" travel adjustment knob to set the film unwinding distance. After confirming the film unwinding distance, gently pull up the knob.
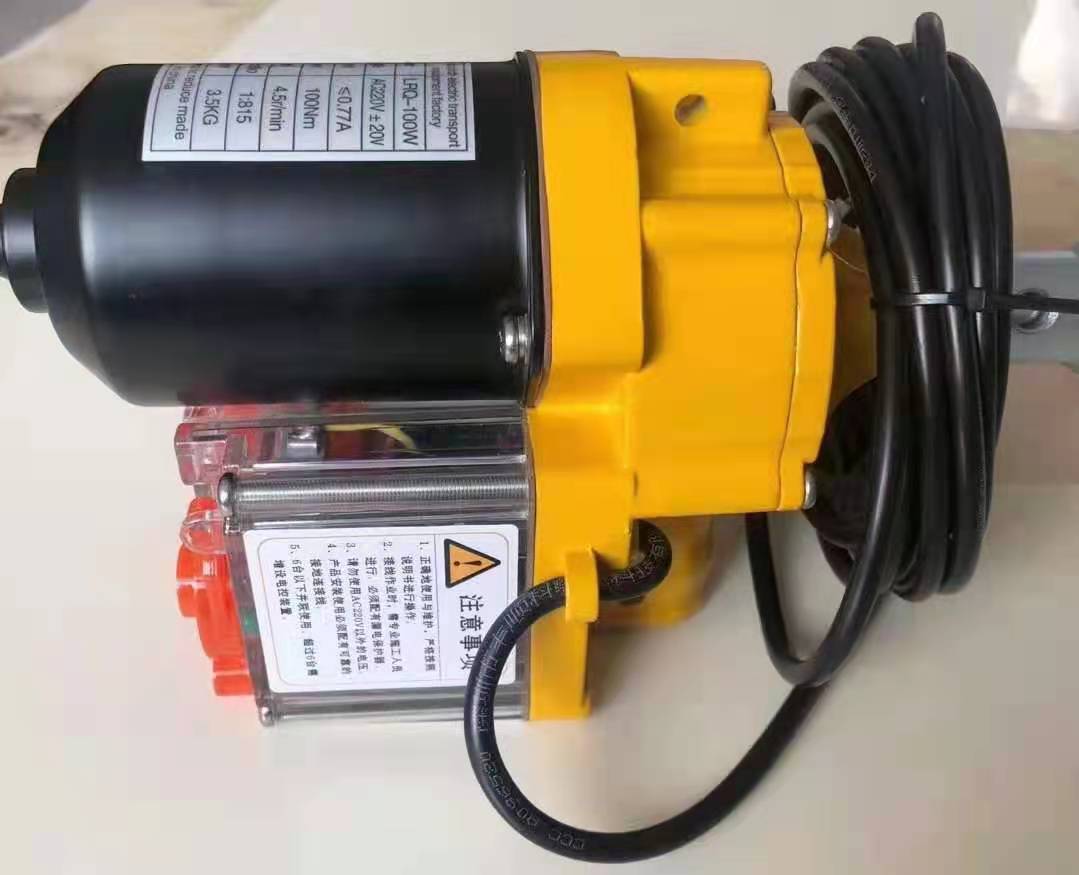
Safety Precautions for Electric Roll Shutter/Roll Film Device:
Prevent injury and damage during transportation and installation of the electric film roller.
Do not exceed the output torque range of the electric film roller.

