


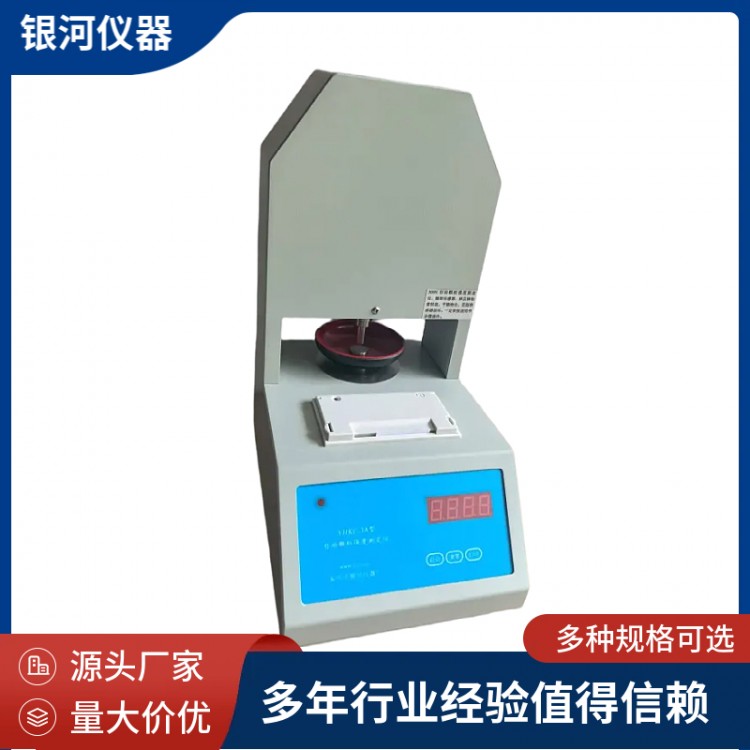
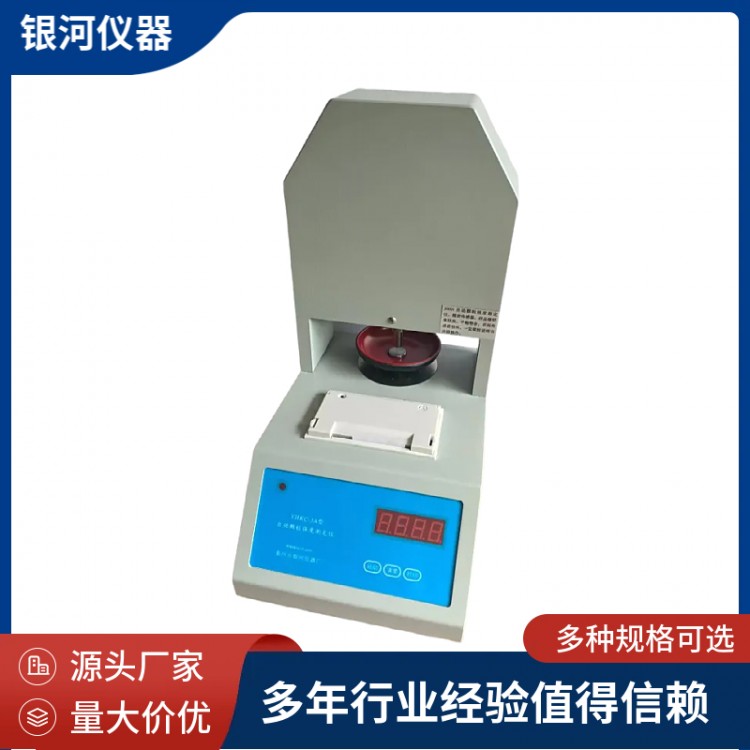
Automatic Granule Strength DeterminationInstrumentThis is used to determine the maximum strength during the crushing of various particle shapes. The instrument features digital display and functions such as start, reset, stop, print, and average calculation. It is a device developed by combining the advantages and applicability of various strength measurement instruments, suitable for microcomputers.Automatic Granule Strength Tester。
Automatic Particle Strength MeasurementInstrumentTechnical Specifications
Automatic Particle Strength MeasurementApplianceMeasurement Range: 0-20N, 50N, 80N, 200N, 300N, 500N
Resolution: 0.01N, 0.1N (4-digit display)
Instrument accuracy: 0.5% Sensor accuracy: One ten-thousandth of a Newton
Ambient Temperature: Room temperature to 50℃ Relative Humidity: <85%
Power Voltage: AC 220V ± 10%
Instrument setup parameters and operation instructions:
1. Range: Input the test range of the instrument according to the pressure sensor's range in the program. Do not set a smaller range for a larger scale.
2. Instrument Calibration: Set the calibration weight on the tuning program, then place the corresponding standard weight, and the displayed value matches the calibration code (in Newtons). The instrument internally uses this value to calculate the full-scale sample value.
3. Sensitivity: The instrument has 1-9 sensitivity levels, with higher numbers indicating greater sensitivity and resulting in smaller measured values. Lower numbers are less sensitive to fragmentation, leading to larger measured values. Generally, levels 7-8 are used, and adjustments can be made based on specific conditions.
4. Language: Batch export of instruments, with language differentiation for Chinese and English display and print output.
5. Printing: Print the corresponding strength values in the order of measurement.
6. Average Display: The average can be calculated only after more than 10 measurements of the same sample. Values exceeding 60% of the average (not within the average range) will be automatically excluded. The "avr" average will be displayed at the end of the printed results.
Automatic Particle Strength TesterRoutine testing:
Ensure pre-test preparation is complete, turn on the power switch, the instrument displays 123.4. The instrument can enter test mode when it shows 0.0.
Place the sample in the center of the test bench, press the start button, the power indicator light blinks, the instrument displays the current test sequence number, starting from 1. The motor operates, the push rod moves downward slowly, pressing the sample until contact is made. The current pressure value is displayed, until the tested sample breaks. The motor reverses instantly (moving upward), the instrument displays the maximum breaking strength of the sample, and the test ends. Prepare for the next test. Conduct 1-30 consecutive tests per sample. For more than 30 tests or to retest, press the reset button, and continue testing from 1.
The reset function.Press the reset button gentlySet the current measurement value to zero, display 0.0 or 0.00, and clear memory data. Next measurement will start from serial number 1. If the sample diameter is too long, it canHold down the reset button.Piston extends a certain distance.Press lightly in the middlePrint KeyStop the rod from rising at any time. (Do not turn it all the way back, otherwise the rod may be damaged.)
During the measurement process, Do not arbitrarily press the reset button; otherwise, all the sample data measured previously will be cleared..
Print function.Press the print button lightlyWhen the instrument stops functioning and displays previously saved data, the last number displayed as 88 represents the average. If the calculation cannot be performed, it will show FFF.F.Press and hold the print buttonPrint out the test results, with multiple results printed for multiple tests, and also display the sequence numbers. The final set of data is the "avr," which represents the average value of this batch of samples.
The instrument is equipped with an automatic protection program, which automatically returns to the normal range upon exceeding the measurement limit.
The relationship between the added weight and the corresponding reading
Weight Addition (g) | 500 | 1000 | 2000 | 3000 | 5000 | 10000 | 20000 | 30000 |
Corresponding Indicated Value (N) | 4.9 | 9.8 | 19.6 | 29.4 | 49 | 98 | 196 | 294 |
Note | 1N = 102.04081 grams | |||||||
Manual Sensitivity Adjustment Section:(Soft and hard samples sensitive to modifications,For your reference)
Due to the soft and hard measurement samples from the customer, the required sensitivity may differ from what we need. Adding the instrument can be set manually without connecting to a computer to adjust sensitivity, for the convenience of the customer to modify it themselves. Follow the steps below:
Press the power button to turn on
When the numbers are flashing, press the reset key and the print key to adjust up and down. The reset key is for addition, and the print key is for subtraction. A lower number indicates too high sensitivity; decrease the sensitivity. If the pressure is completely crushed, it means the sensitivity is too low; increase it. The range of sensitivity is determined by your own test values and the actual situation; setting it to 7 or 8 is fine.
Press the start button to save, and then you can test it.
Calibration and adjustment of the instrument must be coordinated with the manufacturer; do not operate it independently, or you will bear the consequences.
