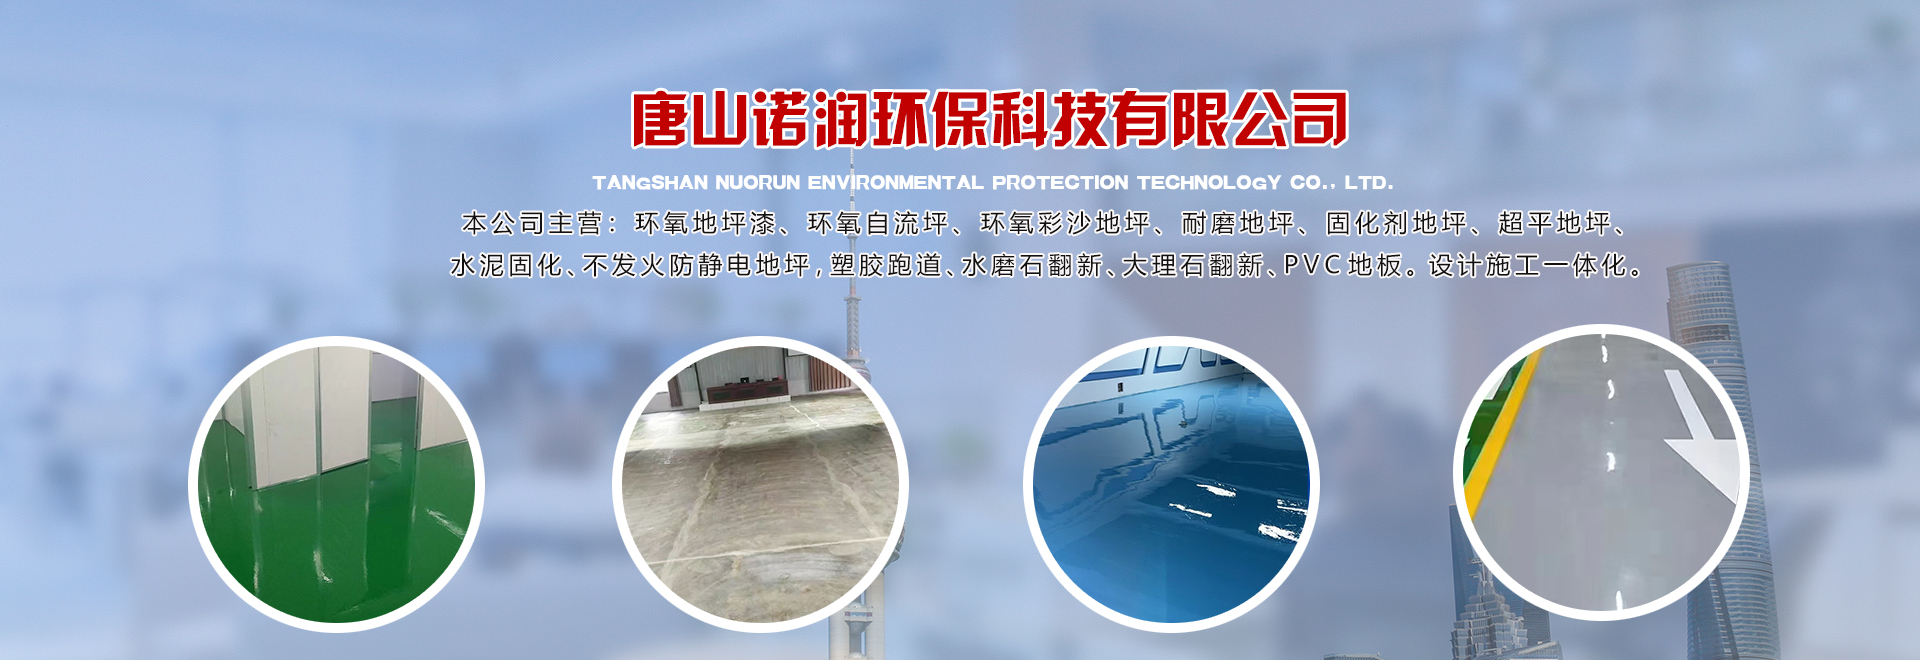
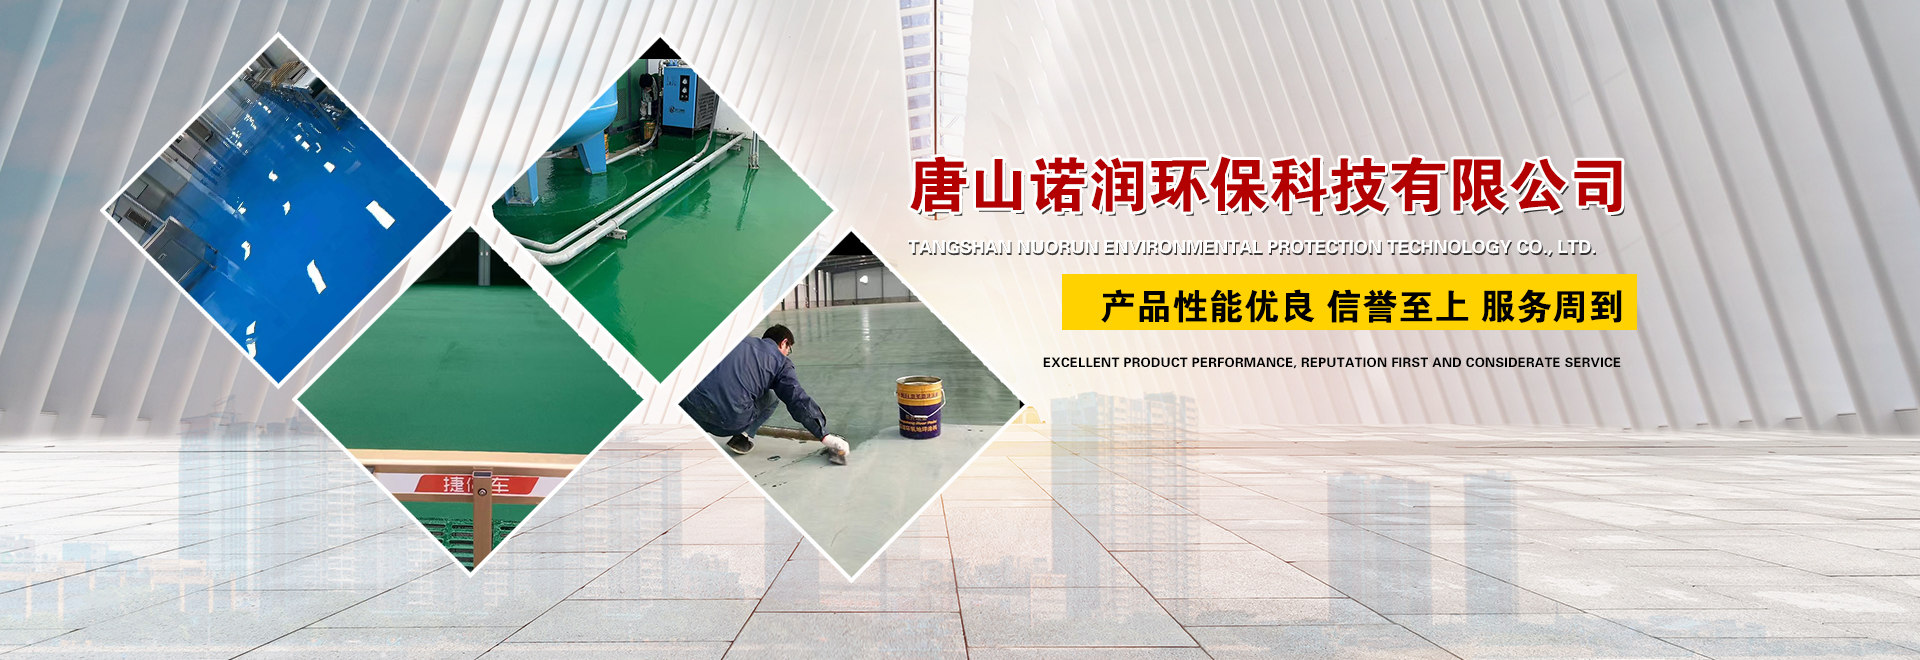
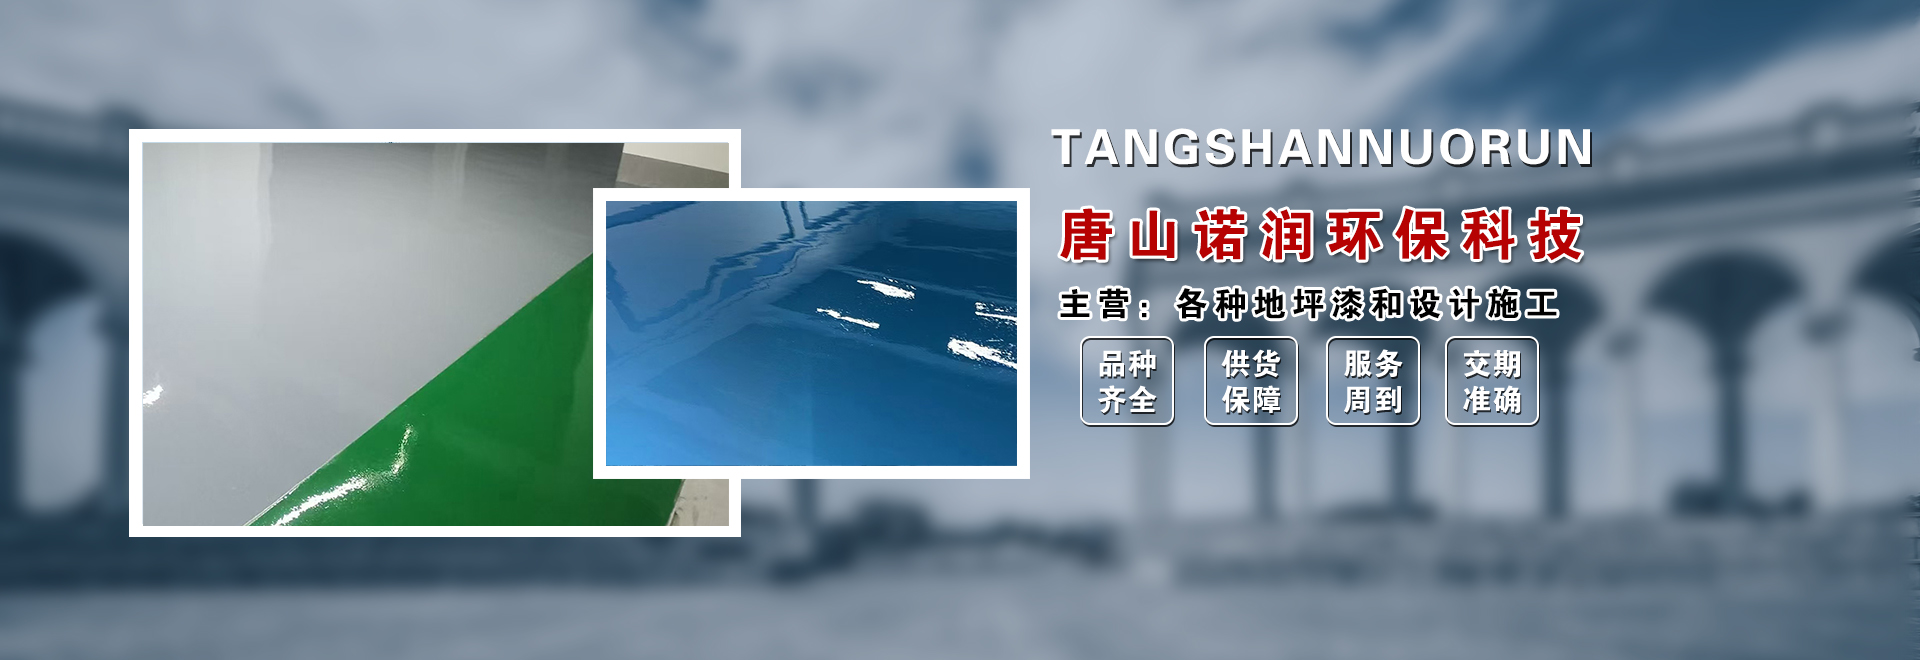

1. Basic Treatment. Ensure the ground is free of oil stains, loose particles, and is level and compact. If possible, use a dedicated grinder to sand the entire surface, followed by removing any loose mortar and debris.
2. Prime Coat Application. Use an epoxy primer for rolling or brushing to enhance ground adhesion and sealing. The primer must dry before proceeding to the next step.
3. Mortar Layer Construction: After the primer has dried, apply the epoxy intermediate coat mixed with quartz sand evenly with a trowel to fill in holes and cracks, enhancing the ground's flatness and its ability to withstand heavy loads and impacts.
4. Joint Compound Application. Apply epoxy joint compound to fill in ground holes, resulting in a smoother and more even surface.
5. Surface Paint Application: Apply epoxy self-leveling flat paint evenly by rolling or spreading with a trowel to achieve a smooth and level surface. Pay attention to even coating without drips or bubbles.
6. Maintenance. After the topcoat is completely dry, perform maintenance to ensure the floor remains clean, free from heavy impacts, and protected from chemical erosion.
7. Maintenance and Acceptance. Upon the completion of the maintenance period, the ground undergoes acceptance checks for factors such as sheen and adhesion to ensure the construction quality meets the required standards.