
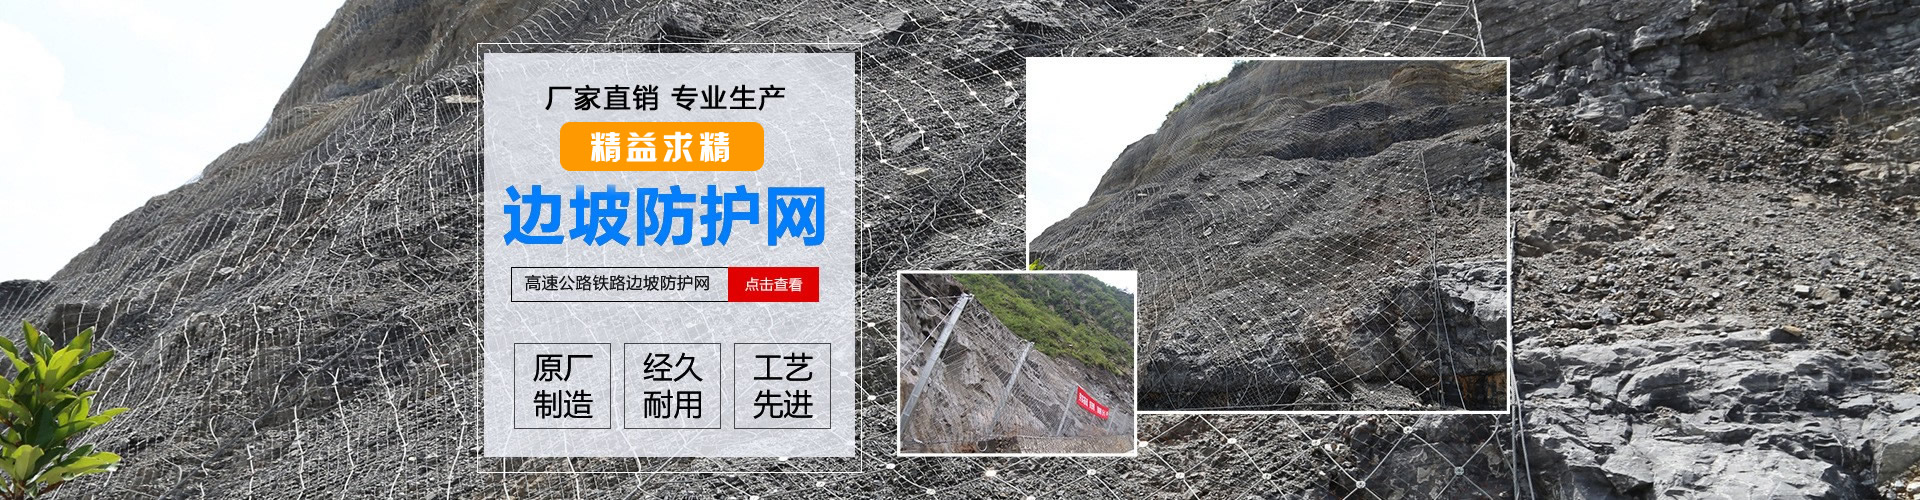

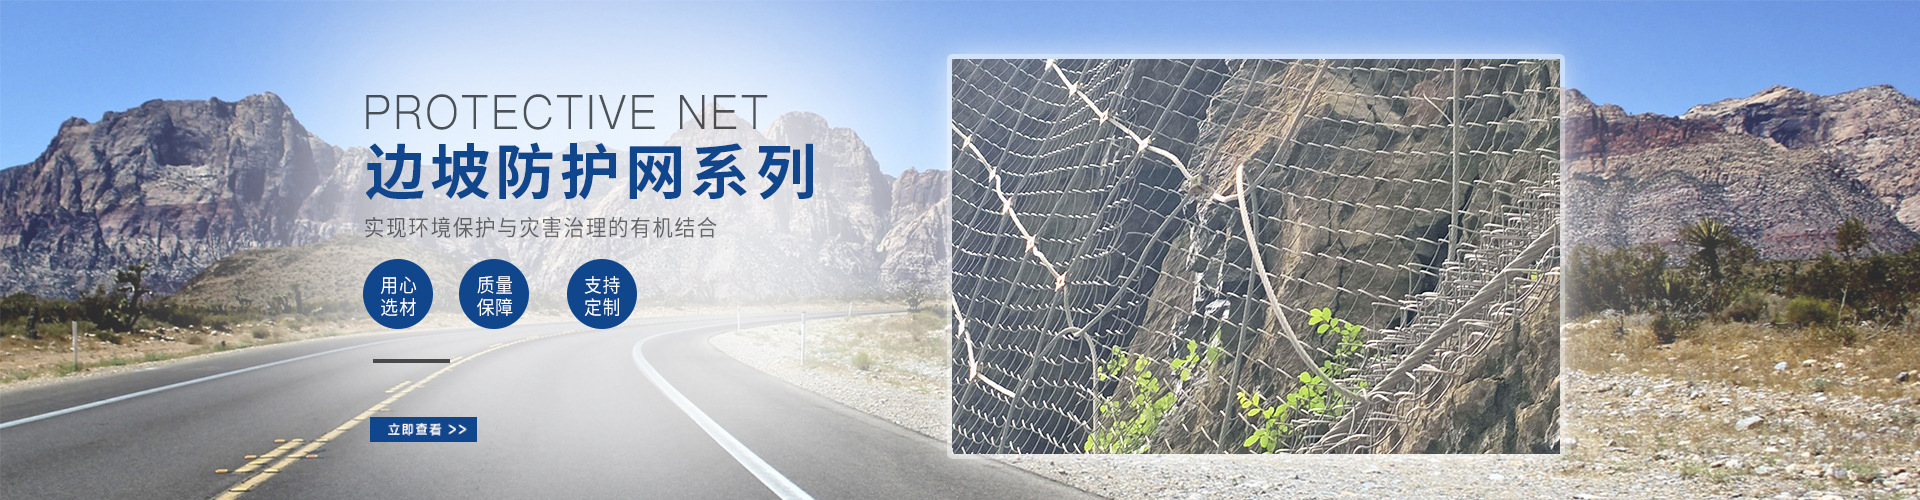

Construction Sequence and Method of Active Protection Net
Clearing loose soil and debris from the slope protection area, and conducting risk elimination work.
2. The active protective net begins measuring and laying out from the center of the protected area towards both sides to determine the anchor bolt positions. A depression of a depth no less than the length of the exposed collar of the anchor bolt is then drilled at each hole, typically with a diameter of 500px and a depth of 500px; adjustments can be made according to actual conditions.
3. Drill anchor rod holes to the designed depth and remove dust inside, ensuring the hole depth is at least 125px longer than the anchor rod length, with a minimum diameter of Ø45. If restricted by rock drilling equipment, the two strands of steel wire that make up each anchor rod can be anchored separately into two holes with a minimum diameter of Ø35, forming a V-shaped anchor rod. The angle between the two strands of wire should be between 15°-30° to achieve the same anchoring effect.
4. Grout the active protective mesh and insert anchor rods. The grout should have a grade not lower than M20, and it is recommended to use cement mortar with a sand-cement ratio of 1:1 to 1:2 and a water-cement ratio of 0.45 to 0.50, or pure cement slurry with a water-cement ratio of 0.45 to 0.50. The cement should be Type 425 ordinary portland cement, with a preference for fine sand with a particle size not exceeding 3mm to ensure full grouting. The grouting mass should be cured for at least three days before proceeding to the next stage.
5. Install longitudinal and transverse support ropes on the active protection net. After tensioning, secure each end with two to four rope clips (use three clips when the rope length is less than 15m and four clips when it's greater than 30m, with three clips in between) to the exposed collar of the anchor rod.
6. Lay the grating grids from top to bottom, ensuring an overlap width of at least 125px between grids. Secure the seams between the grids (and between the grids and the support ropes) using φ1.2 wire at a spacing of 1m; complete this step prior to the previous one if possible.
7. The active protective net is installed by laying steel wire mesh from top to bottom and sewing it together. The sewing rope is φ8 steel wire, with each steel wire mesh connected and pre-tensioned to the surrounding support ropes using a single sewing rope about 30 meters long. Each end of the sewing rope is secured to the mesh rope with two rope clips; when designed as a double-layer steel wire mesh, the same method is used to install the second layer of steel wire mesh.

