
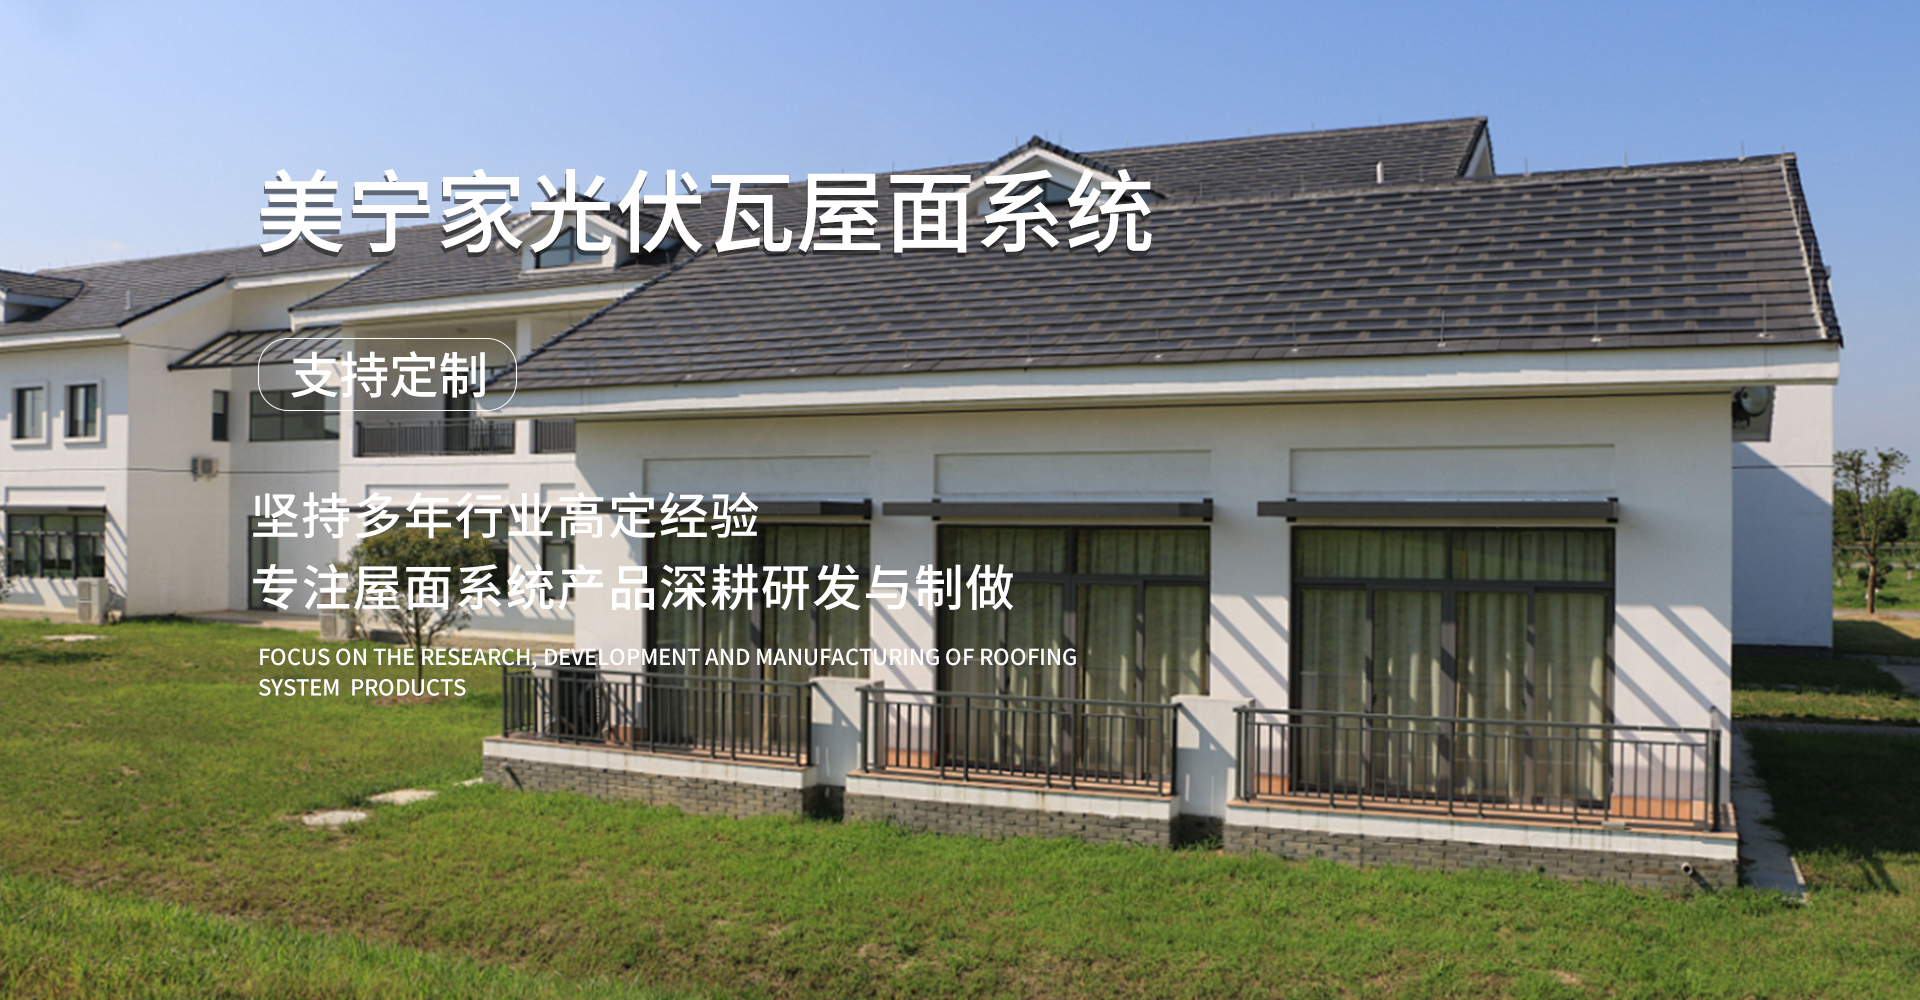
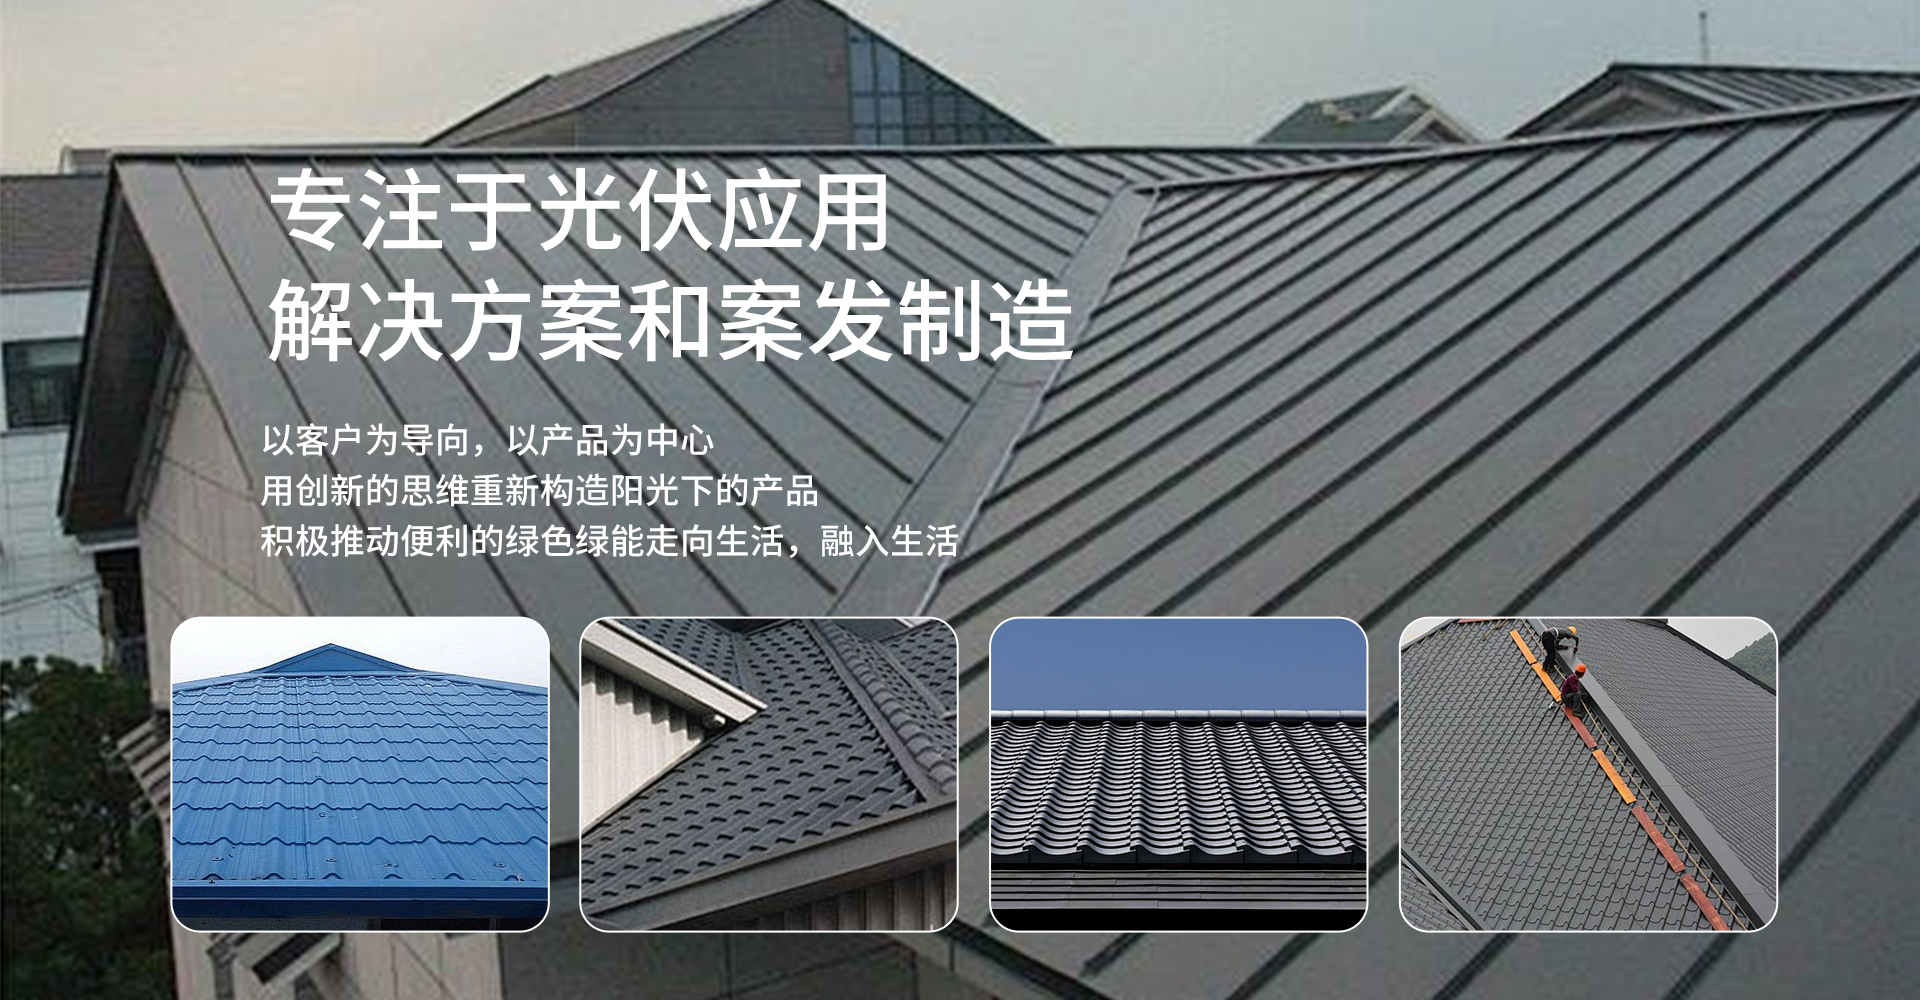
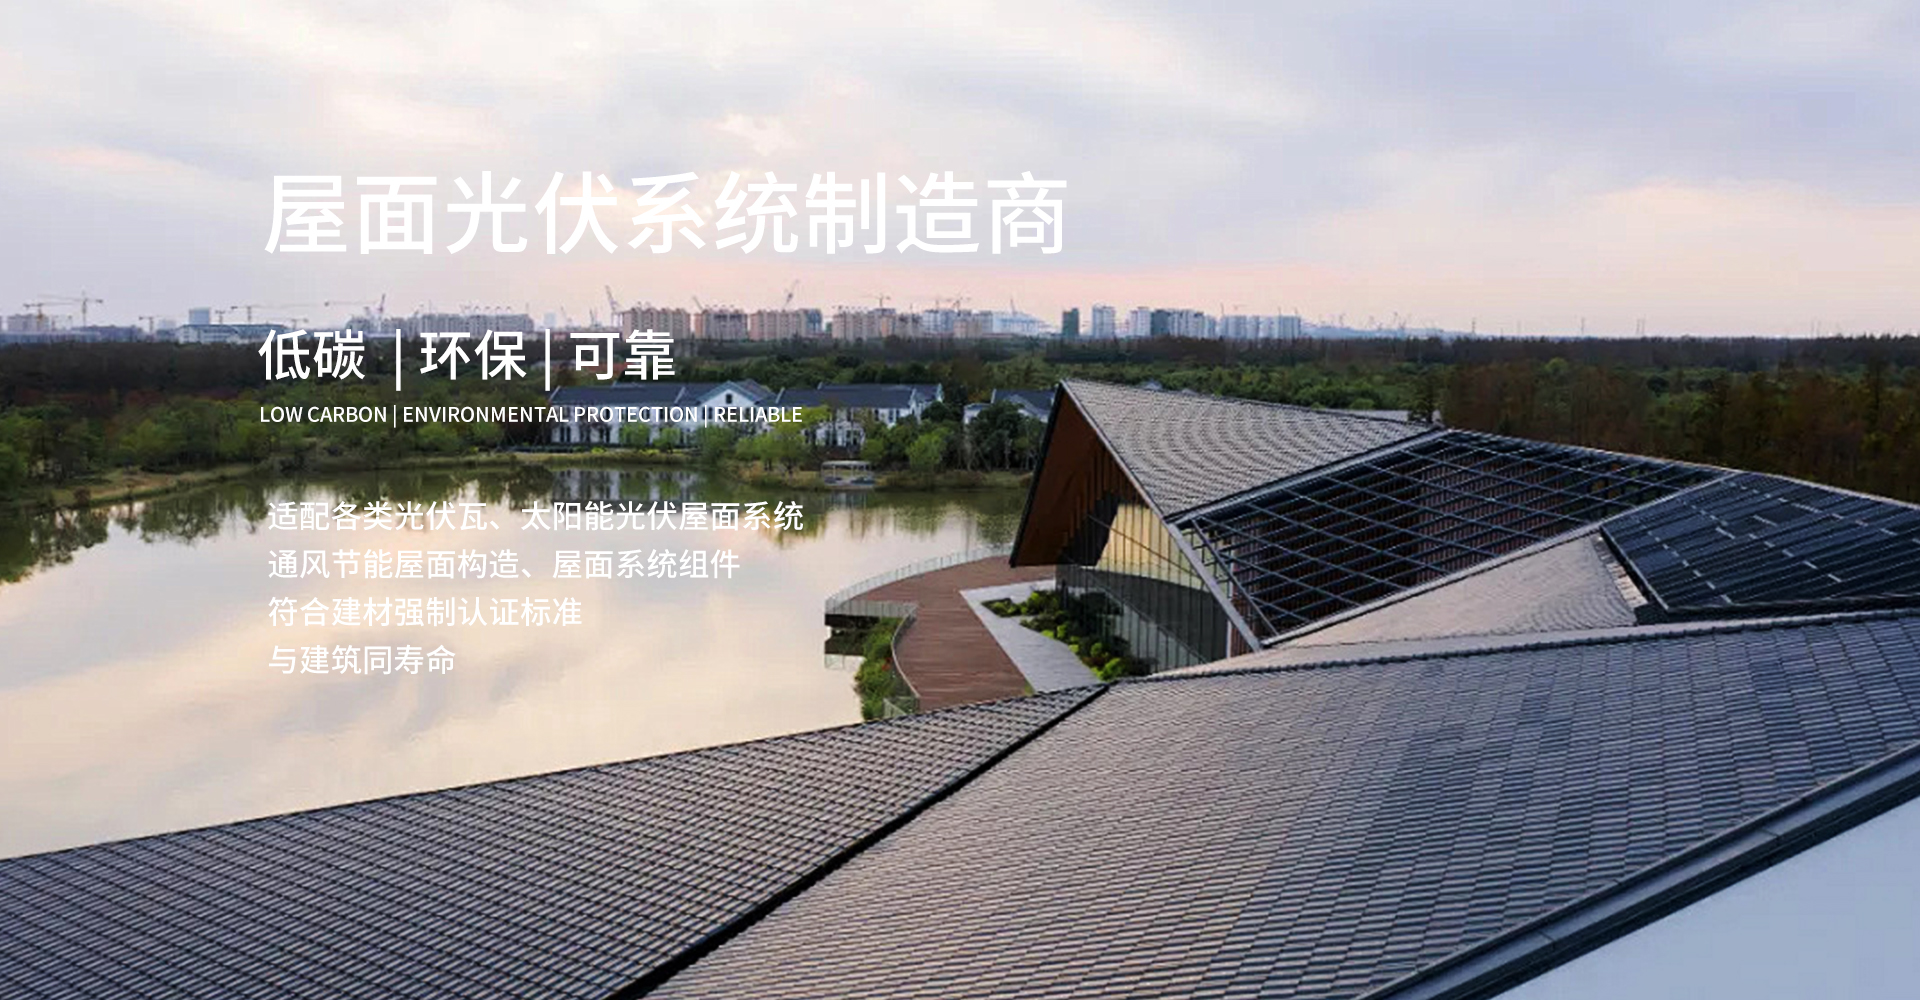
The installation of rooftop solar tiles is a relatively complex yet meticulous process. Below is a detailed overview of the installation steps:I. Preparation PhaseRoof Inspection: The roof should be flat or sloped, ensuring minimal to no shading. Position the roof to face south (in the Northern Hemisphere) or nearly due south to maximize sunlight exposure. The roof must be able to support the weight of the photovoltaic panels and potential wind pressure. Materials and Tools Preparation: Photovoltaic panels: Quantity based on roof area and required power output. Mounting brackets: Used to support the photovoltaic panels, ensuring stability. Waterproofing membrane: Such as TPO membrane, for roof waterproofing. Electrical system components: Wires, connectors, inverters, etc. Installation tools: Levels, screwdrivers, wrenches, cutting tools, etc.
Two: Installation PhaseRoof Waterproofing: Apply waterproof membranes to the roof to ensure its waterproofing performance. Utilize materials like TPO membranes with high heat resistance to enhance the waterproofing effect. Install Mounting Brackets: Determine the installation position and spacing of brackets based on the roof structure and the size of the photovoltaic panels. Secure the brackets to the roof using screws or expansion bolts to ensure stability. Lay Photovoltaic Panels: Place the photovoltaic panels on the brackets according to the pre-planned layout. Use a level to ensure the panels are straight and even for optimal power generation efficiency. For panels requiring cutting, use precision cutting tools. Connect Electrical System: Connect the wires of the photovoltaic panels using connectors to form a circuit. Connect the circuit to the inverter to convert direct current to alternating current. Link the inverter to the household power system or grid for power output.
III. Inspection and Testing PhaseSystem Inspection: Verify that photovoltaic panels are securely installed with no loose or damaged components. Check that electrical system connections are correct with no short circuits or open circuits. System Testing: Turn on the inverter to test if the system is functioning properly. Inspect the output of the solar panels and inverter to ensure power is integrated into the grid. Record the system's power generation to assess its performance.
Four: Post-MaintenanceRegular Inspections: Check for any damage or loose connections on photovoltaic panels and frames. Clean the surface dust and debris from the photovoltaic panels to maintain their cleanliness. Electrical System Maintenance: Inspect for loose or aging connections in the electrical system. Regularly check the inverter's operational status to ensure proper functioning. In summary, the installation of rooftop photovoltaic panels requires careful planning, precise construction, and post-installation maintenance. By following these steps, the stability and power generation efficiency of the photovoltaic panel system can be ensured.
