
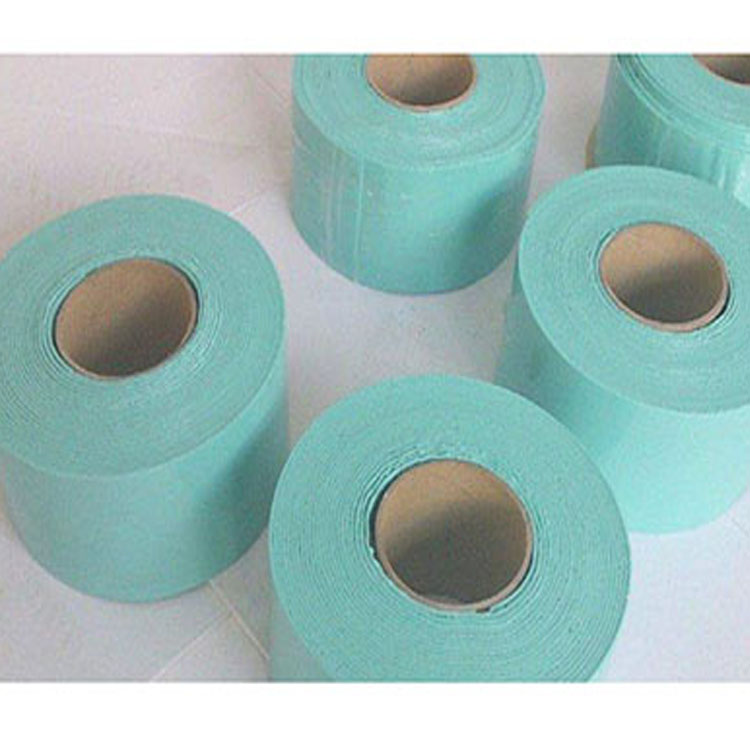
 Viscoelastic anti-corrosion tape
 Viscoelastic anti-corrosion tape
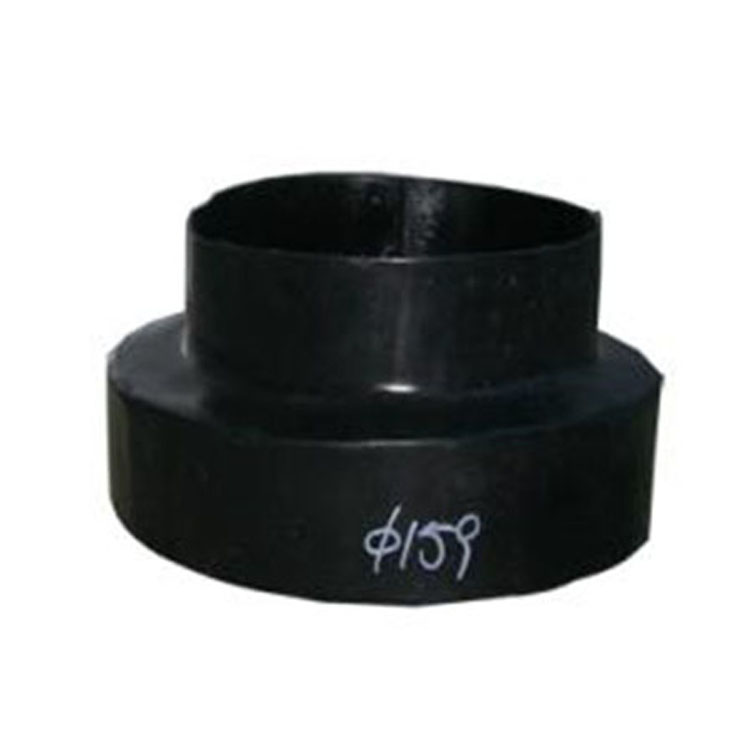 Waterproof Cap
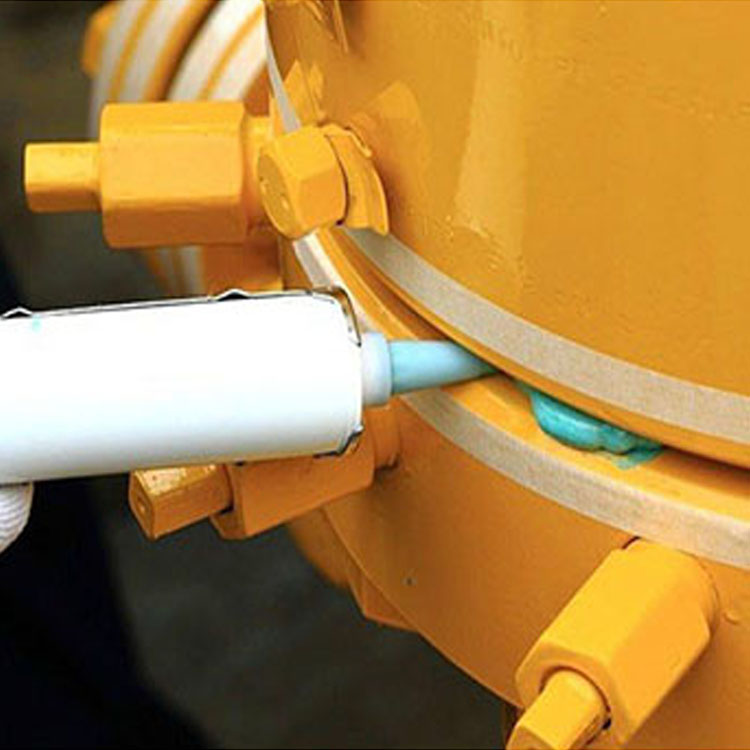
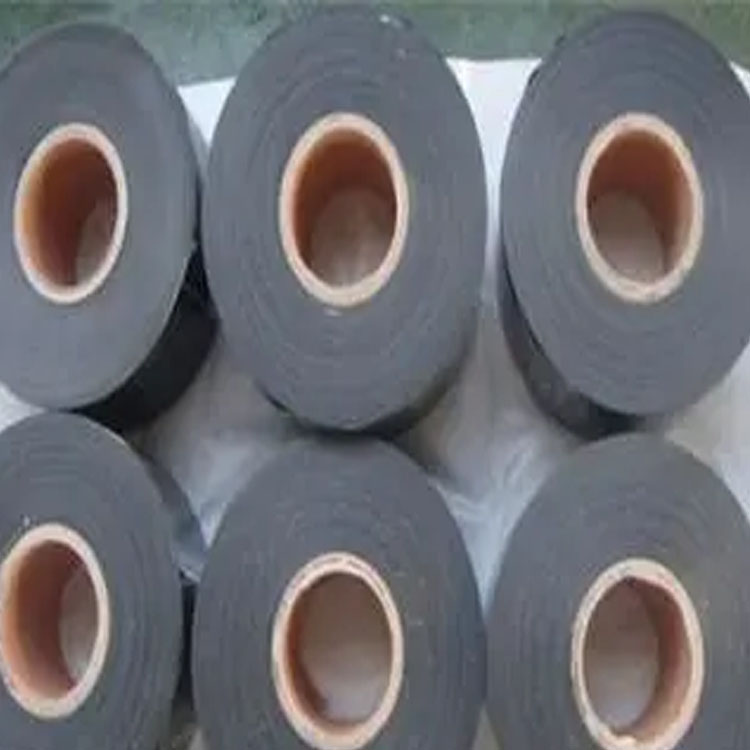 Make-up Tape
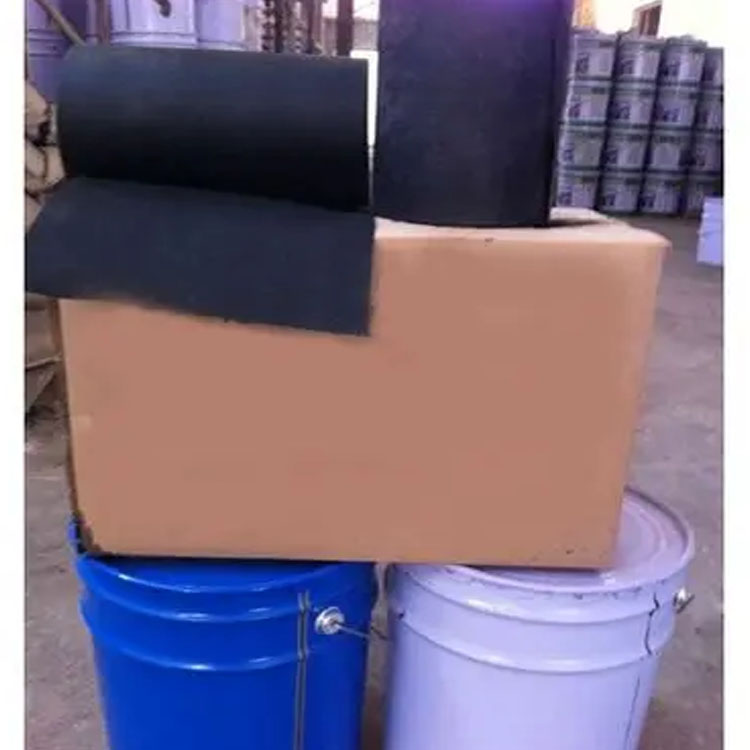
 Mineral grease putty
 Mined Wax Undercoat
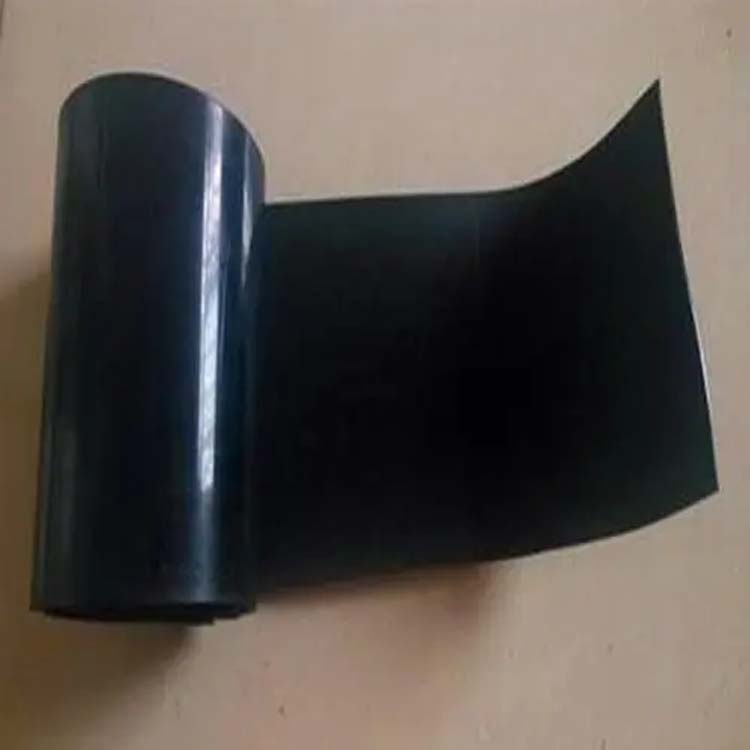
 Epoxy coal tar cold-skin tape
Product Details
Polyethylene Corrosion-Resistant Tape, Polyethylene Adhesive Tape, Heat Shrin...


产品Price 5.00/Piece
最小起订Quantity:1 Piece 供货总Quantity: 9999 Piece


Corrosion-resistant materials: |
|
Corrosion-resistant materials factory: |
20 cm |
Corrosion-resistant material manufacturer: |
20 cm |
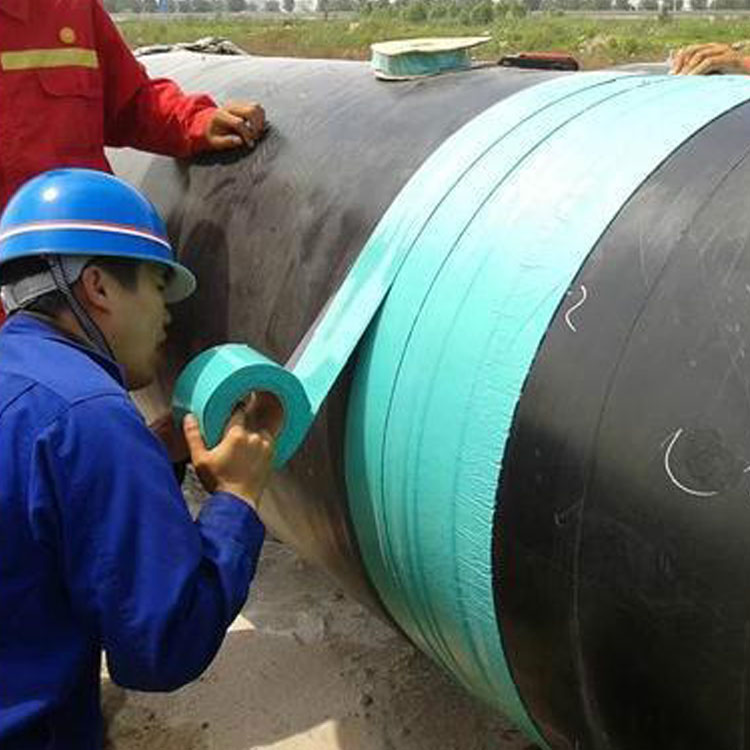
Shrink Wrap Installation Method Cleaning of the mouthpiece section Wipe or blow away any surface dirt from the original thermal insulation PE layer with a cloth, and use a solvent to clean oil-based dirt thoroughly. 2. Trim at the mouthpiece section Trim the protruding part of the insulated foam area to match the outer diameter of the original insulating PE layer. 3. Surface Preheating Prior to preheating, thoroughly clean the surface sediment from the patch joint tube and apply positioning marks on the polyethylene surface. The flame heating method of liquefied gas preheats the surface of the original保温PE layer to 60-70°C. Both operators should perform the baking and heating work simultaneously, with the baking temperatures on both sides rising synchronously. 4. Heat Shrink Tape Installation 4.1 Heat Shrink Tape Installation Heat one end of the heat shrinkable tape with a splice to soften the adhesive, install it at the 12 o'clock position, and secure it along the base material on the steel pipe with a rubber strip. Then, expand the heat shrinkable tape along the axis, heat the other end to soften the adhesive, and overlap it onto the tape using the splice, then flatten it with a roller. Soften the adhesive surface of the fixed film, quickly place it face down, evenly align it front to back and side to side over the seam, bake the inner adhesive surface to securely bond it to the base material, and then press it flat with a roller. 4.2 Hardening and tempering Heat uniformly along the circumference from the middle, causing the central section to contract first, then heat evenly to both sides. Gradually heat from the bottom to the top of the tube to uniformly shrink the heat shrinkable tape. After the heat shrinkable tape has fully contracted, uniformly anneal the entire tape, maintaining the surface temperature between 120-140℃ for about 3-5 minutes. Check the melting condition of the inner hot-melt adhesive using finger pressure, ensuring the inner adhesive is fully melted. Remove Air Bubbles After tempering, the roller compresses the heat-shrinkable tape surface to expel bubbles, and it should be avoided to squeeze out too much hot melt adhesive while compressing the edges. 4.4 Edge Sealing Strip Installation After the entire shrink-fitting process is completed, install one strip of adhesive tape at each end of the heat-shrink protective layer.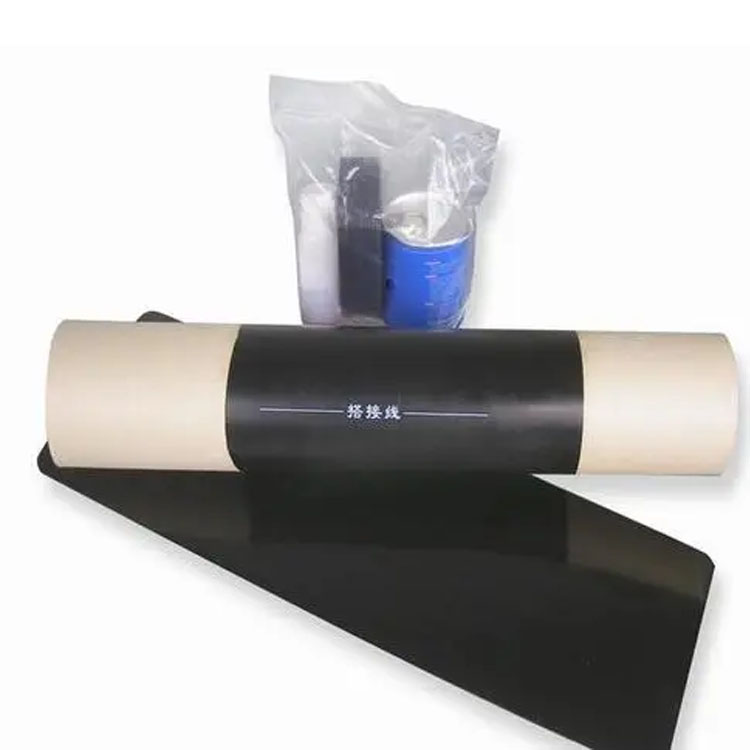

Phone Consultation