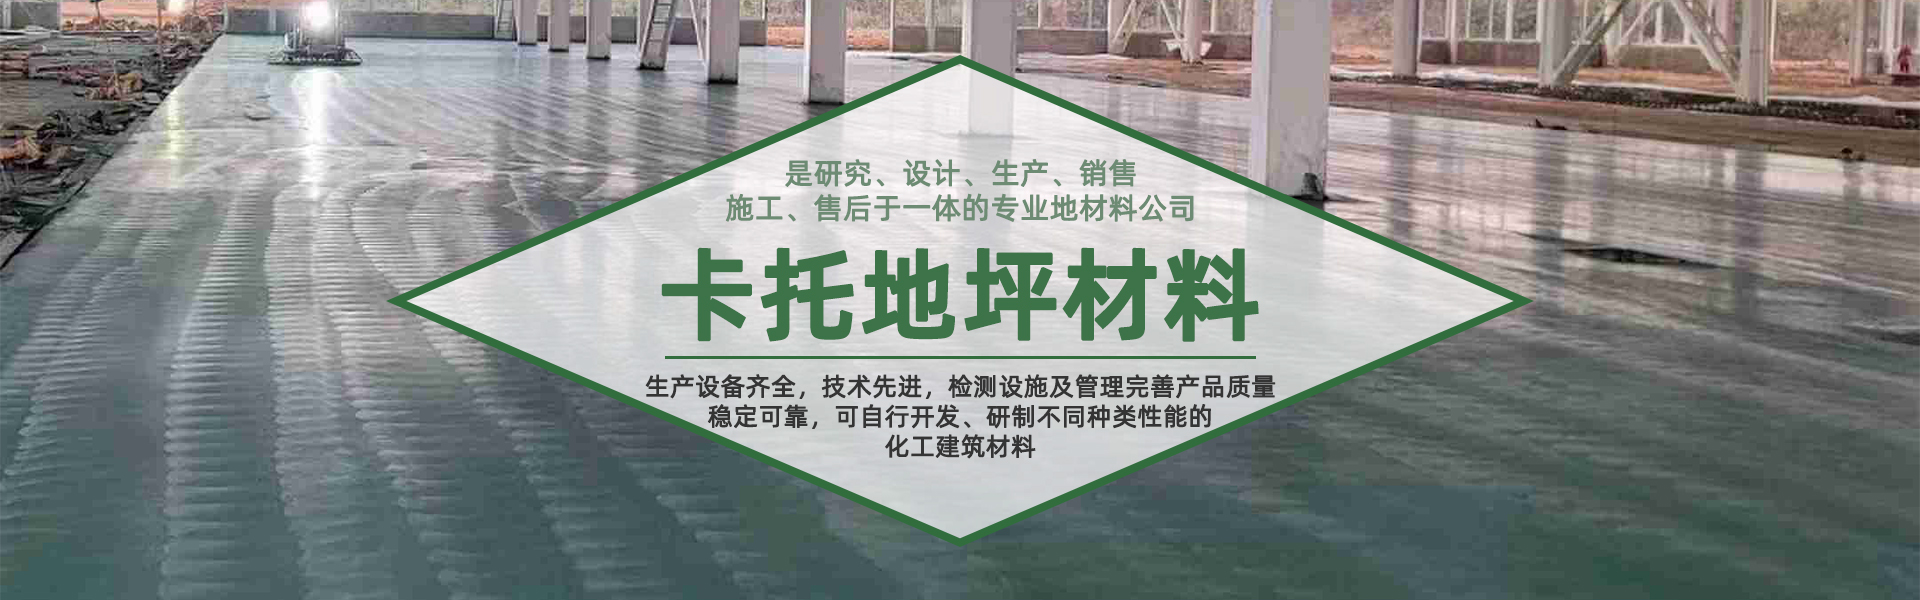

The process of epoxy flooring primarily consists of 6 steps. Let's take a look together!
Raw land treatment
During this process, it is crucial to first clean the expansion joints thoroughly before beginning work. Typically, these joints are filled with asphalt or dirt, which must be properly cleared. Once cleared, materials can be used to fill the gaps. After drying, the ground can be sanded, completing the initial surface treatment.
2. Primer coat application
In this process, maintain cleanliness, then mix the main agent with the hardener, ensuring the correct ratio. Adjust the viscosity based on the ground conditions, and you can proceed with the application. It typically takes about four hours, and the undercoat must harden for at least eight hours to be considered acceptable.
3. Epoxy mortar for leveling layer repair
First, prepare the necessary tools and maintenance supplies. Once the repair area is determined, clean the surface of dust, oil, rust, and debris thoroughly. Then, use an air compressor or water to clean the repaired areas and the concrete sub-surface. Be mindful that no standing water is allowed in the next step.
4. Epoxy Putty Layer
Mix the main agent and hardener in the correct proportions, stir thoroughly, then add an appropriate amount of quartz powder. After that, you can apply it; it takes about half an hour, and the curing time requires over eight hours.
5. Surface Paint Layer Application
Just as before, ensure cleanliness before construction. Then, mix the main agent with the hardener, and after mixing, apply it. It takes about half an hour. After completion, wait 24 hours before allowing people to use the area.
6. Coating Layer Application
Applying a single coat of abrasion-resistant clear paint not only enhances the luster of the epoxy flooring, but also extends its service life.
