
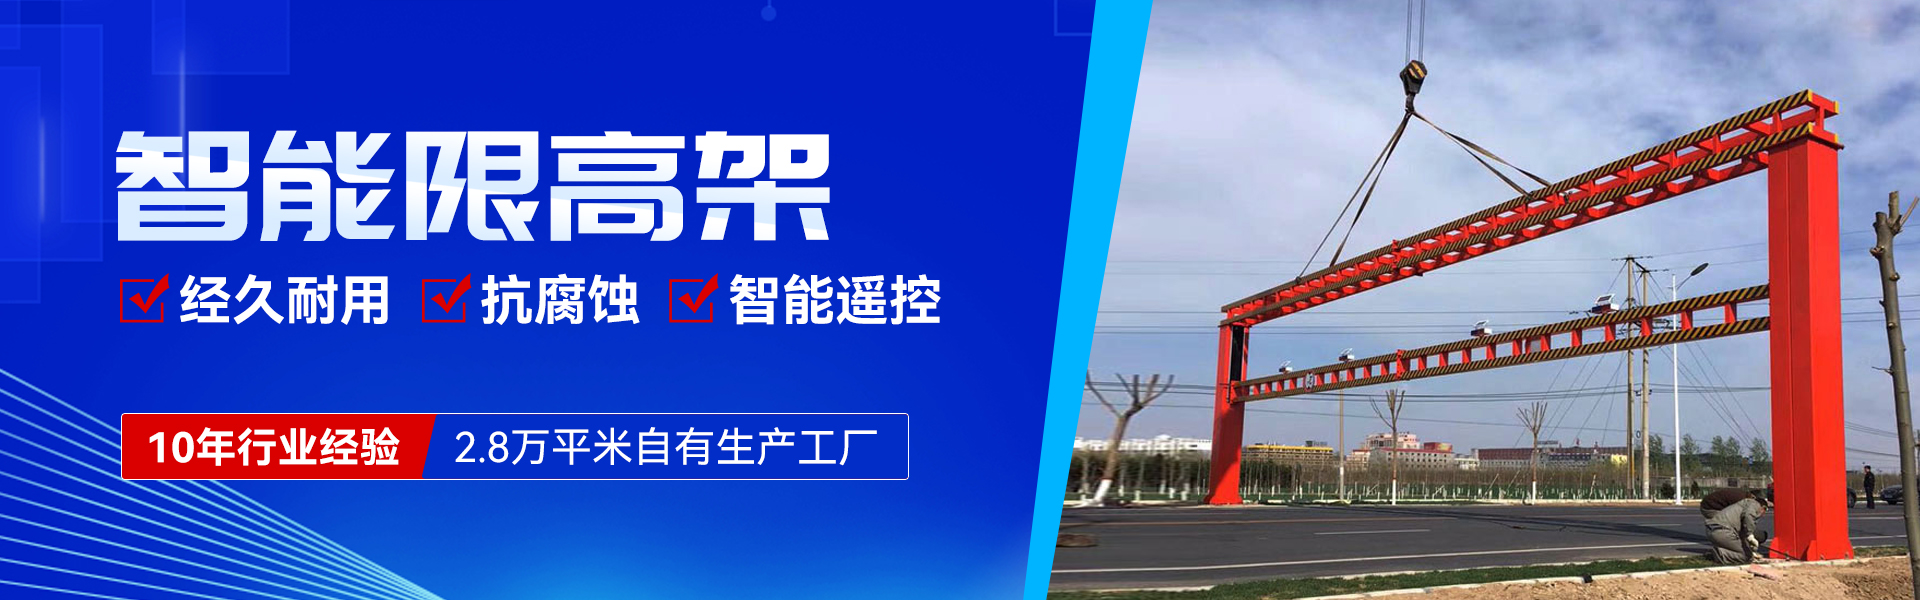


The Congress pointed out that road traffic safety in urban governance is inseparable from intelligent rising and falling height barriers.
Intelligent Electric Rising and Falling Barrier System Installation Guide: Highway Overpasses, Signage Overpasses, Simple Overpasses, LED Screen Overpasses, Width-Limiting Overpasses, Height-Limiting Overpasses. 1. Before installation, confirm if the road is open. If not, proceed directly to the site for installation. If the road is open, obtain entry permission from the client, and schedule road closures and timeframes to avoid rush hour. Generally, non-holiday periods and 6:00 AM are recommended for installation. Upon arrival, assign one employee to clear the foundation pier, clean the threads of the anchor bolts, lubricate them with grease, and clean the mud and sand from the location flange (note: the cleaning area should be at least larger than the base flange size). Once the installation markers are confirmed, sequentially lower the components of the overpass from the truck to the ground without stacking them, ensuring flat placement for easy assembly. Assign one employee to retrieve the high-strength bolts for connecting the crossbeam and column of the display screen overpass, along with the required wrenches and tools. After the components are lowered, first lay the overpass crossbeam on one side (the side with the LED screen facing up). Then, connect the "left column" (remember: during the foundation concrete pouring, there may be deviations such as parallelism and height. Therefore, the columns of the overpass are marked as left and right before manufacturing for ease of matching and unloading during transportation and installation) to the left flange of the crossbeam, leaving the bolts slightly loose. Next, secure the "right column" in place.
