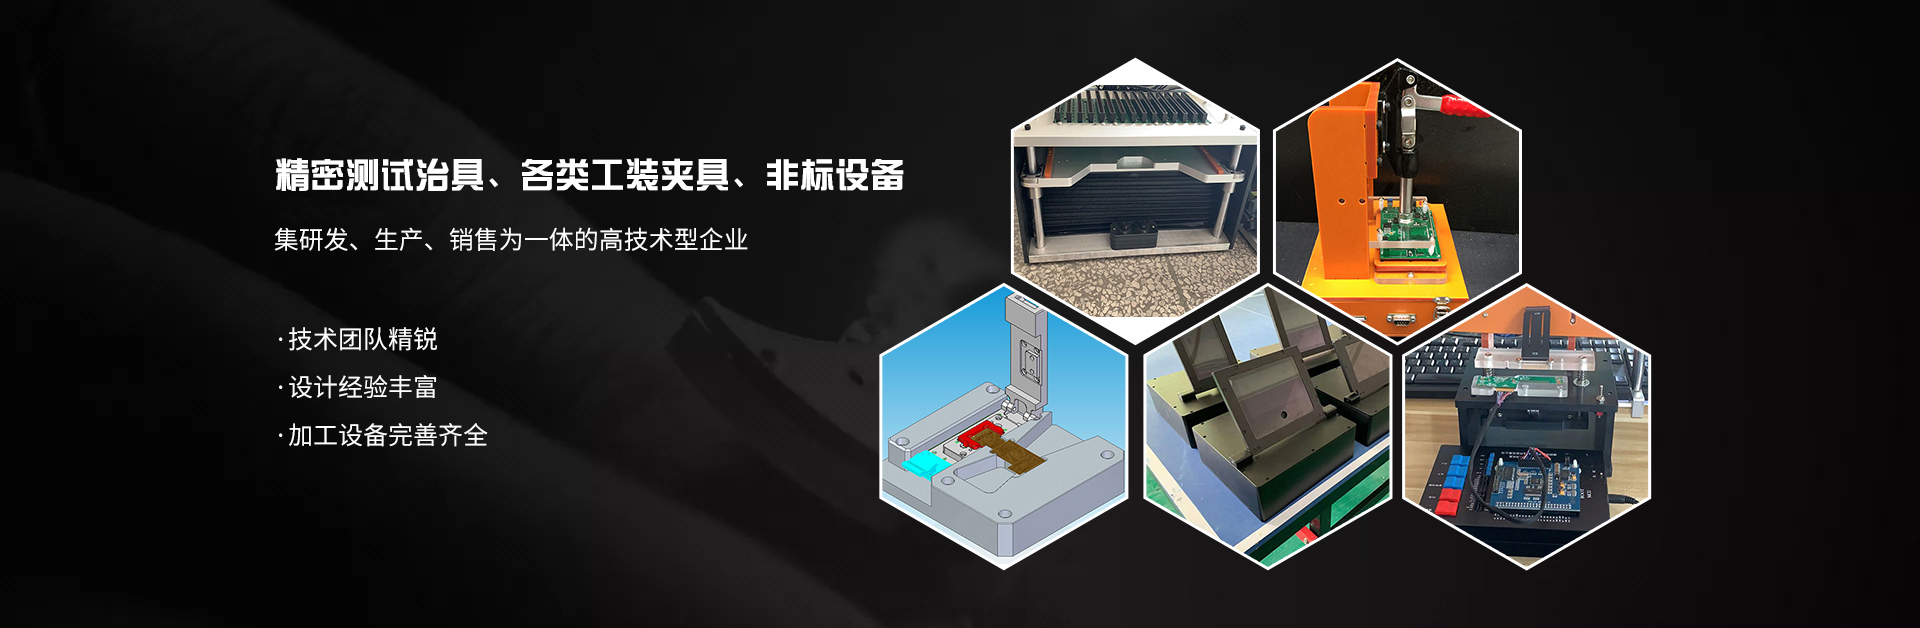
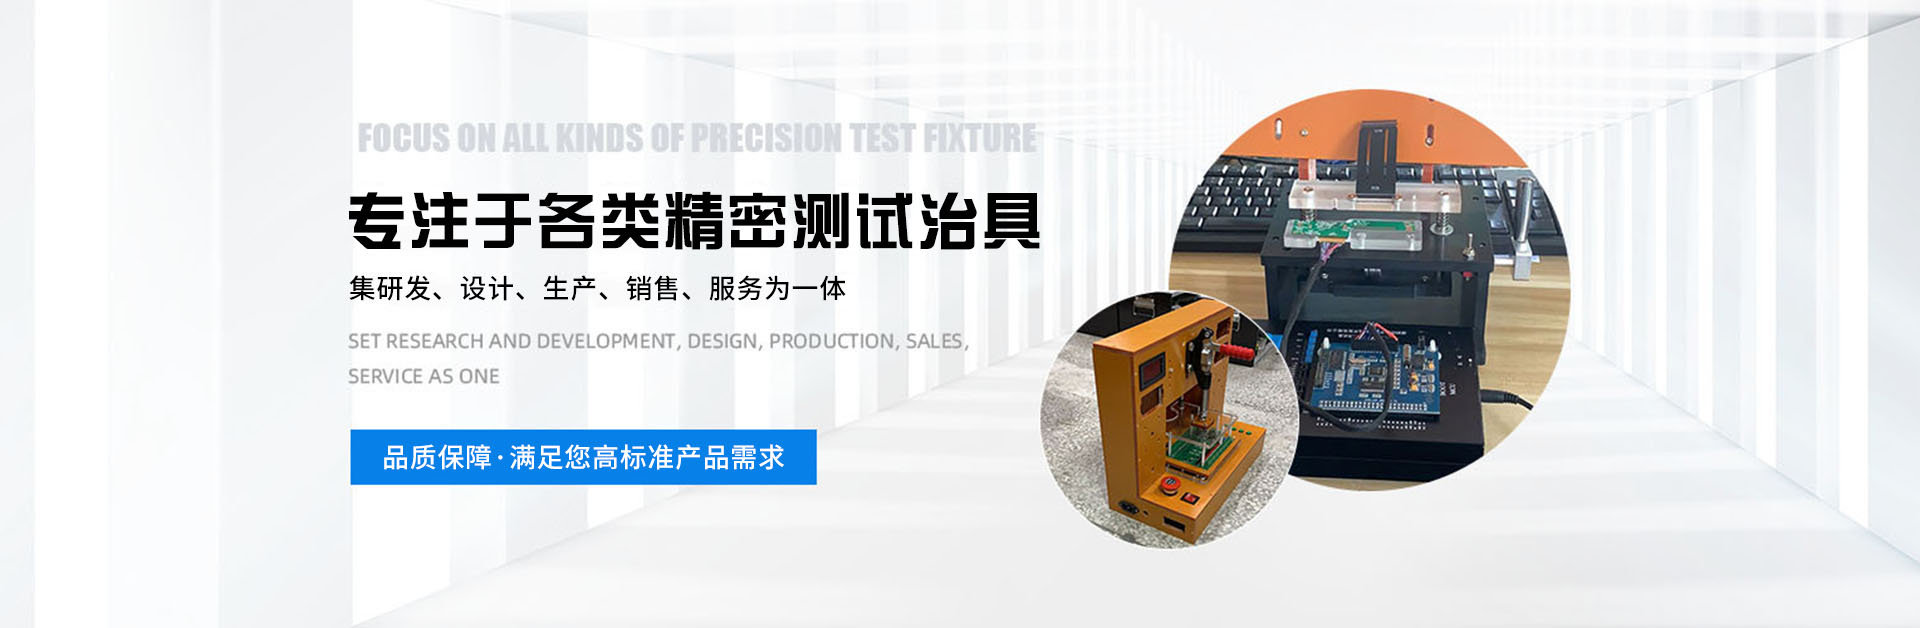
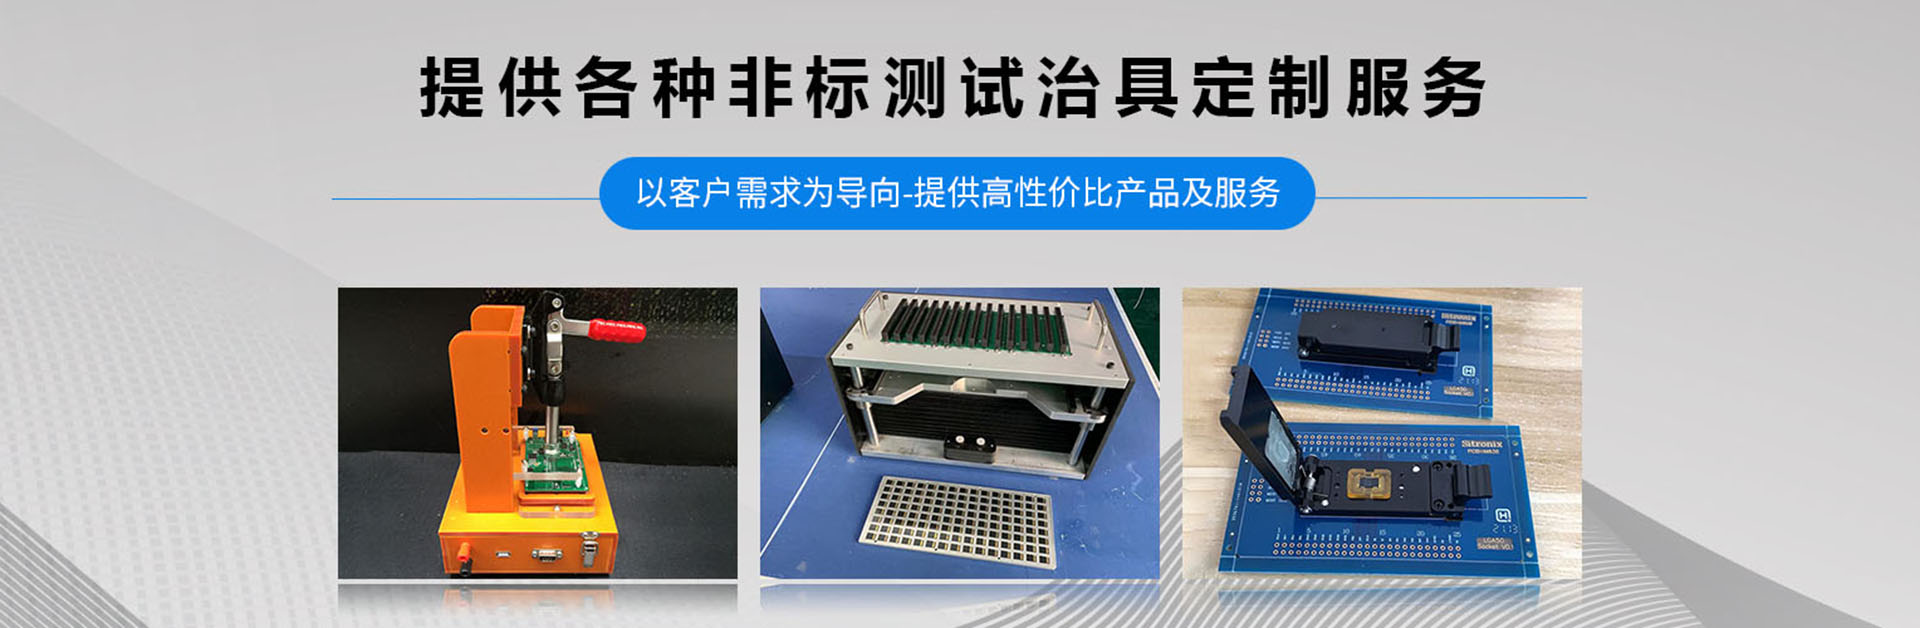

A fixture is a broad category of tools used in woodworking, metalworking, machining, electrical controls, and various handicrafts, primarily serving as a tool to assist in controlling position or movement (or both). Fixtures can be divided into three categories: process assembly fixtures, project testing fixtures, and printed circuit board testing fixtures. What are the steps in the fixture drawing process for fixture manufacturers?
1. Measure and draw the required items (mainboards and small boards, for which the software department should provide the necessary documentation, including all items that need to be drawn. It is recommended to draw the corresponding items, print them out, and compare them with the actual items. When printing, adjust the print scale option to 1:1 to ensure the position of the holes.)
2. The placement of the motherboard is typically in the center of the needle plate. This is merely a reference suggestion, as the situation is often not ideal (for instance, when placing a cooling fan on top of the motherboard, it is related to the passive positioning of components like the turntable speaker fan on the bottom plate). Once the motherboard's position is determined, the placement of the smaller board can be established.
3. Design the carrier board, making it as small as possible while ensuring the placement of the transition pins, which are typically located near the main board. Leave a 60mm diameter hole of 1.75mm (this can reduce the total weight of the fixture and enhance its aesthetics). Draw the carrier board so that it extends to the PCB board's edge, as this area is for various interfaces and may require actual measurements during testing.
4. For the HDD and ODD side insertion part, if it is a wire insertion, consider the position of the connector. Determine the front, back, and up-down positions of the side insertion module based on the motherboard connector. The side insertion features four straight slots on a 5T glass fiber board. Place the retainer at the corresponding position on the carrier board. The side insertion module is locked onto the carrier board using four equal-height sleeves, allowing the side insertion to move left and right. Leave a 13MM movement range; the equal-height sleeves leave a 0.1MM gap on one side, which is the reference value. The gap between the side insertion and the carrier board should be slightly larger than the gap of the equal-height sleeves.
5. The lower mold transfer plates (the lower mold and upper mold are specified in the procurement order) are placed below and above the lower needle plate, respectively. The arrangement of the transfer plates should be distributed reasonably according to the general location specified in the procurement order for ease of operation. (Note that when placing the lower mold transfer plates, pay attention to any interference with the bottom plate of the lower frame, and it can be milled through if necessary.)
6. Position the needle points on the top plate and the fixed pressure plate and elastic pressure rod for installation. Use the carrier plate as a reference for drawing. (The top plate functions as a fixed mainboard front test point needle) To determine the CPU and GPU locations, it is necessary to install a heat sink and a fan on this part.
7. The placement of the elastic pressure plate and the fixed pressure plate: Position the fixed pressure plates around the main board as densely as possible to ensure the flatness of the main board during testing. The elastic pressure rod serves as a pre-pressure during the pressing process; it is recommended to place 2 to 3 of them.
8. The top frame base is designed with a milled hollow in the center, aligned with the needle points of the top needle plate. This hollow is offset outward; it is a sleeve fixed at the same height on the top frame base, leaving a gap to ensure the bottom part can float and align properly. The fan position must also avoid the milled hollow.
9. The production of the countertop section (the countertop is surrounded by horizontal bars, internally divided based on the objects to be placed. The front is fixed using hinges to accommodate magnets. If buttons are required, a separate button panel must be made, supported by a column known as the dragon column. This panel is made of acrylic and features indicator lights; the objects to be placed only need to be drilled, then secured to the countertop with cable ties.)
10. Placement relation and PCB screw positioning (Using the corresponding placement relation and PCB screw after the whole drawing is completed will avoid the inefficiency of moving and repeating earlier or later placement.)
