

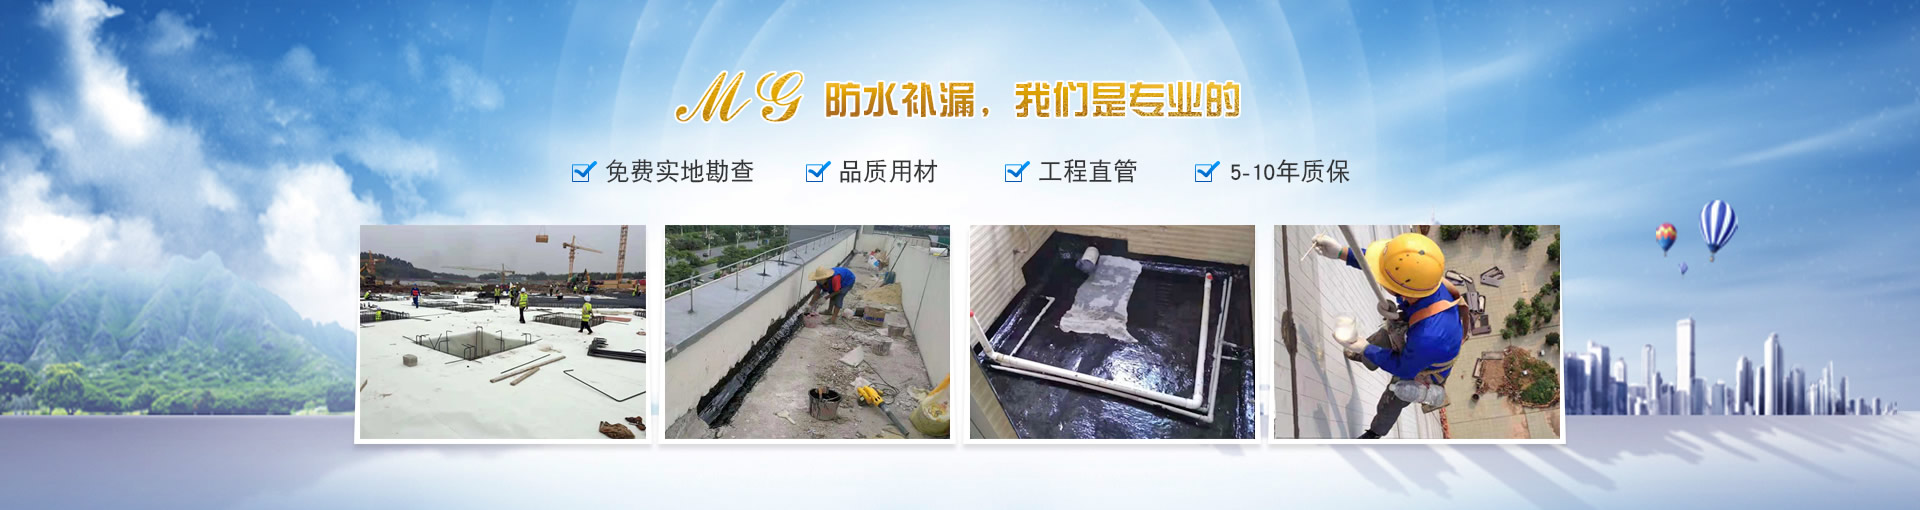

The home renovation is complete, with all the tiles on the walls and floors in place. However, a leak is discovered. Many may wonder if it's possible to fix the leak without breaking the tiles. Based on the specific cause of the leak, QiJia Li Zi shares some solutions.
Causes of Leaking Toilets Analyzed
Water within the toilet pipes; the water we use daily that accumulates or leaks through the floor and walls. Water leakage is primarily caused by water in two situations.
The bathroom pipes have developed leaks. We know that the pipes in most residential bathrooms today run through the walls, floors, or ceiling. If there's a leak in the pipes within the walls or floors, it can seep through to the ground or to the floor below. Due to inadequate waterproofing in our bathroom, we experience leaks when using water, such as when water from showering seeps into the ground and walls, causing leaks.
Solutions to Leaky Pipe Issues
After a leak is detected in the bathroom, our immediate action is to inspect if it's a water pipe leak. The specific method involves conducting a pressure test. After shutting off the main valve, we use a pressure pump to apply pressure. If the pressure in our home's water pipes can reach 0.8 MPa, or 8 kg, and then can be reduced to 0.6 MPa, or 6 kg, without dropping further, this indicates there is no water pipe leak. If we can't apply pressure or if the pressure drops rapidly, it suggests a water pipe leak.
When it's confirmed that the leak is from the tap water pipe, there's no other solution but to locate the general area of the upward seepage from the ground or the wall seepage. Then, remove all tiles in that area and repair the pipe. You'll need to chisel the ground tiles and concrete to find the tap water pipe, then use the hot melt method for connection and repair. After the repair is complete, remember to conduct a pressure test. Only after passing the pressure test should the ground or wall be restored.
Solutions for Waterproofing and Leak Prevention in Bathrooms
After the above pressure test eliminates the possibility of water leakage in the pipes, it can be confirmed that there is an issue with the waterproofing in the bathroom. Once waterproofing problems arise, it's a major hassle to redo it, as it requires removing all tiles, redoing the waterproofing, and then re-tiling. It's unlikely many would choose this method to fix waterproof leaks. Therefore, I recommend the following two simple repair methods. Both utilize the waterproof properties of tiles.
Utilizing high polymer waterproof sealant. There are actually two types of this sealant: one for filling grout lines and another for coating the entire surface of the bricks. However, their principle is the same—they both take advantage of the tiles' inherent waterproofing properties. The leaks typically occur due to the grout lines, and these sealants can seal the gaps between tiles, thereby resolving issues of water leakage on bathroom walls and floors.
This brickless waterproof adhesive is incredibly easy to operate:
◆ First, clean the ground and walls thoroughly. Always use a damp cloth, wipe it especially clean in advance, then let it dry.
◆ Apply the adhesive evenly using a brush on the grout lines of tiles or across the entire tile surface. After the adhesive dries, apply two more coats.
◆ After the coating is completed, we allow the waterproof adhesive to dry and reach its strength, then conduct a water-tightness test to assess the effectiveness. At this point, we can observe whether the water level is dropping to determine if there are any leaks.
◆ The method involves re-treating the grout between tiles. This approach offers higher reliability than the previous waterproof adhesive. The solution I recommend to everyone is to redo the grout with a beautiful finish. The specific steps are as follows:
◆ First, clean out any debris and materials from the gaps between the tiles. This step is crucial; ensure the cleaning extends to the bonding layer of the tiles.
◆ The treatment involves using caulk. When applying caulk, it's crucial to ensure that the adhesive reaches the bottom, never just the surface of the brick seams.
Personal Tips for Bathroom Remodeling
Ensure that waterproofing in your bathroom is done according to specifications. We recommend focusing on two key areas: reinforcing the brush application at all pipe roots and wall roots, as well as other vulnerable spots. Ensure the surface is brushed three times or more, with the film layer clearly visible. Additionally, always conduct the required water-tightness test after waterproofing is completed, and after the tiles have been laid.
Our household bathroom wall and floor tile gap treatment issue. I personally recommend that everyone do beautiful grouting, because when done well, it not only prevents the gaps from molding and turning black, but also offers a particularly good function, which is waterproofing the tile gaps.
