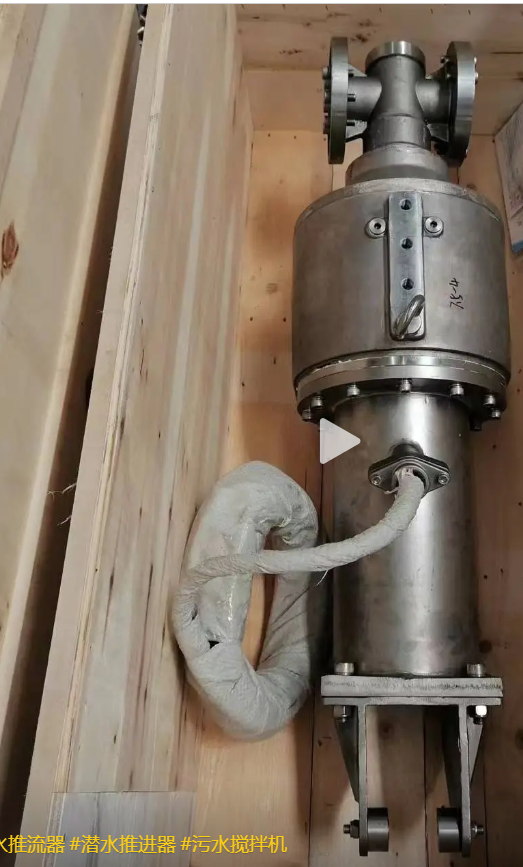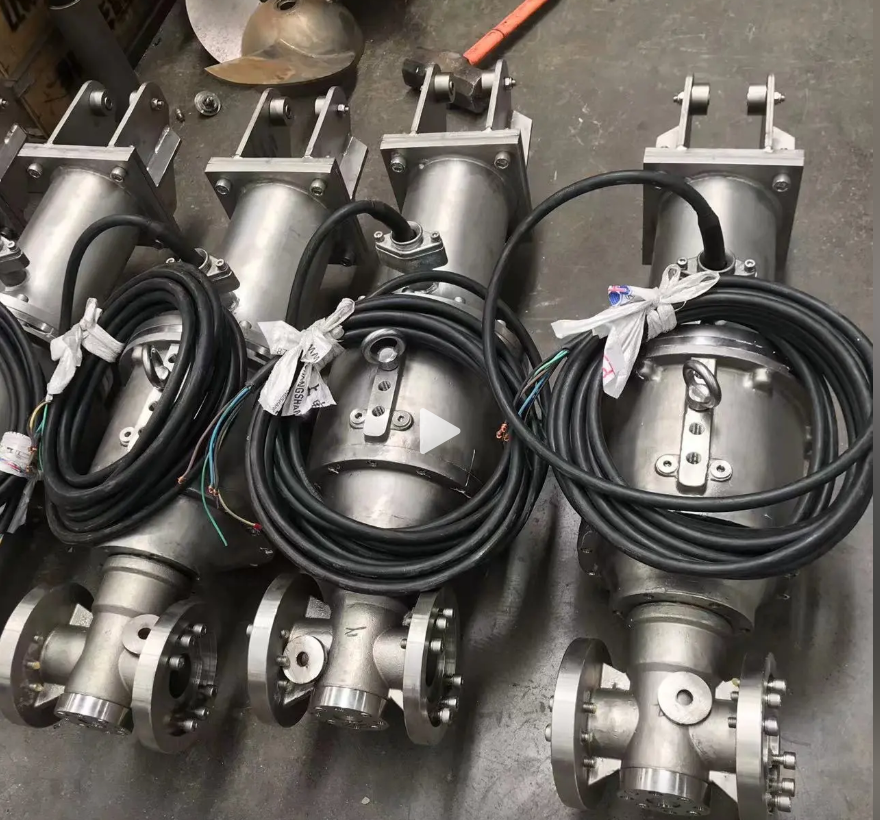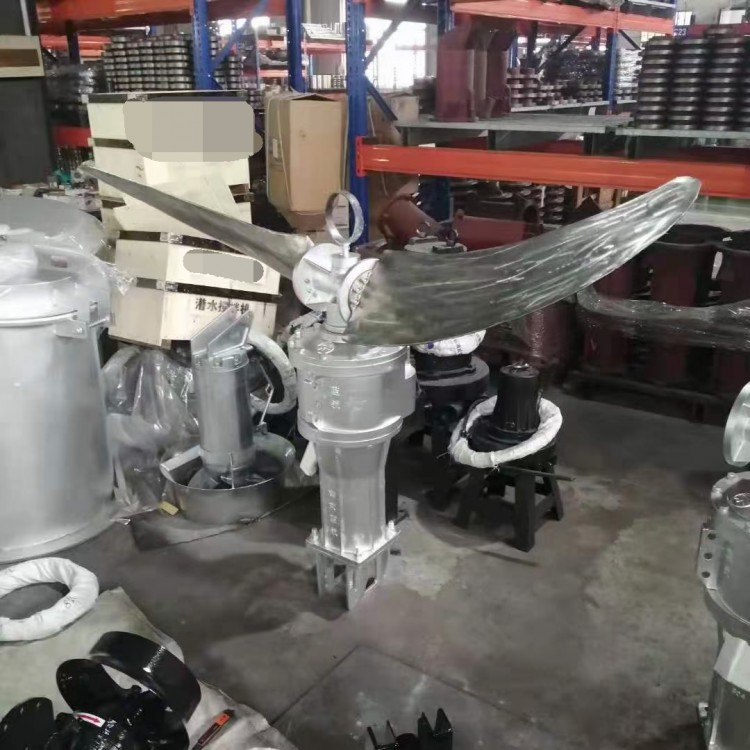
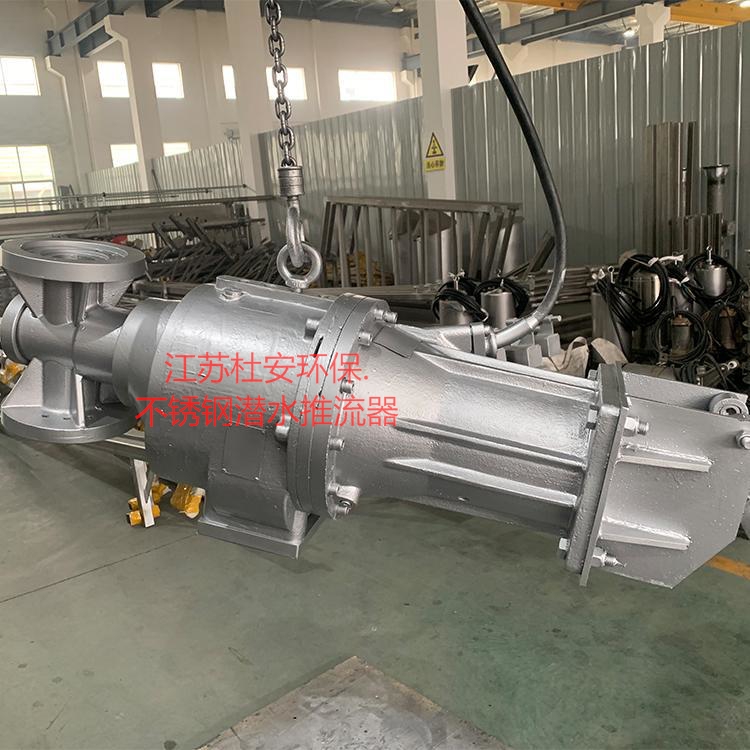
304 Stainless Steel Submersible Propeller Price
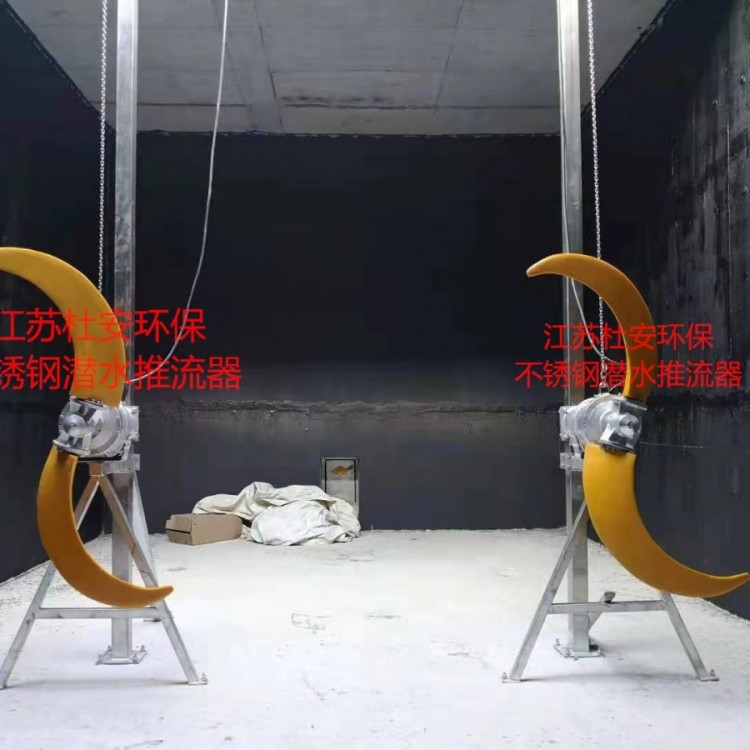
Stainless Steel Low-Speed Turbulator
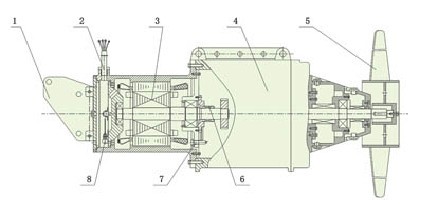
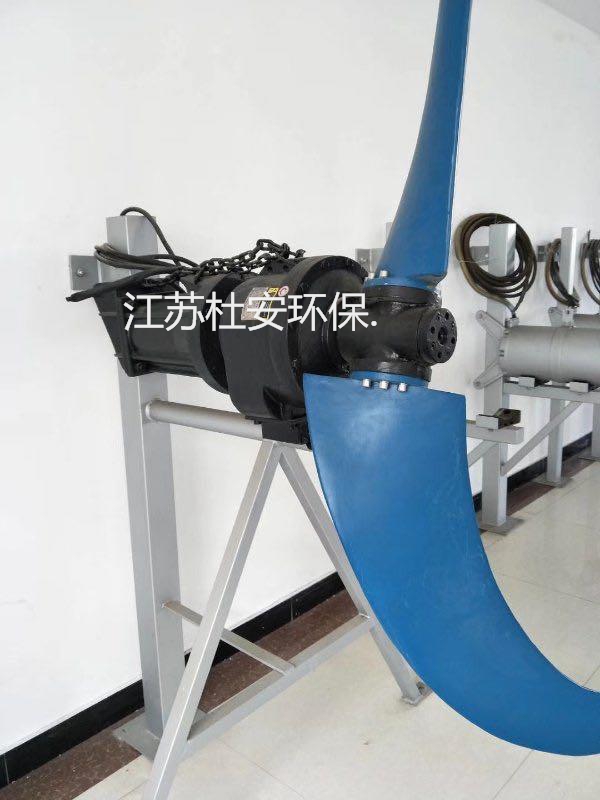
QJB Submersible Flow Propeller Installation Diagram
I. Introduction
To better utilize Duwan Environmental ProtectionQJBTypeLow-speed Turbulator Series, please carefully read the following instructions before installation and use.
Part Two: Applications
Low-speed Turbulator Series Mixers are suitable for industrial and urban sewage treatment plant aeration basins, generating powerful water currents with low tangential flow, which can be used to create water currents for circulation, nitrification, denitrification, and phosphorus removal stages.
QJBOperating Conditions for the Submersible Mixers:
1、 During continuous operation, the medium temperature does not exceed40℃;
2、 MediumPHValue for6-9。
3. LessGreat submergence depth10m。
Section 3: Diagram Structure
Four Model Representation Examples
Q J B 3/ 4 – 1400 / 2 – 34
![]()
![]()
![]()
![]()
![]()
![]()
![]() Impeller RPMr/min
Impeller RPMr/min
![]() Leaf blades count
Leaf blades count
![]() Impeller diametermm
Impeller diametermm
![]() Motor Pole Count
Motor Pole Count
![]() Rated Motor PowerkW
Rated Motor PowerkW
![]() Diving Agitator Model Code
Diving Agitator Model Code
Five: Assembly and Installation
We recommend using Duwan's original environmental-friendly components for installing the submersible mixer.
1Leaf assembly
Note:
Before installing the mixing system on the mixer, first select the angle adjustment plate based on the working conditions.
Ensure both blades are installed at the same angle.
Steps1Loosen the hub cap1Top Cover2Screw of )3)(M16*80Left-hand thread)Remove end cover.
Step2Insert a blade into the hub's hole from the top, aligning the blade shaft groove outward, and adjust the selected angle.4Insert into the slot of the impeller shaft, connect to the hub with two bolts, and use a hex wrench to first tighten the bolt on the left side.5), then tighten the screw on the right (6)。
To facilitate the installation of two blades, rotate the hub.180oThen, install two blades using the aforementioned method.
Step3Cover the top cap, and place the two toothed washersM16*80Left-hand threaded screws are tightened in.
2Mixer installation
Secure the guide rod and hanger as required with expansion bolts.
Install vibration dampers and sliding sleeves.
Manually lift the mixer with a hand-cranked gourd, slide the sleeve onto the square guide rod, and ensure the lifting is smooth and free before placing the mixer in position.
Gently and evenly lower the mixer, ensuring it is properly positioned. Keep the hand-cranked bucket's wire rope in a slack state.
Ensure cables are not drawn into the impeller while the blender is in operation!
3Pilot operation
Prior to operation, the entire system is inspected by a qualified professional to ensure compliance with relevant specifications. Properly connect the motor cable to the power source.
During the first commissioning, it is essential to check the correct rotation direction of the impeller. The method is: suspend the submersible mixer on the square guide rod, connect the power supply, and look from the impeller towards the motor direction; the impeller should rotate clockwise. If the rotation direction is incorrect, replace the two phases of the power cable. If multiple mixers are connected to the same control cabinet, each mixer should be checked individually for rotation direction.
Note: When checking the rotation direction, ensure that the rotating impeller does not harm the staff and do not get close to the rotating impeller.
4Operating
After the trial operation is normal, disconnect the power. Place the agitator along the square guide rod into the water, ensuring it is properly installed. Reconnect the power and operate it, checking for proper functioning.
5Oiling and oil change
The mixer has been pre-oiled in the reducer before shipment. Begin the initial run.100After 1 hour, replace with new oil; thereafter, every3-6Change monthly. Lubricant brand number:90No. Industrial Gear Oil20Numbered mechanical oil. Approximately 1 liter.1.2Increased.
The oil change should be performed according to the following method:
Position the mixer, unscrew the top and bottom plugs, release the lubricant, then clean the oil chamber with cleaning oil, refill with new oil, and replace the new one.OO-Rings, tighten the bolt plug.
If water (in the form of a milky emulsion) is found in the oil removed, clean the oil chamber according to regulations, then refill with new oil and replace it.OO-rings, tighten the bolt plug. A recheck must be performed after three weeks; if the oil has turned into a milky emulsion again, inspect the mechanical seals and replace them if necessary (please contact our company or the maintenance service department).
In the event of an unexpected malfunction during operation, do not resort to makeshift solutions or attempt to disassemble and repair it privately.
Please contact our company.
Due to continuous technological advancements, our company reserves the right to modify designs and technical specifications.
![]()
Address: Liugong District, Nanjing City, Jiangsu Province, ChinaXiongzhou Industrial ParkZone#8